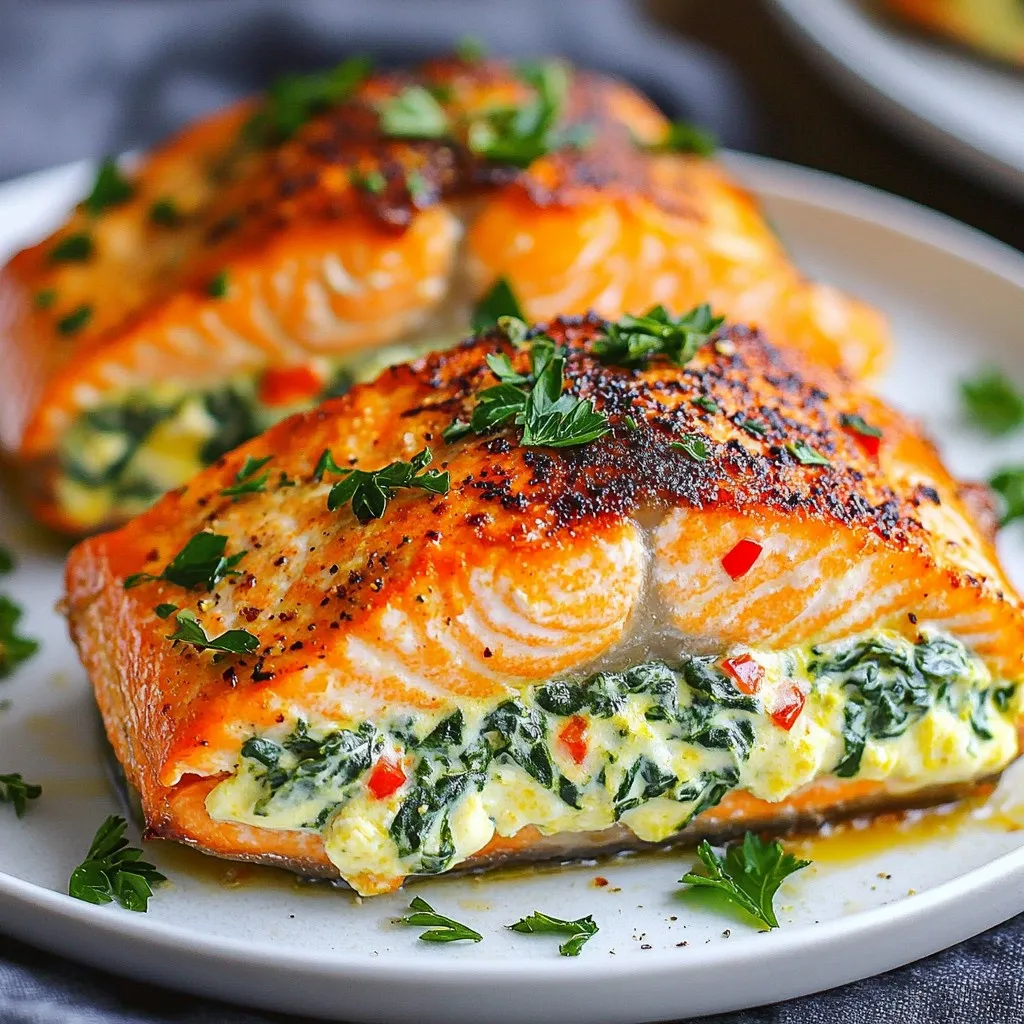
If you crave a dish that combines comfort and elegance, you’ll love this creamy spinach stuffed salmon. With just a few fresh ingredients, you can elevate your weeknight dinner into a restaurant-style meal. Picture tender salmon fillets overflowing with a rich, cheesy spinach filling. Ready to impress your family or guests? Let’s dive into the details of this flavorsome delight and bring some culinary magic to your kitchen!
Why I Love This Recipe
- Delicious Flavor Combination: The creamy spinach filling paired with the rich salmon creates an irresistible taste that delights the palate.
- Quick and Easy Preparation: This recipe comes together in just 30 minutes, making it perfect for a busy weeknight dinner.
- Healthy and Nutritious: Rich in omega-3 fatty acids and packed with vitamins from the spinach, this dish is a wholesome choice for any meal.
- Impressive Presentation: The vibrant colors of the spinach and roasted red peppers make for a stunning plate that will impress your guests.
Ingredients
List of Ingredients
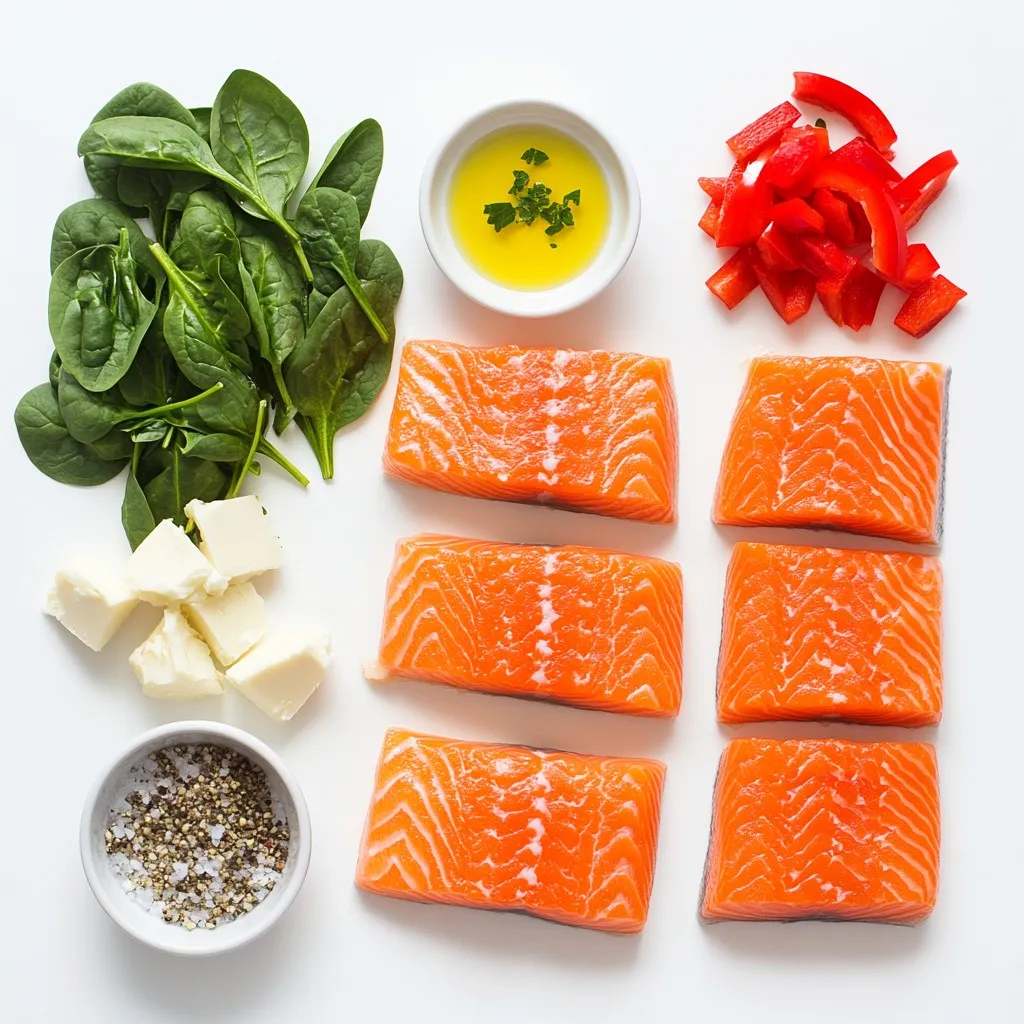
– 4 salmon fillets (6 oz each)
– 2 cups fresh spinach, chopped
– 1 cup cream cheese, softened
– 1/2 cup grated Parmesan cheese
– 1/4 cup roasted red peppers, chopped
– 2 cloves garlic, minced
– 1 tablespoon lemon juice
– 1/2 teaspoon salt
– 1/4 teaspoon black pepper
– 1 tablespoon olive oil
– Fresh parsley for garnish
I love using fresh ingredients in this recipe. The salmon fillets are rich and tasty. Spinach adds a nice green color and health benefits. Cream cheese makes the filling creamy and smooth. Parmesan gives it a salty bite that pairs well with the fish. Roasted red peppers add a sweet, smoky flavor. Garlic gives a nice kick that brightens the dish. The lemon juice adds freshness and balance.
Nutritional Information
– Calories per serving: Around 400
– Macronutrient breakdown:
– Protein: 30g
– Carbohydrates: 5g
– Fats: 30g
This dish offers a good mix of protein and healthy fats. It fits well into a low-carb diet. Enjoy this meal knowing it is rich in nutrients.
Step-by-Step Instructions
Preparation Steps
– Preheat the oven to 375°F (190°C). This gets the oven ready for baking.
– Prepare the spinach filling. In a bowl, mix 2 cups chopped spinach, 1 cup softened cream cheese, and 1/2 cup grated Parmesan cheese. Add 1/4 cup chopped roasted red peppers, 2 minced garlic cloves, 1 tablespoon lemon juice, 1/2 teaspoon salt, and 1/4 teaspoon black pepper. Stir until creamy and smooth.
Cooking Steps
– Prepare the salmon fillets. Place 4 salmon fillets, skin side down, on a cutting board. Use a sharp knife to cut a pocket in each fillet. Cut gently, stopping before you cut all the way through.
– Fill the salmon with the mixture. Take the creamy spinach filling and carefully stuff each salmon fillet. Use your fingers or a spoon to gently press the filling inside.
– Sear and bake the salmon. Heat 1 tablespoon olive oil in a large oven-safe pan over medium-high heat. Add the filled salmon, skin side down. Sear for about 3-4 minutes until the skin is crispy. Flip the fillets carefully and place the pan in the oven. Bake for 10-12 minutes until the salmon is cooked through and flakes easily with a fork.
Plating Instructions
– How to serve the stuffed salmon. Take the pan out of the oven and let the salmon rest for a few minutes.
– Presentation tips and garnish. Serve the stuffed salmon on a large white plate. This makes the colors pop. Add a lemon slice on the side for a fresh touch and sprinkle fresh parsley on top for a lovely finish.
Tips & Tricks
Cooking Tips
– Avoid overcooking the salmon. Salmon cooks fast. Check it at 10 minutes in the oven. The fish should flake easily with a fork. Overcooked salmon becomes dry and tough.
– How to achieve crispy skin. Start with dry skin. Pat the salmon with paper towels before cooking. Heat the pan until hot, then add the salmon skin-side down. This helps the skin get crispy.
Storage Tips
– Best ways to store leftovers. Let the salmon cool to room temperature. Place it in an airtight container. Store it in the fridge for up to three days.
– Reheating instructions. Use the oven to reheat. Preheat to 350°F (175°C). Put the salmon on a baking sheet and cover it with foil. Heat for about 10-15 minutes or until warm.
Ingredient Substitutions
– Alternatives for cream cheese. You can use Greek yogurt for a lighter option. Mascarpone cheese also works well for a rich flavor.
– Vegetable substitutions for spinach or red peppers. Kale or Swiss chard can replace spinach. For red peppers, try sun-dried tomatoes or artichokes for a different taste.
Pro Tips
- Use Fresh Spinach: Fresh spinach gives a vibrant flavor and color to the dish. Avoid using frozen spinach as it can release excess moisture and make the filling watery.
- Adjust Seasoning: Taste the filling before stuffing the salmon. Feel free to adjust the salt and pepper to your preference, or add a pinch of red pepper flakes for a spicy kick.
- Perfectly Cooked Salmon: To ensure your salmon is perfectly cooked, use a meat thermometer; it should reach an internal temperature of 145°F (63°C).
- Make Ahead: You can prepare the filling a day in advance and store it in the refrigerator. Just stuff the salmon right before cooking for a quick and easy meal.
Variations
Different Cheese Options
You can change the cheese in this recipe. Feta cheese adds a nice tang. It pairs well with spinach and gives a unique taste. For a creamier filling, try soft cheese like goat cheese or ricotta. These options make the dish special and tasty.
Flavor Variations
Adding herbs can bring new life to your filling. Fresh basil or dill works great. These herbs add freshness and aroma. You can also play with spices. A pinch of cayenne pepper adds warmth. Smoked paprika gives a nice depth of flavor. Experiment with what you like best.
Serving Suggestions
Think about what to serve with your salmon. Light salads or roasted vegetables make great sides. They balance the richness of the salmon. For drinks, white wine is a perfect match. A crisp Sauvignon Blanc or a smooth Chardonnay enhances the meal nicely. Enjoy the flavors together!
FAQs
How do I know when the salmon is cooked?
You can tell salmon is cooked when it changes color. The flesh turns from bright pink to a pale, opaque shade. Another sign is when it flakes easily with a fork. If you poke it with a fork, the flesh should separate without effort. The thickest part should reach 145°F (63°C). Use a meat thermometer for the best results.
Can I freeze creamy spinach stuffed salmon?
Yes, you can freeze this dish. First, let it cool fully before freezing. Wrap each piece tightly in plastic wrap or foil. Place it in a freezer bag to keep air out. When ready to eat, thaw it overnight in the fridge. Bake it again at 375°F (190°C) until heated through.
What can I serve with creamy spinach stuffed salmon?
This dish pairs well with many sides. Here are a few ideas:
– Steamed asparagus
– Garlic mashed potatoes
– Quinoa salad
– Roasted vegetables
– A fresh green salad
These sides add color and balance to your meal. Enjoy mixing and matching to find your favorite combos!
Additional Resources
Video Tutorial
Check out this video tutorial that shows how to make creamy spinach stuffed salmon. It gives you a step-by-step view of the process, from preparing the filling to baking the salmon. Watching it will help you get the technique just right. [Watch the video here](#).
Similar Recipes
If you love salmon, here are some other tasty recipes to try:
– Lemon Dill Salmon – A bright and zesty dish that’s easy to make. [Read more here](#).
– Honey Garlic Salmon – Sweet and savory, this recipe is a crowd-pleaser. [Check it out here](#).
– Teriyaki Salmon – A flavorful twist with an Asian flair. [Explore this recipe here](#).
For more spinach dishes, try these:
– Spinach and Feta Stuffed Chicken – A great way to enjoy fresh spinach. [Find the recipe here](#).
– Creamy Spinach Pasta – Pasta lovers will adore this creamy dish. [Discover it here](#).
Cooking Gear
To make creamy spinach stuffed salmon, you’ll need some handy kitchen tools:
– Sharp Knife – Perfect for cutting pockets in the salmon fillets. [Get yours here](#).
– Mixing Bowl – Ideal for mixing the creamy filling. [Purchase a set here](#).
– Oven-Safe Skillet – Great for searing and baking the salmon. [Find one here](#).
– Spatula – Useful for flipping the salmon without breaking it. [Check it out here](#).
These tools will help you create the best salmon dish ever!
This recipe for creamy spinach stuffed salmon combines simple ingredients with bold flavors. You learned how to prepare, cook, and serve this dish. Plus, I shared tips to make it perfect every time.
Cooking should be fun and rewarding. I hope you feel ready to try this recipe! Enjoy this meal paired with your favorite sides and watch your loved ones smile. Get creative with variations and make it your own. Happy cookin


