Looking for a dressing that boosts flavor while staying simple? You’ve come to the right place! My creamy avocado cilantro dressing blends rich taste and healthy ingredients, perfect for salads or dipping. In this post, I’ll share easy steps to make this tasty dressing, along with nutty nutritional facts and clever tips. Get ready to elevate your meals with a fresh, zesty twist! Let’s dive into the recipe!
Why I Love This Recipe
- Fresh and Flavorful: This dressing brings a burst of freshness to any dish, making it perfect for summer salads and grilled veggies.
- Easy to Make: With just a few simple ingredients, you can whip up this creamy dressing in under 10 minutes.
- Healthy Ingredients: Packed with nutritious avocado and cilantro, this dressing is not only delicious but also good for you.
- Versatile Use: Use it as a salad dressing, dip, or even a spread for sandwiches to elevate your meals.
Ingredients
List of Ingredients
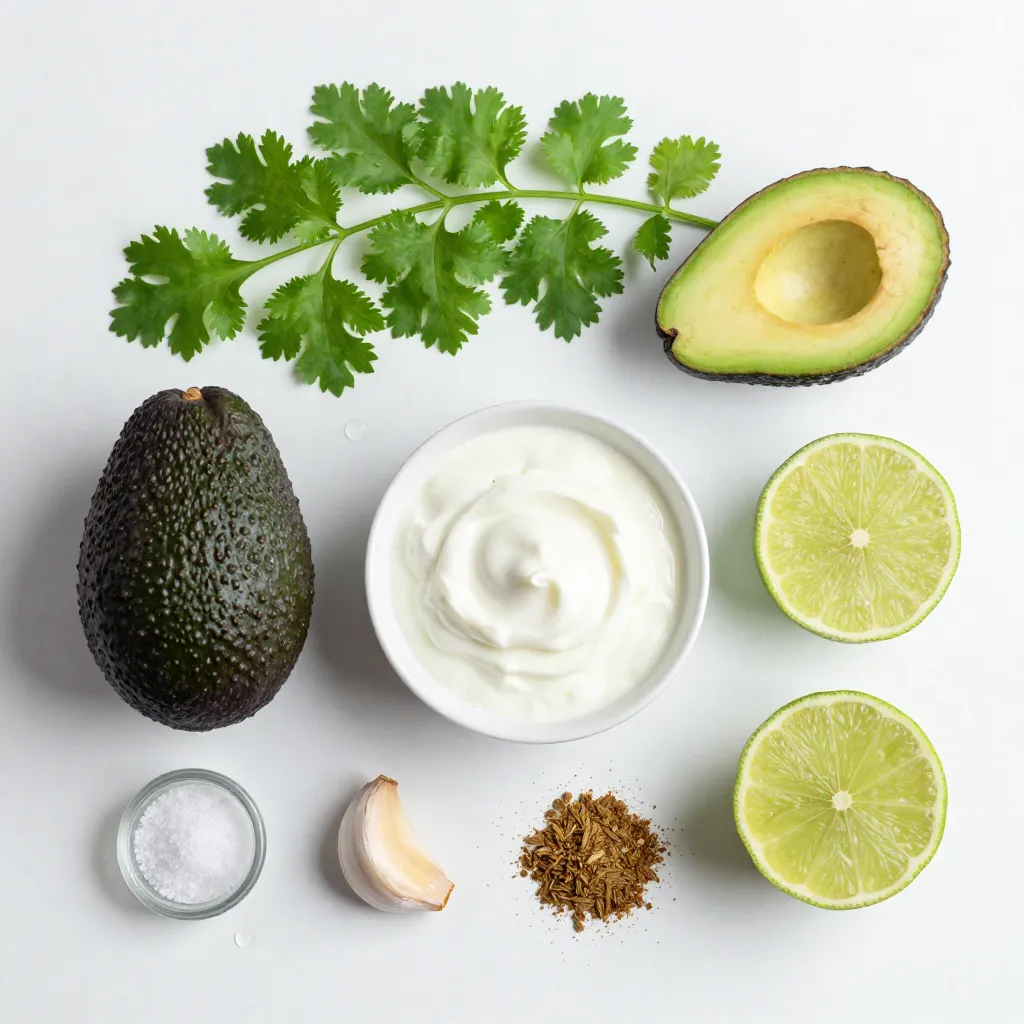
– 1 ripe avocado
– 1 cup fresh cilantro leaves, loosely packed
– 1/4 cup Greek yogurt (or coconut yogurt for dairy-free)
– 2 tablespoons freshly squeezed lime juice
– 1 clove garlic, minced
– 1/2 teaspoon ground cumin
– Salt and freshly cracked pepper to taste
– 2-3 tablespoons water (to adjust thickness)
Suggested Substitutions for Ingredients
If you want to switch things up, try these options:
– Swap Greek yogurt with silken tofu for a vegan option.
– Use lemon juice instead of lime for a different zing.
– Add jalapeño for heat if you like spice.
– Try parsley or basil instead of cilantro for a new flavor.
Nutritional Information per Serving
Each serving offers a healthy dose of nutrients:
– Calories: ~80
– Protein: ~3g
– Carbohydrates: ~4g
– Fat: ~7g
– Fiber: ~2g
– Sodium: ~50mg
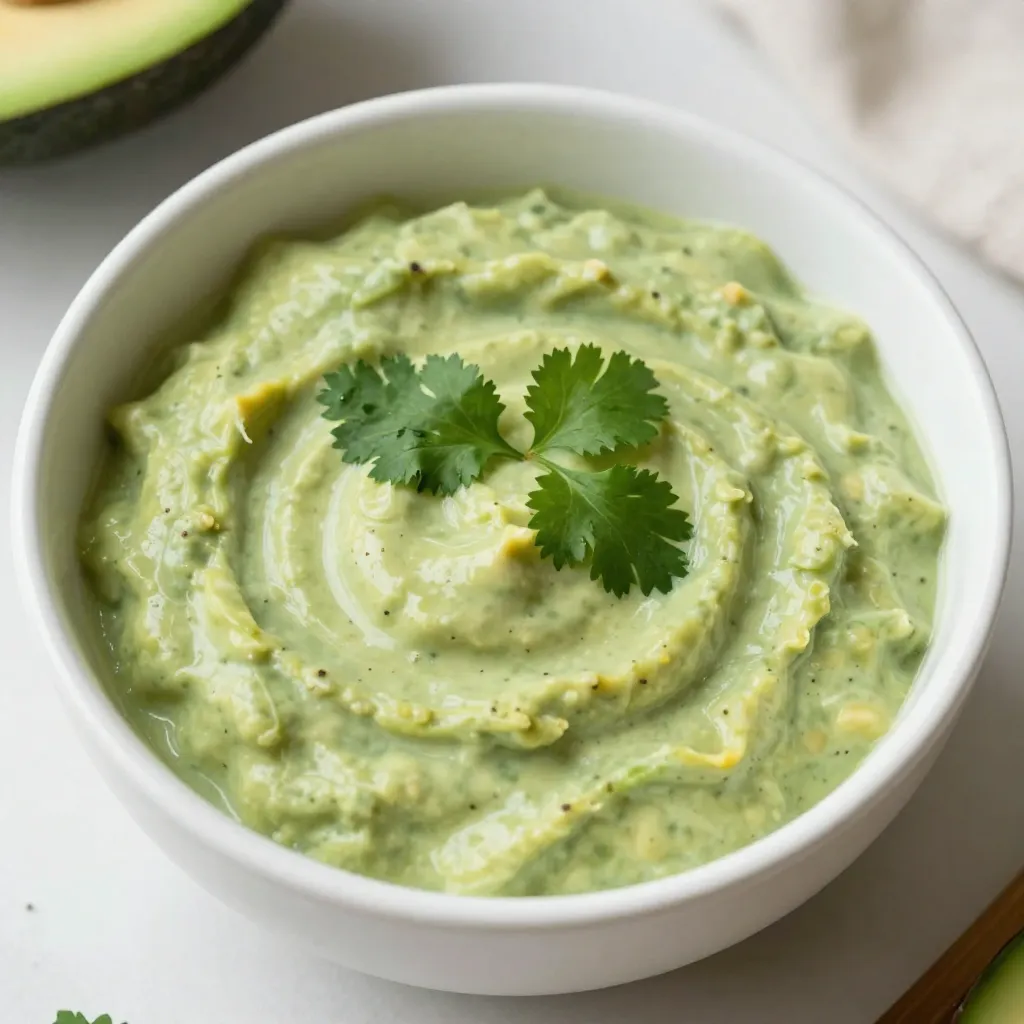
This dressing is rich in healthy fats from avocado and provides a burst of flavor from fresh herbs. Perfect for salads or as a dip, it’s both tasty and nutritious!
Step-by-Step Instructions
Detailed Preparation Steps
To make this creamy avocado cilantro dressing, start by halving the avocado. Carefully remove the pit. Use a spoon to scoop the soft flesh into your blender. Next, add the fresh cilantro leaves. Toss in the Greek yogurt and squeeze in the lime juice. Don’t forget the minced garlic and ground cumin. Blend these ingredients on high until smooth. If needed, scrape down the sides with a spatula to mix well.
Tips for Blending and Achieving Creaminess
To get that perfect creaminess, ensure all ingredients are fresh. A ripe avocado is key. Blend at a high speed to incorporate air, making it lighter. If you struggle with blending, add a little water. Just one tablespoon at a time will do the trick. Keep blending until it’s smooth and creamy.
How to Adjust Consistency
After blending, check the thickness. If it’s too thick for your taste, add water slowly. Blend after each addition to see how it changes. Aim for a drizzly, smooth texture that clings to salads. Finally, taste the dressing and adjust with salt and pepper as you like. This will enhance all the flavors beautifully.
Tips & Tricks
Best Practices for Flavoring
To make this dressing shine, use fresh ingredients. Fresh cilantro gives you a bright taste. Lime juice adds a zesty kick. Taste as you go. Adjust salt and pepper for your liking. If you want a bolder flavor, add more garlic. Ground cumin brings warmth, so use it wisely. You can also add a pinch of chili powder for heat.
Serving Suggestions
This dressing is super versatile. Drizzle it over fresh salads, and it will pop. It also works well on grilled veggies. Try it on tacos or as a dip for chips. To impress your guests, garnish with extra cilantro leaves. Serve it in a pretty bowl to make it look inviting. You can even use it as a sandwich spread.
Pairing with Different Dishes
Creamy avocado cilantro dressing pairs nicely with many meals. Use it on grilled chicken for a tasty twist. It complements fish like salmon, making it refreshing. You can even serve it with quinoa or rice dishes. It adds a creamy texture to any meal. Try it with roasted veggies for added flavor. Keep experimenting to find your favorites!
Pro Tips
- Use Ripe Avocados: Ensure your avocados are perfectly ripe for the creamiest texture. A ripe avocado will yield slightly to gentle pressure and have a dark green skin.
- Fresh Ingredients Matter: For the best flavor, always use fresh cilantro and freshly squeezed lime juice. This will elevate your dressing and make it more vibrant.
- Adjust Consistency: Feel free to customize the thickness of your dressing by adding water gradually. This allows you to achieve the perfect pourable consistency for your needs.
- Storage Tips: Store any leftover dressing in an airtight container in the refrigerator. To prevent browning, press a piece of plastic wrap directly onto the surface of the dressing before sealing.
Variations
Dairy-Free Option
You can easily make this dressing dairy-free. Instead of Greek yogurt, use coconut yogurt. This swap keeps the creamy texture while adding a hint of sweetness. This option is perfect for those who avoid dairy or want a lighter dressing.
Adding Additional Spices or Herbs
Feel free to spice things up! Try adding a pinch of chili powder or cayenne. This will add heat without losing flavor. You can also mix in fresh herbs like parsley or dill. Each herb brings its own unique taste, enhancing your dressing.
Flavor Combinations with Other Ingredients
You can combine this dressing with various ingredients for extra flavor. For a zesty twist, add diced mango or pineapple. This brightens the flavor and adds a fun texture. Another option is to mix in chopped green onions or jalapeños for a kick. This dressing can be a versatile addition to many meals.
Storage Info
How to Properly Store the Dressing
To keep your creamy avocado cilantro dressing fresh, place it in an airtight jar. This helps keep out air and moisture. Make sure to seal it tightly. Avoid using a regular bowl, as it can let in air. If you’re storing it for later, always label the jar with the date.
Shelf Life and Best Practices
This dressing can last in the fridge for up to three days. After that, the avocado can start to brown. To keep it fresh, always use a clean spoon when serving. This prevents bacteria from spoiling the dressing. If you notice any off smells or colors, it’s best to discard it.
Tips for Reviving Leftover Dressing
If your dressing thickens in the fridge, don’t worry! Just add a bit of water. Stir it well to bring back that creamy texture. You can also blend it again for a smooth finish. If it tastes bland, a pinch of salt or lime juice can enhance the flavor.
FAQs
Can I make this dressing ahead of time?
Yes, you can make this dressing ahead of time. Just blend all the ingredients and store it in an airtight jar. It stays fresh in the fridge for up to three days. The flavors will blend and deepen over time, making it even tastier.
What if I don’t have Greek yogurt?
If you don’t have Greek yogurt, use coconut yogurt for a dairy-free option. You can also try sour cream or plain yogurt. Each choice will still give you that creamy texture and rich taste.
How to make this dressing spicier?
To spice up the dressing, add a pinch of cayenne pepper or a diced jalapeño. Blend it in for an extra kick. You can also try adding hot sauce to reach your desired heat level.
What dishes can I use this dressing on?
This dressing is very versatile! Drizzle it on fresh salads, grilled veggies, or tacos. It also works great as a dip for chips or fresh veggies. You can even add it to grain bowls for a flavor boost.
This blog post covered all you need to know about making a great dressing. We explored ingredients, substitutions, and nutrition. I provided step-by-step instructions for easy preparation. We discussed tips for flavoring and serving with various dishes. You also learned about dairy-free options and how to store leftovers.
Embrace these ideas to create your own tasty dressings. With practice, you’ll impress your taste buds and friends. Your cooking will shin


