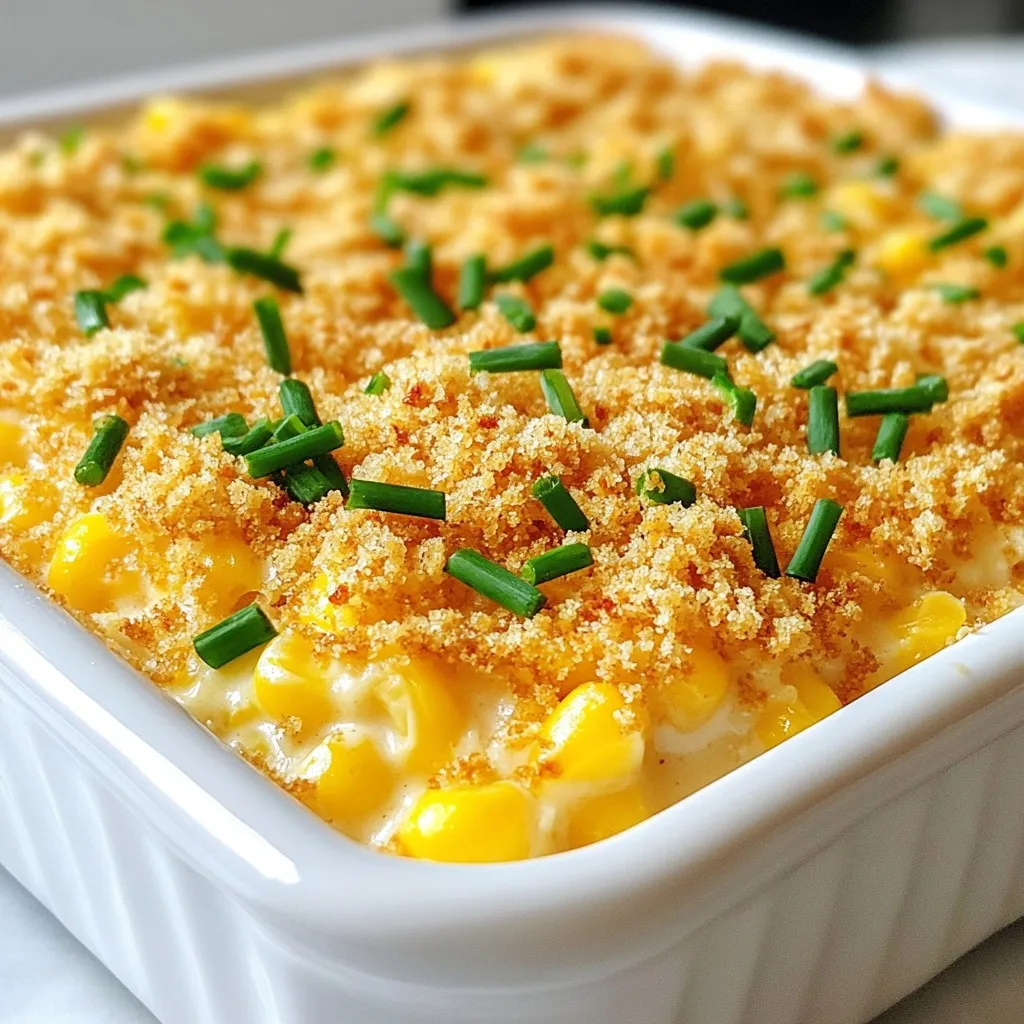
Are you ready to dive into a warm, creamy dish that will impress your family? This Creamed Corn Casserole is simple, tasty, and perfect for any meal. I’ll guide you step by step through making it, from the first mix to the final bake. Whether you need a side dish for a holiday or just a cozy weeknight dinner, this recipe has you covered. Let’s get cooking!
Why I Love This Recipe
- Comforting Flavor: This casserole combines the sweetness of corn with creamy textures and savory cheese, creating a comforting and satisfying dish that warms the heart.
- Easy to Prepare: With simple ingredients and straightforward steps, this recipe is perfect for both novice cooks and seasoned chefs looking for a quick weeknight meal.
- Versatile Dish: This casserole can be served as a side dish or a main course, making it adaptable for family dinners, potlucks, or even holiday gatherings.
- Kid-Friendly: With its cheesy goodness and sweet corn flavor, this dish is sure to please even the pickiest eaters, making it a hit for family meals.
Ingredients
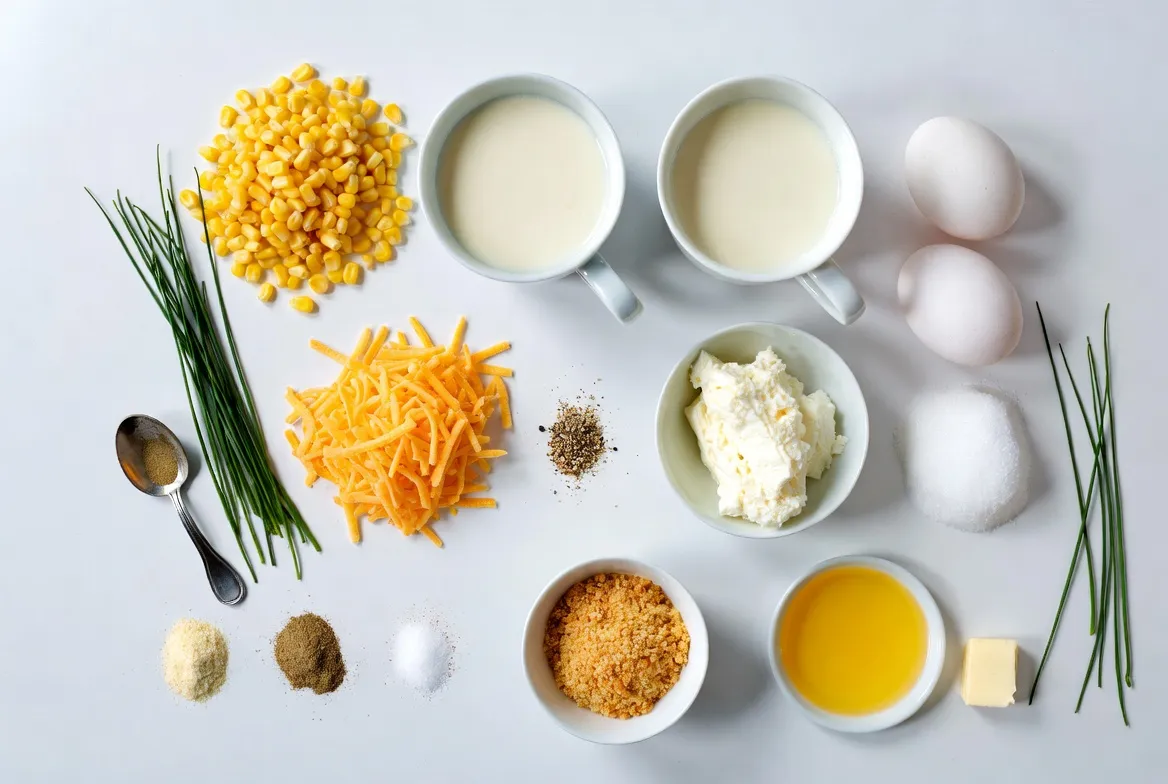
Complete List of Ingredients
– 2 cups fresh or frozen corn kernels
– 1 cup heavy cream
– 1 cup milk
– 1/2 cup sharp cheddar cheese, shredded (plus extra for topping)
– 1/2 cup cream cheese, softened to room temperature
– 2 large eggs
– 1/4 cup granulated sugar
– 1 teaspoon baking powder
– 1/2 teaspoon garlic powder
– 1/2 teaspoon onion powder
– Salt and pepper to taste
– 1/2 cup breadcrumbs
– 2 tablespoons melted butter
– Fresh chives, finely chopped (for garnish, optional)
Ingredient Substitutions
You can swap heavy cream with half-and-half for a lighter dish. Whole milk works well in place of regular milk, too. If you want a dairy-free option, use almond milk and a dairy-free cream cheese. For cheese lovers, swap sharp cheddar with gouda or pepper jack for a twist. You can also leave out the sugar if you prefer a less sweet casserole.
Key Ingredients Explained
– Corn: This is the star of the dish. It adds sweetness and texture. You can use fresh corn in season or frozen corn for convenience.
– Cream Cheese: This gives the casserole its creamy base. It adds richness and helps bind the dish. Make sure it is softened for easy mixing.
– Cheddar Cheese: This adds a savory flavor. Using sharp cheddar gives a nice kick. Reserve some for topping to create a golden crust.
– Eggs: Eggs help set the casserole, giving it a firm structure. They also add some protein.
– Breadcrumbs: They create a crunchy topping, adding a great contrast to the creamy filling. You can use plain or seasoned breadcrumbs for extra flavor.
Step-by-Step Instructions
Prepping the Oven for Baking
First, you need to preheat your oven. Set it to 350°F (175°C). This step is key for even cooking. A hot oven helps the casserole rise and brown nicely.
Creating the Corn Base
In a large bowl, combine 2 cups of corn kernels, 1 cup of heavy cream, and 1 cup of milk. Stir them well. Ensure all the corn is coated. This mix forms the base of your casserole. It adds sweetness and creaminess.
Whipping Up the Cream Cheese Mixture
In another bowl, take 1/2 cup of softened cream cheese. Use an electric mixer or whisk to whip it smooth. Then, add 2 large eggs, 1/4 cup of sugar, 1 teaspoon of baking powder, 1/2 teaspoon of garlic powder, 1/2 teaspoon of onion powder, and a pinch of salt and pepper. Beat until it’s fully mixed and creamy.
Combining Ingredients for a Creamy Texture
Gently fold the cream cheese mixture into the corn base. Be careful here! You want to keep that creamy texture while mixing. Ensure all ingredients blend well. This step is where the magic starts!
Adding the Cheddar Cheese
Now, lightly fold in 1/2 cup of shredded sharp cheddar cheese. Set aside a little for the topping. The cheese adds flavor and richness to the dish. It makes every bite delicious!
Baking the Casserole
Pour the complete mixture into a greased 9×9-inch baking dish. Spread it evenly. In a separate bowl, mix 1/2 cup of breadcrumbs with 2 tablespoons of melted butter and the reserved cheddar cheese. Sprinkle this on top of the casserole. This creates a crunchy, golden topping.
Place the dish in your preheated oven. Bake for 30-35 minutes, until the topping turns golden brown. The casserole should be set in the middle. Let it cool for about 5 minutes before serving. Enjoy the creamy, cheesy goodness!
Tips & Tricks
Enhancing Flavor Profiles
To boost the taste of your creamed corn casserole, use fresh herbs. Chives add a nice touch. You can also try adding a pinch of smoked paprika. This gives it a warm, smoky flavor. Mixing in some diced jalapeños can add a spicy kick. If you love cheese, consider using a mix of cheeses. Gouda or Monterey Jack will give a rich taste.
Avoiding Common Mistakes
The most common mistake is overmixing. When you combine the corn and cream cheese mixtures, mix gently. This keeps the casserole creamy. Another mistake is not preheating the oven. Always ensure your oven is hot. This helps your casserole bake evenly. Finally, do not skip the breadcrumbs. They create a crunchy topping that contrasts well with the creamy filling.
Making it Healthier
You can make this dish healthier in a few ways. First, swap heavy cream for low-fat milk or almond milk. This will cut calories but keep it creamy. Use reduced-fat cheese for less fat. Adding vegetables like spinach or zucchini boosts nutrition and flavor. Finally, cut down on sugar by using a natural sweetener like honey.
Pro Tips
- Use Fresh Corn: If possible, use fresh corn for the best flavor and sweetness. If using frozen corn, thaw it beforehand for even cooking.
- Customize Your Cheese: Feel free to experiment with different cheese varieties like Monterey Jack or Pepper Jack for a unique twist on flavor.
- Check for Doneness: Make sure to check the center of the casserole with a toothpick; it should come out clean when the casserole is fully cooked.
- Make Ahead: You can prepare the casserole a day in advance and store it in the refrigerator. Just add a few extra minutes to the baking time.
Variations
Adding Vegetables for Extra Nutrition
You can boost the nutrition of your creamed corn casserole by adding veggies. Some great choices include chopped bell peppers, spinach, or zucchini. These vegetables not only add vitamins but also give your dish a colorful look. Aim for about one cup of chopped veggies. Stir them in with the corn base for even cooking. This small change makes your meal healthier.
Gluten-Free Options
If you need a gluten-free version, there are simple swaps. Use gluten-free breadcrumbs for the topping. You can also choose a gluten-free flour blend in place of regular flour if needed. Check that your cream and cheese are also gluten-free. This way, everyone can enjoy the dish without worry.
Flavor Variations with Spices
Changing spices can give your casserole a new twist. Try adding a pinch of smoked paprika for a deep flavor. You could also mix in some cumin for a warm touch. If you like heat, a dash of cayenne pepper works well. Just remember to start small and adjust to your taste. Each spice can create a unique dish that keeps things interesting!
Storage Info
Best Way to Store Leftovers
To keep your creamed corn casserole fresh, let it cool first. Once cooled, place the casserole in an airtight container. Make sure to seal it well to prevent air from getting in. You can store it in the fridge for up to three days. If you want to enjoy it later, freezing is a great option.
Reheating Instructions
When you’re ready to enjoy your leftovers, preheat your oven to 350°F (175°C). Place the casserole in an oven-safe dish. Cover it with foil to retain moisture while reheating. Heat for about 20 to 25 minutes or until it is warm throughout. If you prefer a crispy topping, remove the foil during the last 5 minutes of heating.
Freezing the Casserole
If you want to freeze the casserole, do so before baking. Prepare it up to the point of adding the topping. Cover the dish tightly with plastic wrap and foil. It can last in the freezer for up to three months. When you’re ready to bake it, thaw it overnight in the fridge. Then bake at 350°F (175°C) for 40 to 45 minutes, or until bubbly and golden.
FAQs
Can I make Creamed Corn Casserole ahead of time?
Yes, you can make this dish ahead. Prepare it fully, then cover and refrigerate it. Bake it the next day. Just add a few extra minutes to the baking time. This makes serving easy when you have guests.
What can I serve with Creamed Corn Casserole?
This casserole pairs well with many dishes. Try serving it with grilled chicken or pork. It also complements a fresh salad or roasted vegetables. These sides balance the creamy texture and rich flavor.
Can I use canned corn instead of fresh or frozen?
Absolutely! Canned corn works great in this recipe. Drain and rinse the corn before adding it. This helps reduce excess salt and preserves the dish’s taste. You can save time with canned corn too.
How can I make this recipe vegetarian?
Making it vegetarian is simple. Just leave out any meat or animal products. You can use vegetable broth instead of chicken broth. This keeps the flavors rich and satisfying without meat.
What is the key to a creamy texture?
The key to a creamy texture lies in the mixture of ingredients. Use heavy cream and cream cheese for richness. Mix them well with the eggs. This creates a smooth base that bakes into a creamy delight.
This blog post shared key ingredients for a great creamed corn casserole. I provided step-by-step instructions to guide you through the cooking process. We discussed tips for flavor, avoiding mistakes, and making the dish healthier. You learned about variations to suit your taste and how to store leftovers for later.
Embrace the recipe, get creative, and enjoy every bite! Cooking should be fun and tasty. Now, enjoy your delicious creamed corn casserol


