Cranberry Orange Danish Tasty Sweet Treat Recipe

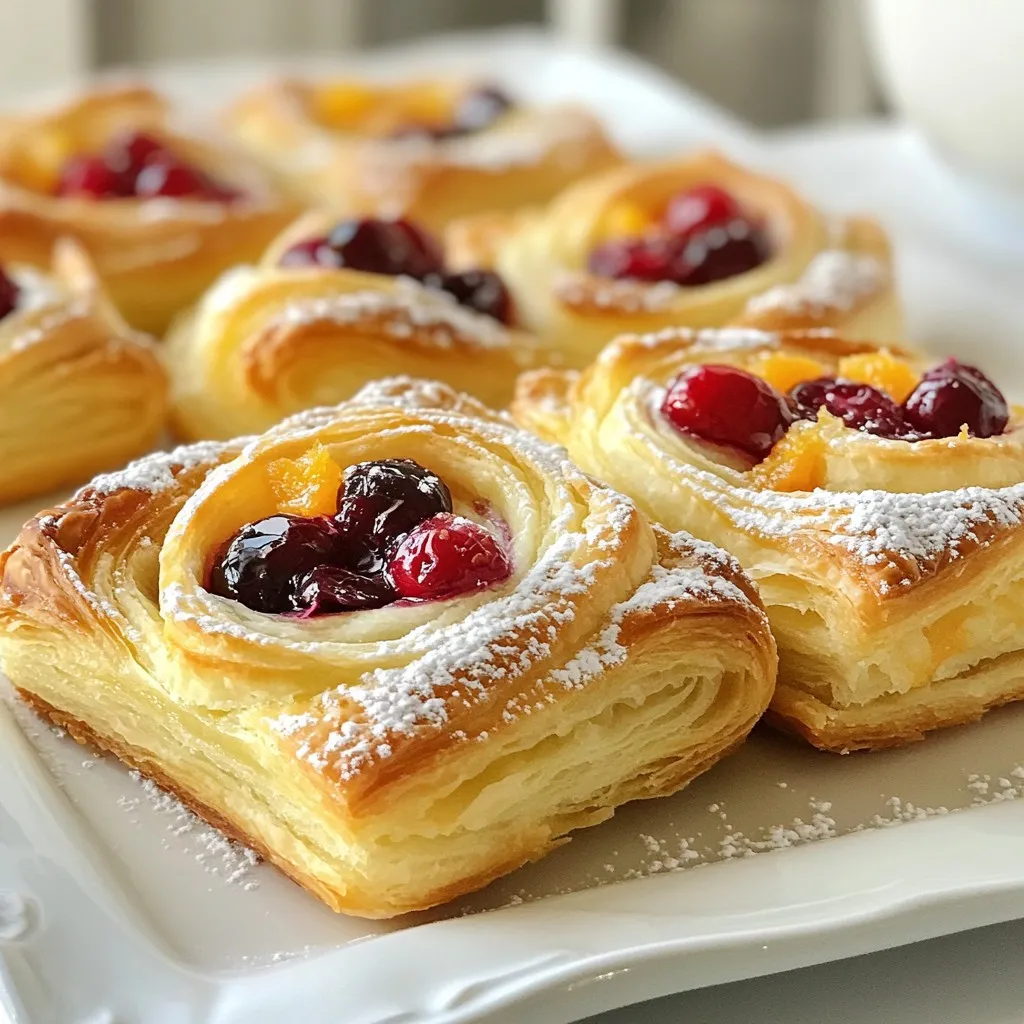
Craving a delightful pastry that bursts with flavor? Look no further! My Cranberry Orange Danish combines sweet, tangy cranberries and zesty orange. It’s a fun twist on your breakfast favorites. Using simple ingredients like puff pastry and cream cheese, you can whip up this tasty treat in no time. Ready to impress your family or friends? Let’s dive into the recipe and fill your kitchen with delicious aromas!
Why I Love This Recipe
- Bright and Festive Flavor: The combination of tart cranberries and zesty orange creates a refreshing and vibrant filling that is perfect for any occasion.
- Simple Yet Impressive: Using store-bought puff pastry makes this recipe quick to prepare without compromising on elegance—perfect for impressing guests!
- Versatile Treat: These Danishes can be served as a delightful breakfast, a stunning brunch item, or a sweet dessert, making them a versatile addition to any menu.
- Customizable Filling: Feel free to experiment with different fruits or add nuts to the filling, allowing you to personalize each batch to your taste.
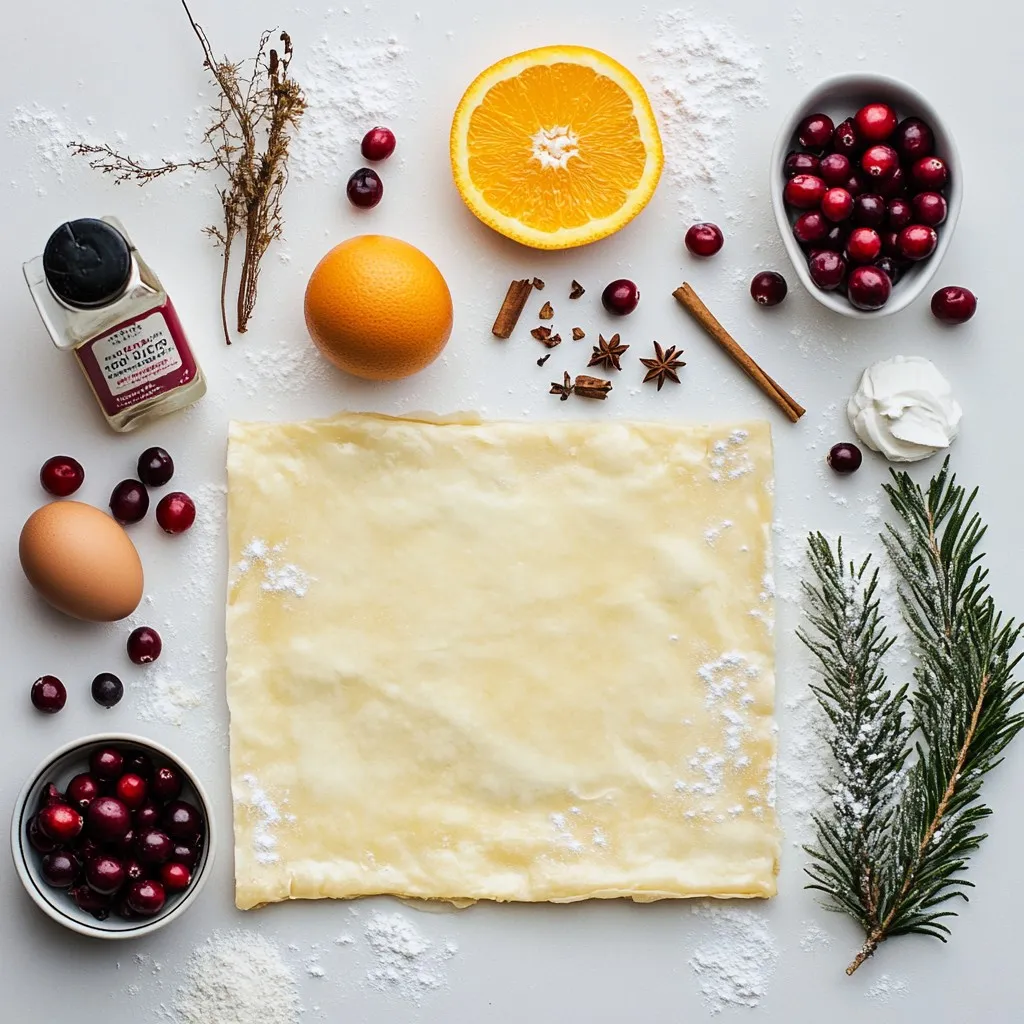
Ingredients
Main Ingredients
- 1 sheet of puff pastry, thawed
- 1 cup fresh cranberries
- 1/2 cup granulated sugar (divided into two portions)
- 1 large orange, zested and juiced
- 1/4 cup cream cheese, softened to room temperature
Optional Ingredients
- 1 teaspoon ground cinnamon
- Powdered sugar, for dusting
- 1 egg, for egg wash
The main ingredients are essential for making your Cranberry Orange Danish. Puff pastry gives it a flaky texture. Fresh cranberries add a burst of tartness. The sugar sweetens the filling. Zesting and juicing the orange brings fresh flavor. Cream cheese adds a smooth, rich layer.
For optional ingredients, consider using ground cinnamon for warmth. Dusting with powdered sugar makes it look pretty. An egg wash helps achieve that golden color. These extras can elevate your Danish.
Feel free to mix and match based on your taste. Enjoy the process of creating this delightful treat!

Step-by-Step Instructions
Preparing the Cranberry Filling
- In a medium saucepan, mix fresh cranberries, 1/4 cup sugar, orange zest, orange juice, and cornstarch.
- Stir this mix over medium heat until it bubbles and thickens.
- Once thickened, remove from heat and let it cool for about 10 minutes.
Rolling Out the Puff Pastry
- Find a clean, lightly floured surface to work on.
- Roll out the thawed puff pastry gently to smooth out creases.
- Use a sharp knife or pizza cutter to cut the pastry into four equal squares, each about 5×5 inches.
Creating the Cream Cheese Mixture
- In a medium bowl, blend softened cream cheese, the remaining 1/4 cup sugar, vanilla extract, and ground cinnamon.
- Mix until smooth and well combined, ensuring a creamy consistency.
Assembling the Danish Pastries
- Preheat your oven to 400°F (200°C).
- Take one pastry square and place a generous tablespoon of cream cheese mixture in the center.
- Spoon the cooled cranberry filling on top, leaving a small border around the edges.
- Repeat this for all pastry squares.
Applying the Egg Wash
- In a small bowl, beat the egg until fully combined.
- Use a pastry brush to lightly brush the top of each Danish with the egg wash.
Baking and Serving
- Place the baking sheet in the oven and bake for 20-25 minutes.
- Look for puffed up, golden brown pastries.
- When done, let them cool for 5 minutes, then dust with powdered sugar before serving.
Tips & Tricks
Achieving the Best Flavor
To make your Cranberry Orange Danish shine, balance the sweet and tart flavors. Use fresh cranberries for the best taste. Fresh ingredients boost flavor and make a big difference. Always try to use seasonal fruits. The zest and juice from the orange add a bright twist. This gives your Danish a nice, fresh taste.
Perfecting Texture
Handling the pastry is key. Keep your puff pastry cold for a flakier texture. Roll it out gently on a floured surface. Watch the Danishes carefully as they bake. Look for a golden brown color and puffed edges. This shows they are ready to eat.
Garnishing Ideas
Presentation matters! Serve the Danishes warm on a nice platter. Add fresh orange slices or a sprig of mint for color. A dusting of powdered sugar brings a lovely finish. You can also try a drizzle of icing for a sweet touch. These small details make your Danish look and taste special.
Pro Tips
- Chill the Puff Pastry: Make sure your puff pastry is cold before baking. This helps create a flakier texture as it puffs up in the oven.
- Customize the Filling: Feel free to experiment with different fruits or jams in place of the cranberry filling, such as blueberries or cherry preserves, for a unique twist.
- Egg Wash Alternatives: For a vegan option, use a mixture of almond milk and maple syrup instead of the egg wash for a nice golden finish.
- Serve Fresh: These pastries are best enjoyed fresh out of the oven. If you have leftovers, reheat them briefly in the oven to restore their crispiness.

Variations
Fruit Variations
You can get creative with your fruit choices! Try using blueberries, raspberries, or strawberries. Each fruit brings a unique taste. Mixing flavors can also be fun. Combine cranberries with some citrus zest for extra zing. Or, try adding a bit of apple for a sweet crunch. The options are endless!
Cream Cheese Alternatives
Not a fan of cream cheese? You can swap it out! Try ricotta or mascarpone for a lighter texture. Greek yogurt also works well for a tangy flavor. If you want a twist, mix in some citrus zest or a dash of almond extract. These will add a nice touch to your filling.
Gluten-Free Options
If you need to avoid gluten, use gluten-free puff pastry. Many brands offer great options that work well. Just be sure to follow package instructions closely. Cooking times may differ, so keep a close eye on your Danishes. They should puff up nicely and turn golden brown, just like the regular version!
Storage Info
Storing Leftovers
To store your leftover Cranberry Orange Danish, place them in an airtight container. This keeps them fresh and moist. If you do not have a container, wrap them tightly in plastic wrap or aluminum foil. The Danishes will last up to three days in the fridge. If you want to keep them longer, consider freezing them. They can last up to three months in the freezer. Just ensure you wrap them well to prevent freezer burn.
Reheating Tips
When you are ready to enjoy your Danishes again, preheat your oven to 350°F (175°C). Place the Danishes on a baking sheet. Heat them for about 10-15 minutes. This method warms them evenly. It also helps maintain that crisp texture we all love. Avoid using the microwave. It can make the pastry soggy and chewy. For the best results, check them often as they warm.
FAQs
How do I know when my Cranberry Orange Danish is done baking?
You can tell if your Danish is done by looking for two signs:
- Visual cues: The pastry should be golden brown and puffed up.
- Texture to look for: When you tap the pastry lightly, it should sound hollow.
Can I freeze Cranberry Orange Danish?
Yes, you can freeze your Danish for later enjoyment. Here’s how:
- Freezing process: After baking, let the Danishes cool completely. Wrap each Danish in plastic wrap, then place them in a freezer bag.
- Thawing recommendations: To thaw, take them out and leave them in the fridge overnight. You can warm them in the oven before serving.
What can I serve with Cranberry Orange Danish?
Pairing your Danish can enhance the experience. Consider these options:
- Beverage pairings: A hot cup of coffee or tea complements the sweet and tart flavors nicely.
- Breakfast or dessert options: Serve it as a sweet breakfast treat or a delightful dessert after a meal.
How can I make my Danish less sweet?
If you prefer a less sweet Danish, it’s simple to adjust.
- Adjusting sugar levels: Reduce the granulated sugar in the filling. Start with half of the suggested amount.
- Other flavor enhancements: Add a pinch of salt or a bit more orange zest to balance the flavors without added sweetness.
In this blog post, we explored how to make delicious Cranberry Orange Danishes. We covered the main ingredients, the step-by-step instructions, and helpful tips for the best flavor and texture. You learned about variations and storage options to keep your Danishes fresh.
This recipe can be a fun project. Don’t be afraid to experiment with flavors or presentation. Enjoy creating your own tasty treat

Cranberry Orange Delight Danish
Ingredients
- 1 sheet puff pastry, thawed
- 1 cup fresh cranberries
- 1 cup granulated sugar (divided into two portions)
- 1 large orange, zested and juiced
- 1 tablespoon cornstarch
- 1 egg for egg wash
- 1 4 cream cheese, softened to room temperature
- 1 teaspoon vanilla extract
- 1 2 ground cinnamon
- 1 powdered sugar, for a final dusting
Instructions
- In a medium saucepan over medium heat, combine the fresh cranberries, 1/4 cup of sugar, the zest of the orange, the juice of the orange, and the cornstarch. Stir the mixture continuously as it heats until it starts to bubble and thicken. Remove from heat and allow to cool for about 10 minutes while you prepare the pastry.
- On a clean, lightly floured surface, gently roll out the thawed puff pastry with a rolling pin to smooth out any creases. Using a sharp knife or pizza cutter, cut the pastry into four equal squares, approximately 5x5 inches each.
- In a medium mixing bowl, combine the softened cream cheese, the remaining 1/4 cup of sugar, vanilla extract, and ground cinnamon. Mix together until the mixture is smooth and well combined.
- Preheat your oven to 400°F (200°C). Take one square of puff pastry and place a generous tablespoon of the cream cheese mixture in the center, making sure to leave a small border around the edges. Spoon some of the cooled cranberry filling on top of the cream cheese layer. Repeat this step for the remaining pastry squares.
- To create a pinwheel effect, gently fold each corner of the pastry square towards the center where the fillings are, pinching the corners together lightly to seal. Place each folded Danish onto a parchment-lined baking sheet, leaving space between them for expansion.
- In a small bowl, beat the egg until combined. Using a pastry brush, lightly brush the top of each Danish with the egg wash to give them a beautiful golden finish when baked.
- Place the baking sheet in the preheated oven and bake for 20-25 minutes, or until the pastries are puffed up and golden brown. Keep an eye on them towards the end to prevent over-browning.
- Once baked, remove the Danishes from the oven and allow them to cool on the baking sheet for about 5 minutes. Just before serving, dust the tops with powdered sugar for an elegant touch.


![To make the best ever lemon blueberry muffins, you need: - 2 cups all-purpose flour - 1 cup granulated sugar - 1 tablespoon baking powder - 1/2 teaspoon baking soda - 1/2 teaspoon salt - Zest of 1 large lemon - Juice of 1 large lemon (about 1/4 cup) - 1/2 cup unsalted butter, melted - 1 cup buttermilk (substitute: milk with 1 tablespoon lemon juice added) - 2 large eggs, at room temperature - 1 teaspoon pure vanilla extract - 1 1/2 cups fresh blueberries (or frozen, if out of season) - Optional: Extra blueberries and lemon zest for decoration These ingredients create a bright, fluffy muffin. Each bite bursts with lemon and blueberry flavor. If you can't find a specific ingredient, here are some good substitutes: - All-purpose flour: Use whole wheat flour for a nutty taste. - Granulated sugar: Coconut sugar works well for a deeper flavor. - Buttermilk: Mix regular milk with lemon juice for a quick fix. - Unsalted butter: Use coconut oil for a dairy-free option. These swaps keep your muffins tasty and fun, even if you lack some ingredients. Want to enhance your muffins? Consider these tasty add-ins: - Nuts: Chopped walnuts or pecans add crunch. - Spices: A pinch of cinnamon or nutmeg adds warmth. - Coconut: Shredded coconut gives a tropical twist. - Chocolate chips: For a sweet touch, add white or dark chocolate. These options let you personalize your muffins for any occasion. Enjoy creating your perfect lemon blueberry muffin! Start by gathering your ingredients. You will need the following: - 2 cups all-purpose flour - 1 cup granulated sugar - 1 tablespoon baking powder - 1/2 teaspoon baking soda - 1/2 teaspoon salt - Zest of 1 large lemon - Juice of 1 large lemon (about 1/4 cup) - 1/2 cup unsalted butter, melted - 1 cup buttermilk - 2 large eggs, at room temperature - 1 teaspoon pure vanilla extract - 1 1/2 cups fresh blueberries First, preheat your oven to 375°F (190°C). Prepare your muffin tin with paper liners or non-stick spray. This step helps you remove the muffins easily after baking. In a large bowl, mix the flour, sugar, baking powder, baking soda, and salt. This will be your dry mix. In another bowl, blend the melted butter, buttermilk, eggs, lemon zest, lemon juice, and vanilla extract. Whisk until smooth. Now, pour the wet mixture into the dry mix. Stir gently until just combined; some lumps are okay. This keeps your muffins light and fluffy. Next, fold in the blueberries carefully, saving some for the top. Use a spoon or ice cream scoop to fill the muffin cups about 3/4 full. This allows room for rising. Top each muffin with the saved blueberries and a sprinkle of lemon zest for flair. Place the muffin tin in the preheated oven. Bake for 18-20 minutes. Check with a toothpick; it should come out clean. Keep an eye on them near the end to avoid overbaking. Once they are done, let the muffins cool in the tin for about 5 minutes. This helps them set. Then, transfer them to a wire rack to cool completely. This prevents sogginess and keeps them fresh. If you have leftovers, store them in an airtight container. You can also freeze them for longer freshness. Enjoy these muffins warm with a cup of tea or coffee for a delightful treat! For the complete recipe, check out the Full Recipe link. To get that perfect muffin texture, follow a few key steps. First, measure your flour carefully. Too much flour can make muffins dense. Use the spoon and level method for accuracy. Next, mix the batter gently. Overmixing creates tough muffins. Stir until just combined. Some lumps are okay! Lastly, let your muffins cool for a few minutes in the tin. This helps them set and makes them easier to remove. To ensure every bite is bursting with flavor, add the lemon zest early. It infuses the batter, making each muffin bright and zesty. When folding in blueberries, toss them in a bit of flour first. This prevents them from sinking to the bottom. Also, consider mixing some blueberries into the batter and saving a few for the top. This creates a beautiful and flavorful muffin. If your muffins are too dry, check your measurements. Too much flour or not enough liquid can cause this. If they are too wet, bake them a little longer. Just watch them closely so they don’t burn. For flat muffins, make sure your baking powder is fresh. Old leavening agents can lead to sad, flat muffins. Always check expiration dates when baking. For the best results, follow the full recipe closely. {{image_4}} You can make these muffins gluten-free. Use a 1:1 gluten-free flour blend instead of all-purpose flour. Look for blends that include xanthan gum for better texture. This will help keep your muffins soft and fluffy. The rest of the recipe stays the same. You still get that bright lemon and sweet blueberry flavor. You can mix it up with different fruits. Try raspberries, strawberries, or blackberries. Each fruit adds its own twist. For a tropical flair, use diced mango or pineapple. Just keep the ratio of fruit similar to the blueberries in the recipe. This way, you maintain great texture and taste. Want to boost the flavor? Add spices like cinnamon or nutmeg. Just a pinch can add warmth. You can also use other citrus zests. Try lime or orange for a unique taste. These small changes can make your muffins stand out. Don't forget to check the [Full Recipe] for the base muffin instructions. To keep your muffins fresh, store them in an airtight container. This will help keep moisture in and prevent them from drying out. If you plan to eat them within two days, place them at room temperature. For longer storage, refrigeration is a good option. Just remember to let them cool completely before sealing. Freezing muffins is a smart way to save any extras. First, let the muffins cool down. Wrap each muffin tightly in plastic wrap or aluminum foil. Then, place them in a freezer bag. You can freeze them for up to three months. When you want to enjoy one, take it out and let it thaw at room temperature or warm it in the microwave. To bring back the fresh-baked taste, reheat your muffins. You can use the oven or microwave. For the oven, preheat it to 350°F (175°C). Place the muffin on a baking sheet for about 5-10 minutes. For the microwave, heat each muffin for about 15-20 seconds. Keep an eye on them to avoid overheating. Enjoy your warm, delicious muffins! To cut down on sweetness, use less sugar. You can reduce the sugar by up to 1/4 cup. Another option is to add more lemon juice. The tart flavor balances the sweetness. You could also use a sugar substitute if you prefer. Yes, you can use frozen blueberries! They work well in this recipe. Just toss them in a bit of flour before adding them to the batter. This helps prevent them from sinking. Remember, frozen berries may make the muffins a bit more moist, so adjust your baking time slightly. If you don't have buttermilk, you can make a quick substitute. Use 1 cup of milk with 1 tablespoon of lemon juice added. Let it sit for about 5 minutes before using. This mixture will mimic the tangy flavor of buttermilk well. Check the muffins around the 18-minute mark. Insert a toothpick into the center of a muffin. If it comes out clean, they are ready. If there’s batter on it, give them a few more minutes. Keep an eye on them to avoid overbaking. In this post, I shared how to make the best lemon blueberry muffins. We talked about key ingredients, cool swaps, and tasty add-ins. I walked you through making, baking, and storing your muffins. Tips helped you master texture and flavor. Plus, we explored fun variations and answered common questions. Now, you have all the tools to create delicious muffins at home. Enjoy the baking process and share your tasty results!](https://dishtreats.com/wp-content/uploads/2025/07/01ebfef5-11c2-4c5e-aff7-696639161096-768x768.webp)


