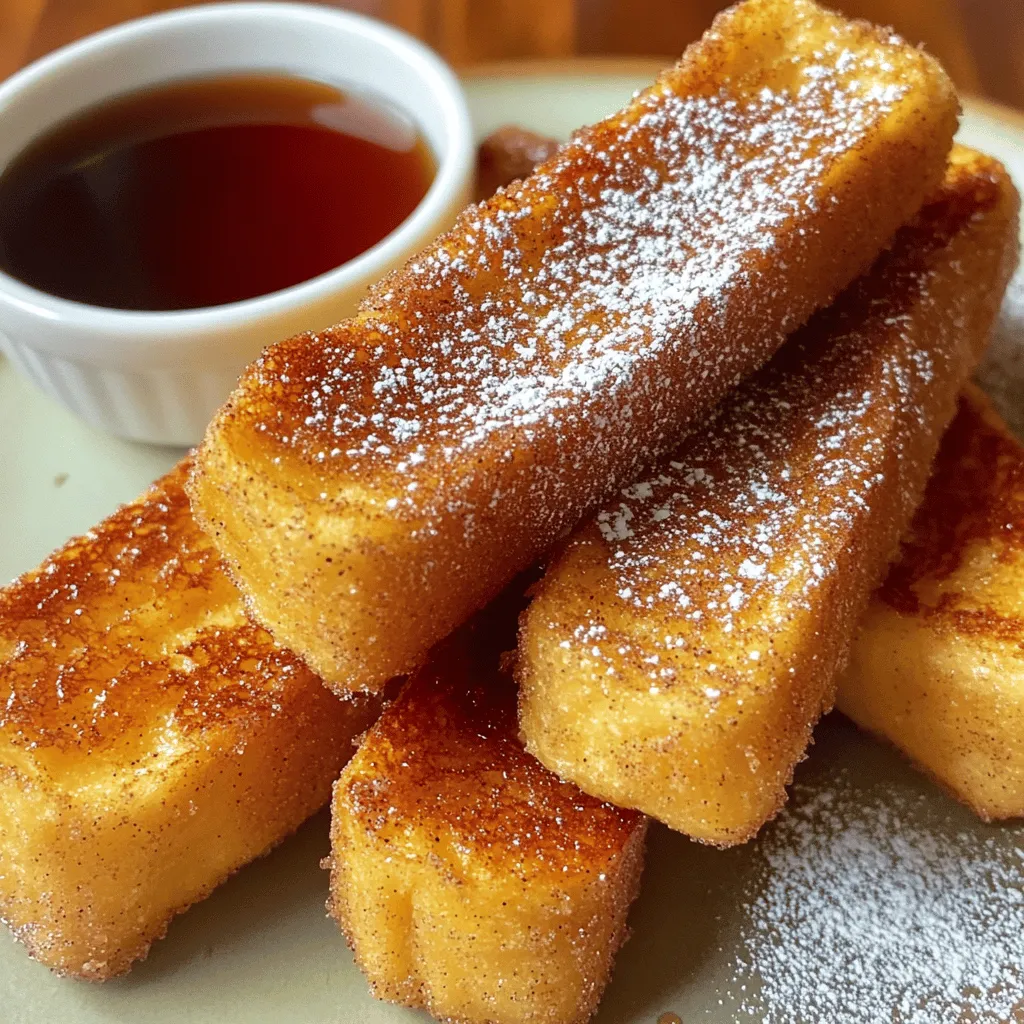
Start your mornings with a sweet crunch! Cinnamon Sugar French Toast Sticks are a fun and tasty breakfast treat that everyone will love. With simple ingredients like thick bread, eggs, and cinnamon, you can whip up this delicious dish in no time. I’ll share all the best tips and tricks to make the perfect sticks, from soaking to serving. Let’s dive into this delightful recipe and make breakfast special together!
Ingredients
– 4 slices of thick bread (brioche or challah recommended)
– 2 large eggs
– 1/2 cup whole milk
– 1 teaspoon pure vanilla extract
– 1 teaspoon ground cinnamon
– 2 tablespoons granulated sugar
– A pinch of salt
– 2 tablespoons unsalted butter (for cooking)
– Maple syrup or honey (for serving)
To make the best Cinnamon Sugar French Toast Sticks, you need quality ingredients. I prefer using thick bread like brioche or challah. These types of bread soak up the custard well and give a soft center with a crispy outside.
You’ll need fresh eggs and whole milk for the custard. The eggs bind the mixture, while the milk adds creaminess. Don’t forget the pure vanilla extract; it adds a lovely aroma and flavor. Ground cinnamon is key to achieving that warm spice flavor.
For sweetness, we use granulated sugar mixed with cinnamon for coating after cooking. A pinch of salt enhances all the flavors. Finally, you’ll need unsalted butter for cooking, which helps achieve that golden crust.
Serve your French toast sticks with maple syrup or honey for a delicious finish. This combination makes for a tasty breakfast treat that everyone will love.
Step-by-Step Instructions
Preparation of the Custard
To start, whisk together the eggs, milk, and spices. Use a wide, shallow bowl for this. Mix until the eggs blend with the milk and spices. You want a frothy consistency, as this helps the bread soak well. Achieving this frothiness is key for great texture in your French toast sticks.
Cutting the Bread
Next, take your thick bread. Brioche or challah works best for this recipe. Cut each slice into three equal strips. Keep the strips uniform in size; this ensures even cooking. The thicker the bread, the better it holds its shape when soaked.
Soaking the Bread Sticks
Now, it’s time to soak the bread sticks. Dip each strip into the egg mixture. Make sure to coat each side well. Let them soak for about 20-30 seconds per side. This gives the sticks flavor and moisture. Be careful not to let them get too soggy, or they won’t cook right.
Cooking Process
Heat a large non-stick skillet over medium heat. Melt one tablespoon of butter in the pan. Swirl it around to coat the surface evenly. Once it’s hot and sizzling, add the soaked bread sticks. Cook each side for about 2-3 minutes. You want them golden brown and slightly crispy. If you need more butter for cooking, feel free to add it in batches.
Coating in Cinnamon Sugar
While cooking, mix the sugar and cinnamon in a small bowl. Blend them well so the flavors combine. Once the French toast sticks are done, toss them in this mixture right away. This step ensures each stick gets an even coat of sweet cinnamon.
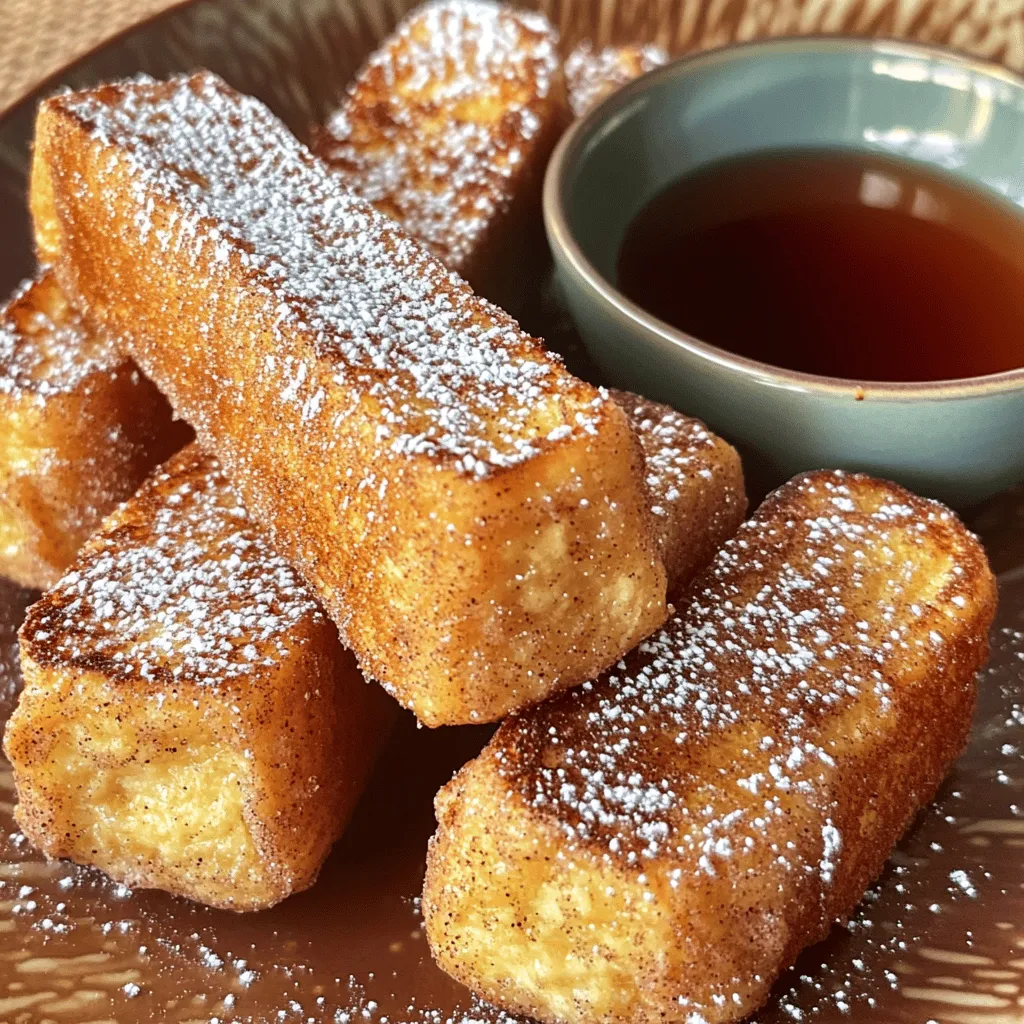
Serving Suggestions
Serve your warm French toast sticks on a plate. Add a small bowl of maple syrup or honey for dipping. You can also try fresh fruit on the side for extra flavor. Enjoy these sticks as a tasty breakfast or snack!
Tips & Tricks
Perfecting the Custard Mixture
To make the custard mix really pop, try adding a pinch of nutmeg. Nutmeg adds warmth and depth. You can also use a vanilla bean for a richer flavor. Simply scrape the seeds into the mix for that gourmet touch. Remember to whisk until it’s frothy. This helps the bread soak up the flavor better.
Achieving Ideal Crispiness
For the best crispiness, keep an eye on your cooking time. Cook each side for about 2-3 minutes. If your pan gets too hot, turn down the heat. You want a golden brown, not burnt. If you prefer a crunchier texture, you can cook the sticks a little longer. Just watch them closely!
Best Practices for Cleanup
Cleanup can be simple with a few tricks. Use a non-stick skillet to reduce sticking. After cooking, let the pan cool a bit before washing. If butter splatters, use paper towels to wipe it up while the pan is still warm. Soaking the pan in warm soapy water helps remove any stubborn bits. This makes your cleanup fast and easy!
Variations
Ingredient Swaps
You can easily change some ingredients in this recipe. For a dairy-free option, use almond milk or oat milk instead of whole milk. These alternatives work well and keep the flavor rich. If you need gluten-free bread, try a gluten-free loaf. It will still taste great, and everyone can enjoy this treat!
Flavor Additions
Want to mix things up? Add fruits or nuts to your French toast sticks. Blueberries or sliced bananas can bring extra sweetness. Chopped pecans or walnuts add a nice crunch. For toppings, consider whipped cream or fresh fruit. These will make each bite even more fun and tasty!
Serving with Different Syrups
You can explore many flavored syrups to serve with your French toast sticks. Caramel syrup gives a rich taste. Berry compote adds a fruity twist. You can also try honey or maple syrup for a classic touch. Add more toppings like sprinkles or chocolate chips for a delightful surprise. Each bite can be unique and exciting!
Storage Info
Refrigeration Guidelines
To store leftover French toast sticks, let them cool first. Place them in an airtight container. You can keep them in the fridge for up to three days. Make sure to separate layers with parchment paper to avoid sticking. This helps keep them fresh and tasty for your next breakfast.
Reheating Methods
To reheat your French toast sticks, use a toaster oven or an air fryer. Set the temperature to 350°F (175°C). Heat for about 5-7 minutes. This method keeps them crispy. Avoid using the microwave, as it can make them soggy.
Freezing Tips
For long-term storage, freeze the French toast sticks. First, cool them completely. Then, place them in a single layer on a baking sheet. Freeze for about an hour until firm. After that, transfer them to a freezer bag. They can last up to two months in the freezer. When ready to eat, reheat directly from the freezer.
FAQs
How can I make French toast sticks crispy?
To make French toast sticks crispy, start by using thick bread. Bread like brioche or challah works best. Soak the bread quickly, about 20 seconds per side, to avoid sogginess. Cook them in a hot skillet with butter. This helps create that golden, crispy texture. If you want extra crunch, you can sprinkle a bit of cornmeal in the pan.
Can I use regular bread instead of thick bread?
You can use regular bread, but the texture will change. Thin bread may not hold the custard well. It could turn out too soggy and fall apart. Thick bread gives a better balance of soft inside and crispy outside. For the best results, stick to thick-cut varieties.
What’s the best way to serve Cinnamon Sugar French Toast Sticks?
Serve your French toast sticks warm on a plate. Add a small bowl of maple syrup or honey for dipping. You can also top them with fresh berries or whipped cream for a fun touch. A dusting of powdered sugar adds a nice look. Keep it simple for a delightful breakfast treat.
How to make Cinnamon Sugar French Toast Sticks in advance?
To prepare these sticks ahead of time, you can soak and cook them first. Allow them to cool, then store in the fridge. Reheat them in the oven to keep them crispy. You can also freeze them for longer storage. Just be sure to wrap them well to avoid freezer burn. Reheating in a toaster oven works great!
You now have a complete guide to making delicious Cinnamon Sugar French Toast Sticks. We covered key ingredients, preparation steps, and helpful tips. You learned how to soak and cook perfectly crispy sticks and explored handy variations and storage ideas.
Try these recipes and enjoy this tasty treat anytime. With practice, you can wow family and friends with your skills. Happy cooking!


