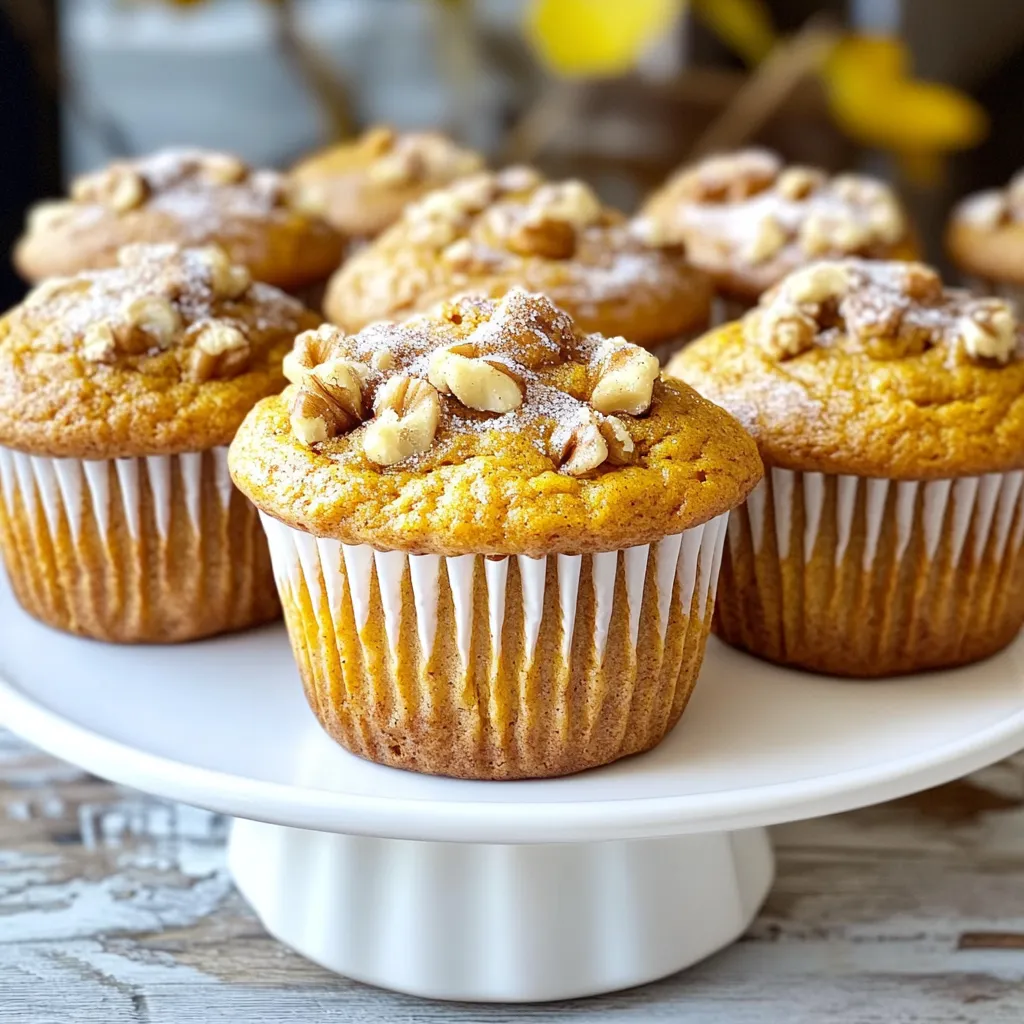
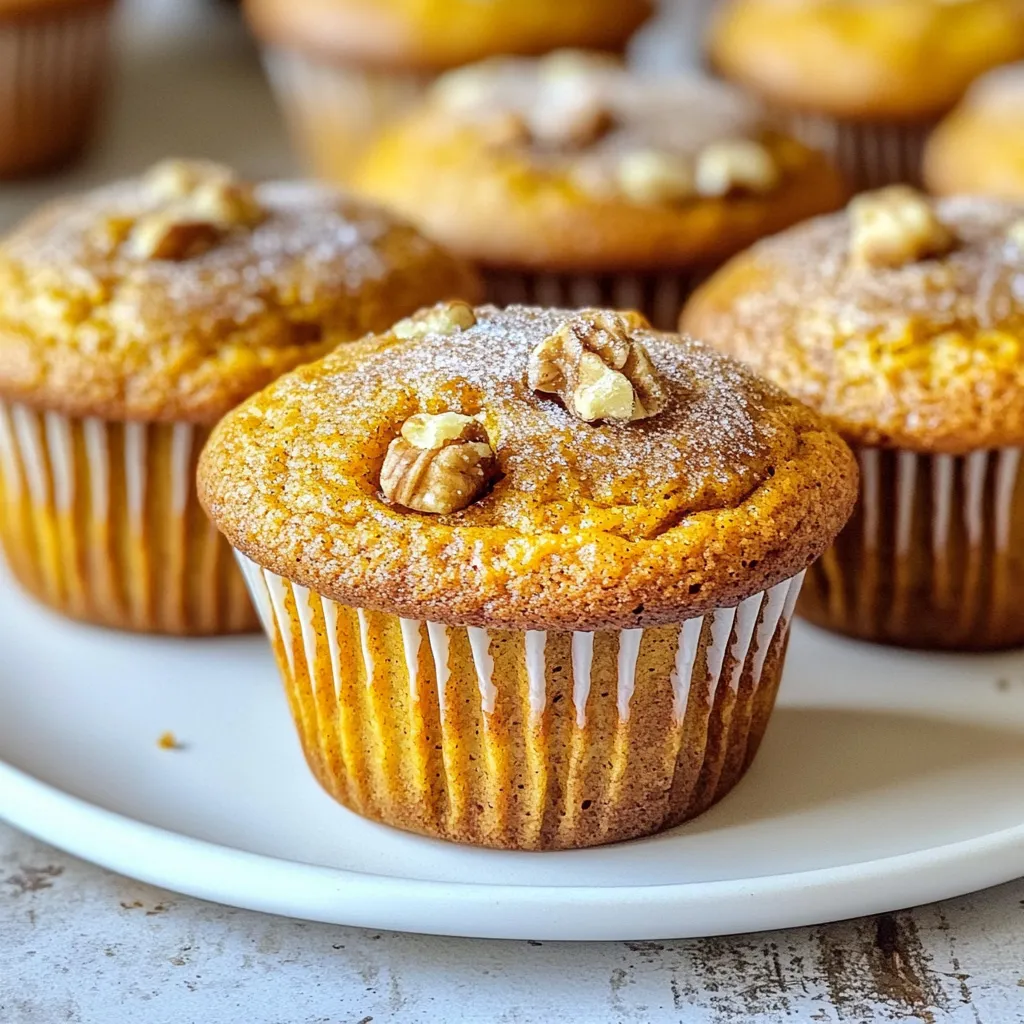
Fall is here, and it’s time for tasty treats! These Cinnamon Pumpkin Muffins are full of warm spices and the cozy flavor of pumpkin. You’ll find everything you need in this simple recipe, from ingredients to steps. Perfect for a chilly morning or a festive gathering, these muffins will fill your home with a great aroma. Let’s dive into the world of fall baking together!
Ingredients
The ingredients for cinnamon pumpkin muffins are simple and wholesome. Each item plays a key role in making these muffins moist and flavorful. Here’s what you will need:
– 1 cup canned pumpkin puree
– 1/2 cup vegetable oil
– 1/2 cup packed brown sugar
– 1/2 cup granulated sugar
– 2 large eggs
– 1 teaspoon vanilla extract
– 1 1/2 cups all-purpose flour
– 1 teaspoon baking powder
– 1/2 teaspoon baking soda
– 1 teaspoon ground cinnamon
– 1/2 teaspoon ground ginger
– 1/4 teaspoon ground nutmeg
– 1/4 teaspoon salt
– 1/2 cup chopped walnuts (optional)
– 1/4 cup granulated sugar for topping (optional)
Each of these ingredients adds a unique flavor or texture. The canned pumpkin puree serves as the star of the show, giving moisture and a lovely orange hue. Vegetable oil keeps the muffins soft and fluffy. The sugars add sweetness and help form a nice crust.
The spices—cinnamon, ginger, and nutmeg—bring warmth and depth, making each bite feel like a cozy hug. If you want a bit of crunch, you can add walnuts. They also enhance the flavor. The optional topping sugar gives your muffins a sweet, crunchy finish.
Using high-quality ingredients makes a big difference. Fresh spices and pure extracts will elevate your muffins. Pay attention to these details for the best baking results.
Step-by-Step Instructions
Preheat and Prepare
Start by preheating your oven to 350°F (175°C). This temperature is perfect for baking. While the oven heats, prepare your muffin tin. You can use paper liners or grease each cup lightly. This step helps your muffins come out easily.
Mixing the Wet Ingredients
In a large mixing bowl, combine 1 cup of canned pumpkin puree, 1/2 cup of vegetable oil, 1/2 cup of packed brown sugar, and 1/2 cup of granulated sugar. Add 2 large eggs and 1 teaspoon of vanilla extract. Whisk these ingredients together until smooth. The mixture should have a nice, creamy look.
Preparing the Dry Ingredients
In another bowl, sift together 1 1/2 cups of all-purpose flour, 1 teaspoon of baking powder, 1/2 teaspoon of baking soda, 1 teaspoon of ground cinnamon, 1/2 teaspoon of ground ginger, 1/4 teaspoon of ground nutmeg, and 1/4 teaspoon of salt. Stir these dry ingredients well. This step ensures even mixing and helps your muffins rise.
Combining Mixtures
Now, carefully add the dry mixture into the wet ingredients. Use a spatula or wooden spoon to fold them gently. Mix until just combined. It’s okay if there are a few lumps; overmixing can make your muffins dense. If you like walnuts, gently fold in 1/2 cup of chopped walnuts at this stage.
Filling and Baking
Using a spoon or an ice cream scoop, fill each muffin cup about 2/3 full with batter. For a sweet touch, sprinkle a little bit of granulated sugar on top. Place the muffin tin in the preheated oven and bake for 20-25 minutes. Check for doneness by inserting a toothpick into the center. If it comes out clean, your muffins are ready.
Cooling
Once baking is done, remove the muffin tin from the oven. Let the muffins cool in the tin for about 5 minutes. After that, gently transfer them to a wire rack. This cooling method helps maintain their texture and flavor. Enjoy these warm or let them cool completely before serving!
Tips & Tricks
Baking Tips
To avoid dense muffins, do not overmix your batter. Mix just until combined. A few lumps are okay. This keeps your muffins light and fluffy.
To ensure even baking, use an oven thermometer. Sometimes, ovens run hot or cold. Place your muffins in the center of the oven for best results.
Ingredient Substitutions
You can use honey or maple syrup instead of brown sugar. These add a nice flavor too.
For egg substitutes, try using applesauce or flaxseed meal mixed with water. These work great in vegan muffins.
Presentation Tips
Serve your muffins warm for the best taste. You can also enjoy them at room temperature.
For a fun twist, top each muffin with cream cheese frosting. This adds sweetness and richness.
To enhance visual appeal, arrange muffins on a wooden board. Dust them with cinnamon and add small pumpkins. This creates a festive fall display.
Variations
Flavor Enhancements
Adding chocolate chips to your muffins brings a rich twist. I like using semi-sweet chips. They melt a bit and mix well with the pumpkin flavor. You can also try dark chocolate for a more intense taste.
Incorporating different spices can change the whole vibe of your muffins. Cloves and allspice add depth and warmth. A pinch of ground cloves can bring a sweet and spicy kick. Allspice gives it a unique flavor that pairs well with pumpkin. Just a little goes a long way.
Dietary Variations
If you need gluten-free options, you can substitute all-purpose flour with a gluten-free blend. Make sure it has xanthan gum for better texture. You might need to adjust the liquid in your mix for the best results.
Nut-free options are easy too. If you skip the walnuts, your muffins will still taste great. You can even add seeds like pumpkin or sunflower seeds for a little crunch.
Seasonal Variations
For Halloween-themed muffins, add fun toppings. Try decorating with orange and black sprinkles or mini chocolate candies. You can also use Halloween cupcake liners for a festive touch.
When planning a Thanksgiving brunch, these muffins shine. Serve them warm alongside coffee or tea. They pair well with cream cheese frosting for a sweet treat that everyone will love.
Storage Info
Storing Muffins
Store your cinnamon pumpkin muffins at room temperature. Place them in an airtight container. They will stay fresh for about three days. If you want them to last longer, consider refrigerating them. Wrap each muffin in plastic wrap before putting them in the fridge. This helps keep them moist.
Freezing Instructions
To freeze your muffins, let them cool completely. Then, wrap each muffin tightly in plastic wrap. Place the wrapped muffins in a freezer bag or container. This will keep them fresh for up to three months. When you want to enjoy one, take it out and thaw it at room temperature. You can also warm it in the microwave for a few seconds.
Shelf Life
The best time to eat these muffins is within three days for optimal taste. After that, they may start to dry out. Check for signs of spoilage. If you see mold or a strange smell, it’s time to toss them. Enjoy your muffins while they are fresh and delicious!
FAQs
Can I make these muffins ahead of time?
Yes, you can make these muffins ahead of time. Bake them and let them cool. Store in an airtight container at room temperature for up to three days. For longer storage, freeze them. Just wrap each muffin in plastic wrap and place in a freezer bag. They can last for up to three months in the freezer. To enjoy, simply thaw them at room temperature or warm them in the oven.
What can I use instead of canned pumpkin?
If you don’t have canned pumpkin, you can use fresh pumpkin puree. To make it, roast fresh pumpkin until soft, then blend it until smooth. Butternut squash puree works well too. It has a similar taste and texture. You can even use sweet potato puree for a twist.
How do I know when my muffins are done?
To check if your muffins are done, insert a toothpick into the center of one. If it comes out clean, the muffins are ready. The tops should be golden brown too. You can also gently press the top; it should spring back. If it leaves a dent, bake a few more minutes.
Can I use whole wheat flour?
Yes, you can use whole wheat flour. It adds a nutty flavor and makes the muffins denser. Start by replacing half of the all-purpose flour with whole wheat flour. This keeps the muffins light while still adding more fiber. If you prefer a denser muffin, you can use all whole wheat flour.
How can I make these muffins less sweet?
To make these muffins less sweet, you can reduce the sugar in the recipe. Try cutting both sugars by a quarter cup. You can also use unsweetened applesauce as a substitute for some of the sugar. This keeps the muffins moist without adding too much sweetness. Another option is to add spices like cinnamon or nutmeg for extra flavor without sugar.
These pumpkin muffins are easy to make and delicious. We covered all the ingredients, steps, and even tips. I shared variations and storage tips for any occasion. Remember, these muffins can suit your dietary needs and be made in advance. They bring warmth to your kitchen any time of year. Enjoy your baking and make these muffins your own! You’ll impress everyone with your tasty treats.


