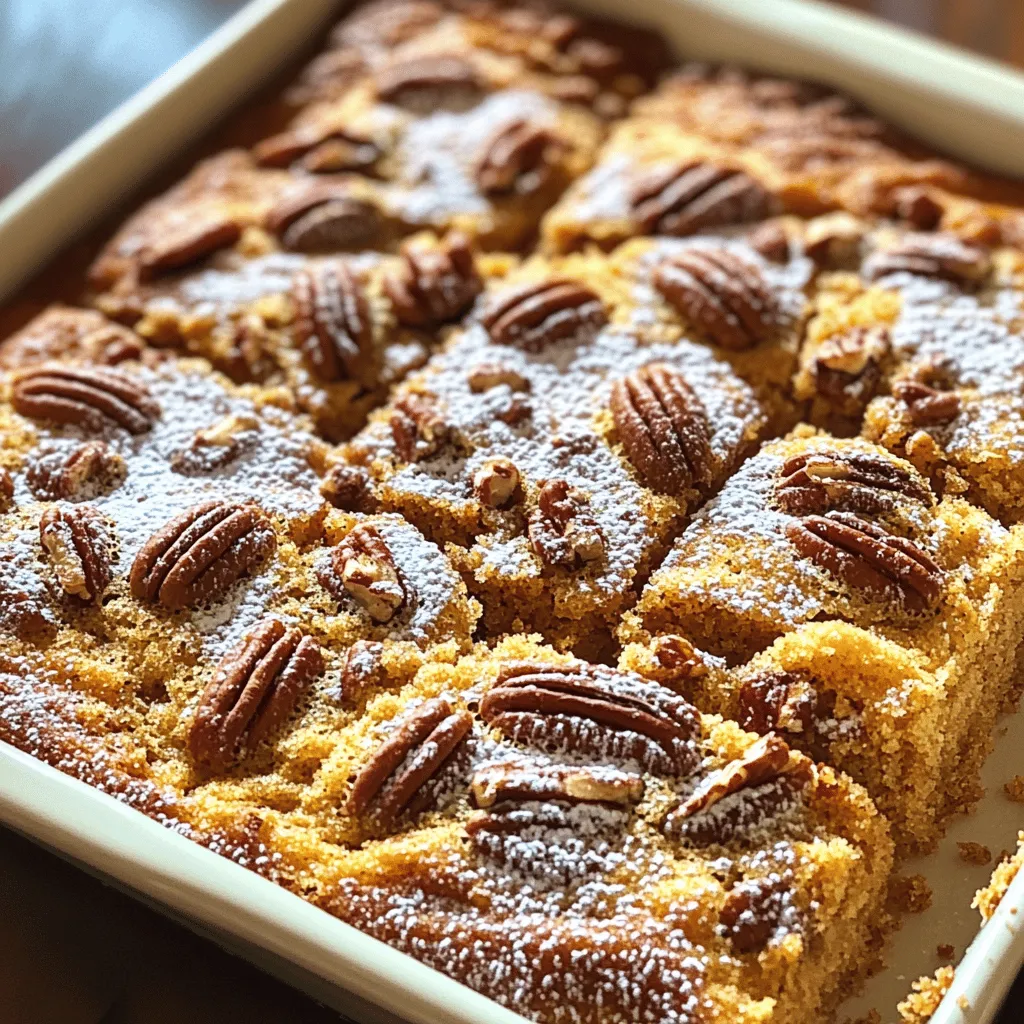
Ready to indulge in a warm slice of Cinnamon Pecan Coffee Cake? This comfy treat brings joy to your table with its sweet smell and rich flavors. Made with simple, feel-good ingredients, it pairs perfectly with coffee or tea. I’ll guide you through each step, from mixing the batter to creating a stunning topping. Let’s dive into the cozy world of baking and make this delicious delight together!
Ingredients
Essential Ingredients
– 2 cups all-purpose flour
– 1 cup granulated sugar
– 1/2 cup unsalted butter, softened to room temperature
These three ingredients form the base of our coffee cake. All-purpose flour gives structure. Granulated sugar adds sweetness. Unsalted butter brings moisture and richness.
Flavor Enhancers
– 1 teaspoon ground cinnamon
– 1 teaspoon pure vanilla extract
– 1 cup pecans, coarsely chopped
Ground cinnamon adds warmth and spice. Pure vanilla extract brings a lovely aroma and depth. Chopped pecans add crunch and a nutty flavor. Together, they make the cake delightful.
Topping Ingredients
– 1/2 cup brown sugar, packed
– 1 tablespoon ground cinnamon
– Powdered sugar, for dusting after baking
Brown sugar adds a caramel-like sweetness. Ground cinnamon enhances the flavor. A dusting of powdered sugar gives a charming finish. It makes the cake look and taste special.
Step-by-Step Instructions
Preparing the Oven and Dish
First, set your oven to 350°F (175°C). This is the perfect temperature for baking. While the oven heats, take a 9×13 inch baking dish and grease it well. Use butter or cooking spray to coat the bottom and sides. This helps the cake come out easily.
Mixing the Batter
In a large mixing bowl, add 1/2 cup of softened butter and 1 cup of granulated sugar. Use an electric mixer on medium speed. Mix for about 3-5 minutes until it’s light and fluffy. Next, add 3 large eggs, one by one. Mix after each egg. Then, stir in 1 teaspoon of pure vanilla extract until it’s well combined.
In another bowl, whisk together 2 cups of all-purpose flour, 2 teaspoons of baking powder, 1 teaspoon of ground cinnamon, and 1/2 teaspoon of salt. Make sure this mixture is well mixed. Now, you will add this dry mix to your wet mix. Do this slowly, alternating with 1 cup of buttermilk. Start and end with the flour mix. Mix until just combined to keep it light.
Assembling the Cake
Now, let’s layer the cake. Pour half of the batter into the greased dish. Use a spatula to spread it out evenly. Next, sprinkle half of the pecan topping over this layer. The topping has 1 cup of chopped pecans, 1/2 cup of brown sugar, and 1 tablespoon of ground cinnamon mixed together.
Carefully spoon the rest of the batter on top. Spread it out gently to cover the topping. Finish by adding the rest of the pecan topping evenly over this layer. This will give you a nice crunchy top. Now, you’re ready to bake! Place the dish in the oven for 30-35 minutes. Check if it’s done by inserting a toothpick into the center. If it comes out clean, it’s ready!
Tips & Tricks
Baking Tips
To ensure perfect texture, follow a few simple steps. First, use room-temperature ingredients. This helps the batter mix well and rise nicely. When you cream the butter and sugar, aim for a light and fluffy mix. This step adds air, which is key for a soft cake.
Next, check for doneness by inserting a toothpick into the center of the cake. If it comes out clean, your cake is ready. If not, give it a few more minutes. Keep an eye on the edges too. They should turn golden brown.
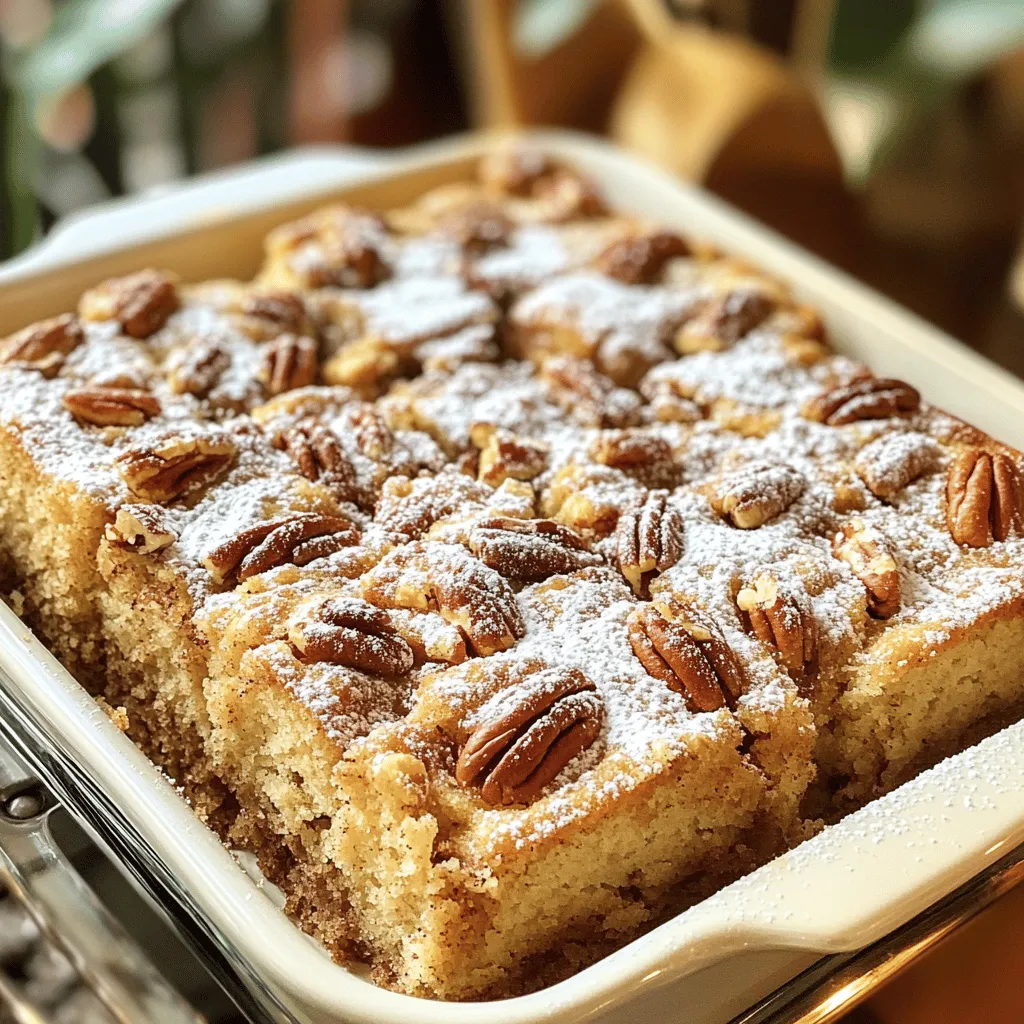
Serving Suggestions
Pair your coffee cake with a warm cup of coffee or tea. The rich flavors of the cake and the warm drink complement each other perfectly. When serving, think about presentation. Place slices on rustic plates. You can add a sprinkle of chopped pecans or a dollop of whipped cream. This makes each slice look fancy and inviting.
Common Mistakes to Avoid
One common mistake is overmixing the batter. This can make the cake dense and tough. Mix until just combined for a light cake. Another mistake is not setting the right oven temperature. Always preheat your oven to 350°F (175°C). If your oven runs hot or cold, it may affect baking time. An oven thermometer can help you know the true temperature for better results.
Variations
Nut Alternatives
If you want to change the nuts, walnuts or almonds work well. Both add a nice crunch and flavor. Walnuts have a rich, earthy taste, while almonds offer a sweet hint. If you need a nut-free cake, skip the nuts entirely. You can still enjoy great flavor and texture. Consider adding seeds, like sunflower or pumpkin seeds, for a fun twist.
Flavor Enhancements
To make your coffee cake even more special, try adding chocolate chips. They melt and create pockets of rich chocolate. You can also experiment with different spices. Cardamom or nutmeg can add warmth and depth to your cake. Just remember to keep the flavor balance in mind. A little goes a long way!
Dietary Adjustments
If you have dietary needs, there are great options. For a gluten-free cake, swap the all-purpose flour for a gluten-free blend. Make sure it has xanthan gum to help with texture. For a vegan version, replace eggs with flax eggs. Mix one tablespoon of ground flaxseed with three tablespoons of water for each egg. Use a plant-based butter instead of regular butter. These swaps keep the cake delicious and enjoyable for everyone!
Storage Info
Cooling and Storing
After baking your coffee cake, let it cool in the pan for about 10 minutes. This helps it set and makes slicing easier. Once cooled, you should store it properly. Wrap the cake in plastic wrap or foil. This keeps it fresh and moist. Place it in an airtight container if you have one. Store it at room temperature for up to three days. If you want to keep it longer, the fridge is a good option too.
Freezing Instructions
You can freeze the coffee cake for a tasty treat later. First, let it cool completely. Wrap the cake tightly in plastic wrap. Then, wrap it again in aluminum foil. This double wrapping helps prevent freezer burn. You can freeze it for up to three months. When you are ready to eat it, just take it out of the freezer.
Thawing Tips
To thaw the coffee cake, leave it in the fridge overnight. This keeps it soft and tasty. If you’re in a hurry, you can thaw it at room temperature for a few hours. Just remember not to rush this step. Slow thawing is best for keeping the cake moist.
Reheating Tips
When you want to enjoy your coffee cake warm, reheating is easy. Preheat your oven to 350°F (175°C). Place the cake in the oven for about 10-15 minutes. This warms it without drying it out. You can also use the microwave. Heat it for 15-20 seconds. Check often to avoid overheating. Enjoy your cozy treat with a warm beverage!
FAQs
How can I tell when the coffee cake is done?
To check if your coffee cake is done, look for a few signs. First, the edges should be golden brown. Next, insert a toothpick into the center. If it comes out clean, your cake is ready. You can also gently press on the top. If it springs back, that means it’s baked well.
Can I make this coffee cake ahead of time?
Yes, you can make this coffee cake ahead of time. To do this, bake it as the recipe says. Once it cools, wrap it tightly in plastic wrap. Store it in the fridge for up to three days. You can also freeze it for longer storage. Just remember to let it thaw before serving.
What can I do if I don’t have buttermilk?
If you don’t have buttermilk, you have options. You can make your own by mixing milk and vinegar. Use one cup of milk and add one tablespoon of vinegar. Let it sit for five minutes. This will mimic buttermilk’s sour taste. Another option is to use plain yogurt, mixed with a little water until smooth.
In this blog post, we explored how to make a delicious coffee cake. We covered essential ingredients, mixing methods, and baking tips. I shared common mistakes to avoid and offered variations to suit your taste. Remember to store leftovers properly for freshness.
Enjoy this treat with coffee or tea. Try different flavors to keep it exciting. Baking is fun and rewarding. Now, go ahead and create your own perfect coffee cake!


