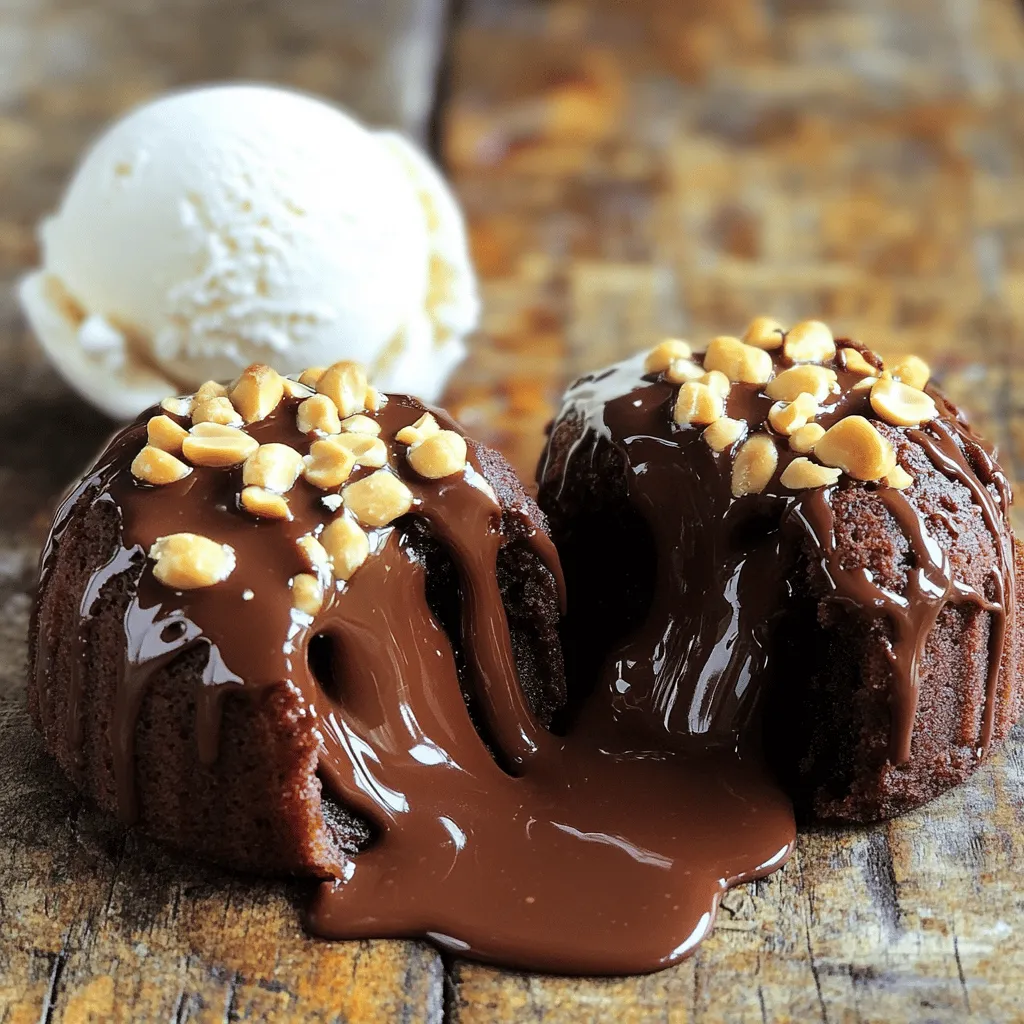
Indulge your taste buds with rich, melted chocolate and creamy peanut butter in these Chocolate Peanut Butter Lava Cakes. They’re easy to make and perfect for impressing your friends or enjoying a cozy night in. In this guide, I’ll walk you through every step, from choosing the right ingredients to perfecting that gooey center. Get ready to create a dessert that’s both decadent and unforgettable! Let’s dive into this chocolatey bliss.
Ingredients
Complete List of Ingredients
– Chocolate and Butter Combination
– 1 cup semi-sweet chocolate chips
– ½ cup unsalted butter
This mix creates a rich base for your lava cakes. The chocolate chips melt down to create that gooey center we all love. The butter adds a silky texture, making each bite feel like a warm hug.
– Dry Ingredients Overview
– 1 cup powdered sugar
– ½ cup all-purpose flour
– ½ teaspoon salt
Powdered sugar gives sweetness and helps the cakes rise. All-purpose flour adds structure, while salt balances the flavors. Each ingredient plays a role in making the cake rich and indulgent.
– Flavor Enhancers and Fillings
– 4 tablespoons creamy peanut butter
– 4 tablespoons additional chocolate chips (for the molten center)
– 2 large eggs
– 2 egg yolks
– 1 teaspoon vanilla extract
Peanut butter brings a nutty flavor that pairs well with chocolate. Extra chocolate chips in the center keep the gooey goodness flowing. Eggs provide the lift, while vanilla adds a warm aroma. Each element enhances the overall taste and experience.
Step-by-Step Instructions
Prepping the Ramekins
Start by greasing the ramekins with unsalted butter. This step is key. If you skip it, the cakes might stick. After greasing, dust the inside with cocoa powder. This gives a nice finish and adds flavor. Tap out any excess cocoa to keep it neat.
Melting Chocolate and Butter
Next, grab a microwave-safe bowl. Add the semi-sweet chocolate chips and butter. Microwave them in 30-second bursts. Stir after each round until they melt smoothly. This method is quick and easy. Make sure the mix is well combined.
Mixing the Batter
Once your chocolate mix has cooled, add the powdered sugar. Whisk it in until smooth. No lumps should remain. Then, crack in the eggs and egg yolks. Whisk again until everything blends nicely. Stir in the vanilla extract for great flavor.
Now, gently fold in the all-purpose flour and salt. Use a spatula to mix until just combined. Avoid overmixing to keep the cakes soft and gooey.
Assembling the Lava Cakes
Divide half the batter among the ramekins. Fill them halfway, leaving room for the filling. Make a small well in the center of each. Add a tablespoon of creamy peanut butter and chocolate chips to each well. Cover the filling with the remaining batter.
Baking Process
Place the filled ramekins on a baking sheet. Bake them in a preheated oven at 425°F (220°C). Bake for 12 to 14 minutes. The edges should be set, but the center needs to be soft. You want that perfect lava texture.
Serving Suggestions
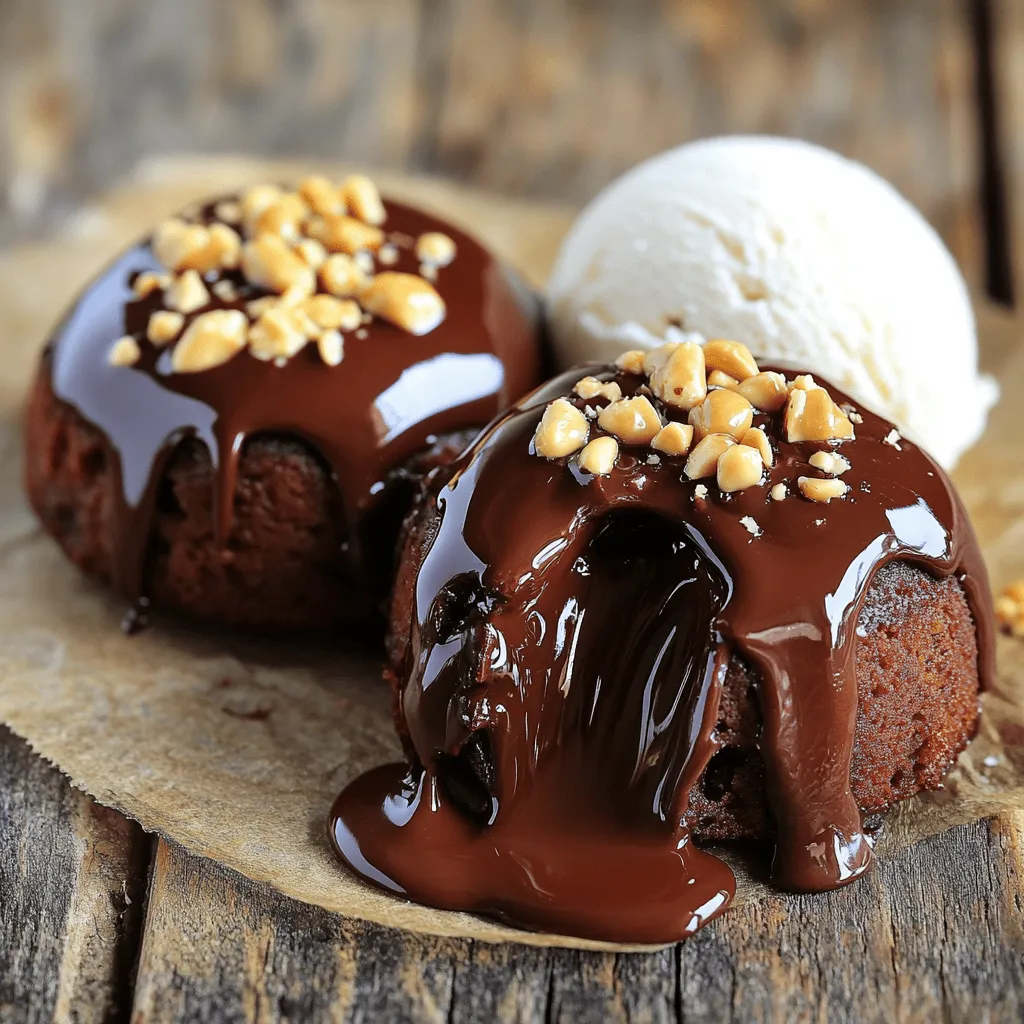
After baking, cool the ramekins for about a minute. Use a small knife to run around the edges. Then invert each ramekin onto a plate. Watch that gooey center flow out! Serve warm with a scoop of vanilla ice cream. Drizzle molten chocolate on top and sprinkle with crushed peanuts for extra crunch.
Tips & Tricks
Achieving the Ideal Molten Center
To bake perfect lava cakes, pay attention to your timing. Bake them for 12-14 minutes. The edges should be set, but the center should still jiggle slightly. This is key for that gooey center. Use a timer to avoid overbaking.
Common mistakes include overmixing the batter or filling the ramekins too full. Remember, you want to create space for the molten center. Also, make sure your oven is preheated. An unheated oven can lead to uneven baking.
Flavor Combinations
You can switch up your fillings for fun flavors. Try adding Nutella or almond butter instead of peanut butter. Each will give a unique taste. You can also add a sprinkle of sea salt on top to enhance the sweetness.
Serve your lava cakes with vanilla ice cream or whipped cream. Fresh berries like raspberries or strawberries add a nice bright flavor too. The contrast of warm cake and cold ice cream makes every bite special.
Presentation Techniques
Make your lava cakes look great on the plate. Use a small knife to run around the edge before you flip them out. This helps keep their shape.
Garnish your cakes with a drizzle of melted chocolate. You can also sprinkle crushed peanuts or cocoa powder on top. A few fresh mint leaves can add a pop of color. Remember, we eat with our eyes first, so make it beautiful!
Variations
Dietary Modifications
Gluten-Free and Vegan Options
You can still enjoy these lava cakes with simple swaps. Use a gluten-free flour blend instead of all-purpose flour. For a vegan version, replace the eggs with flaxseed meal mixed with water. Use coconut oil in place of butter and choose dairy-free chocolate chips. These changes keep the rich taste but make it friendlier for different diets.
Sugar Substitutes for a Healthier Treat
For those looking to cut down on sugar, try using coconut sugar or a sugar substitute like stevia. Both options can work well in this recipe. They offer sweetness without the added calories. Remember, the texture may change slightly, but the rich flavors will still shine through.
Different Flavors
Adding Other Nut Butters
Peanut butter is great, but you can mix it up! Try almond butter or cashew butter for a new twist. Each nut butter brings its own taste and creaminess. This small change can create a whole new lava cake experience.
Infusing with Coffee or Mint
For coffee lovers, add a shot of espresso to the batter. This adds depth and a slight bitterness that pairs well with chocolate. If you prefer mint, add a few drops of mint extract. This gives a refreshing taste and elevates the dessert. Both flavors complement chocolate beautifully.
Serving Style Changes
Lava Cake Cupcakes
Transform your lava cakes into cupcakes for easier serving. Use muffin tins instead of ramekins. Bake for about 10-12 minutes, but keep an eye on them. Just like the original, they will still have that gooey center. Top with a swirl of frosting for extra flair.
Mini Lava Cake Bites
Create bite-sized treats by making mini versions. Use a mini muffin tin and adjust the baking time to about 8-10 minutes. These little bites are perfect for parties or gatherings. Serve them on a platter for an eye-catching display that will impress your guests.
Storage Info
Best Practices for Storing Lava Cakes
To keep your chocolate peanut butter lava cakes fresh, store them properly.
– Refrigeration Guidelines: Let the cakes cool completely. Place them in an airtight container. They can stay in the fridge for up to 3 days. This keeps them moist and tasty.
– Freezing Tips for Longer Storage: For longer storage, freeze the cooled cakes. Wrap each one tightly in plastic wrap. Then, place them in a freezer-safe bag. They can last up to 2 months in the freezer.
Reheating Techniques
Reheating lava cakes needs care to keep them gooey.
– Best Methods to Reheat Without Compromising Texture: The best way is to use the oven. Preheat your oven to 350°F (175°C). Place the cakes on a baking sheet and cover them with foil. Heat for about 10 minutes. This warms them throughout while keeping the center soft. You can also use a microwave. Heat each cake for about 20-30 seconds. Check often to avoid overcooking.
Shelf Life Information
Knowing how long your lava cakes last is key.
– How Long Do They Last in the Fridge?: In the fridge, they stay good for up to 3 days.
– Signs of Spoilage to Watch For: Check for any odd smells or changes in texture. If the cakes look dry or hard, it’s best to toss them. Always trust your senses!
FAQs
What is the best way to check if my lava cake is done?
To check if your lava cake is done, look for visual cues. The edges should be firm, while the center remains soft and slightly jiggly. This means the cake is cooked but still has that gooey center. You can gently shake the ramekin. If the center wiggles, it’s perfect. Avoid overbaking, as this will make the center less molten.
Can I make chocolate peanut butter lava cakes in advance?
Yes, you can prepare these lava cakes ahead of time. Make the batter and fill the ramekins, but do not bake them right away. Cover the ramekins with plastic wrap and store them in the fridge. When you’re ready, bake them straight from the fridge. This will keep them fresh and ready to impress your guests.
What temperature should lava cakes be served at?
Serve lava cakes warm for the best experience. The warm temperature makes the chocolate and peanut butter filling melt and flow. This makes each bite rich and creamy. If they cool down, the center will firm up. So, enjoy them right after baking!
In this post, we covered how to make delicious lava cakes. We discussed the key ingredients, from chocolate mixes to flavor enhancers. I shared step-by-step instructions, from prepping ramekins to serving ideas. Remember, greasing the ramekins well and checking for the right bake time is crucial.
Try different fillings and enjoy variations for dietary needs. With the tips provided, you can achieve the perfect molten center. Enjoy your baking journey and share your results!


