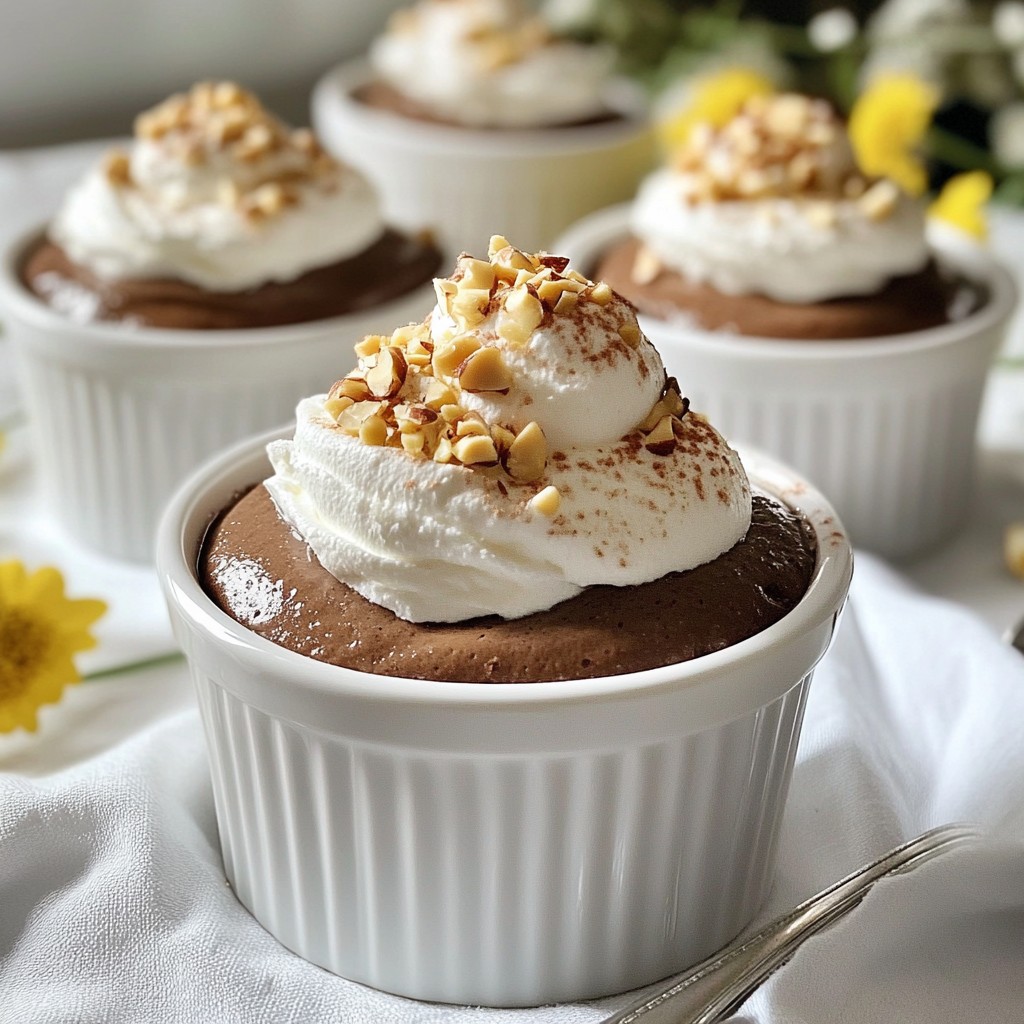
Indulging in a rich dessert doesn’t have to be complicated. With these Chocolate Hazelnut Mousse Cups, you can impress your friends and family easily. This treat combines creamy chocolate with nutty hazelnuts, creating a dreamy dessert that melts in your mouth. Follow my simple recipe to create these decadent cups. They are perfect for any occasion, and trust me, you won’t want to miss this delightful experience!
Why I Love This Recipe
- Indulgent Flavor: This mousse offers a rich and velvety chocolate experience, perfectly balanced with the nutty essence of hazelnuts, making every bite a luxurious treat.
- Easy to Make: With straightforward steps and minimal ingredients, this recipe is accessible for both novice and experienced cooks, allowing anyone to create an impressive dessert.
- Perfect for Any Occasion: Whether it's a dinner party or a cozy night in, these mousse cups are a delightful way to end any meal, sure to impress your guests.
- Customizable Presentation: Serve in elegant cups or fun ramekins, and feel free to add your favorite toppings, making each serving uniquely yours.
Ingredients
List of Ingredients
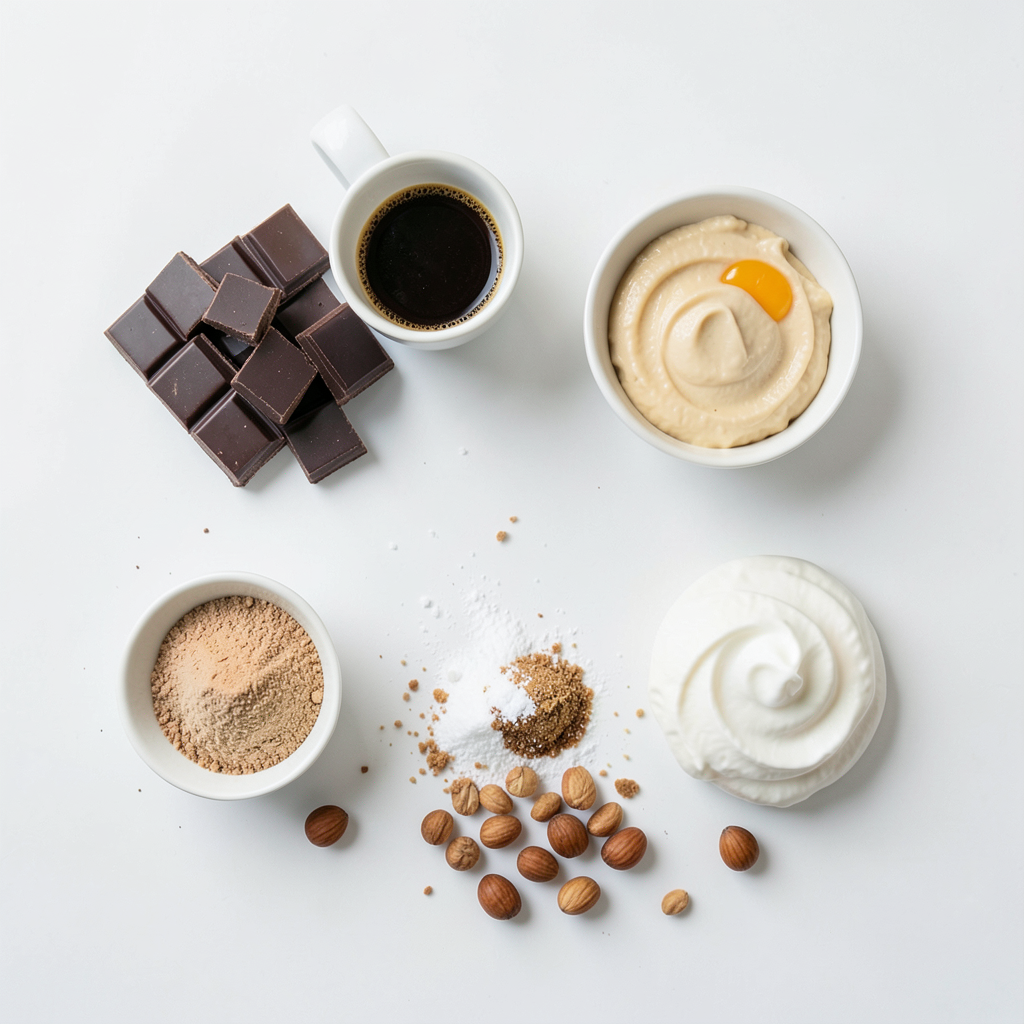
- 200g dark chocolate (70% cocoa), finely chopped
- 1/4 cup (60ml) freshly brewed espresso
- 1/2 cup (120ml) heavy cream, chilled
- 2 tablespoons hazelnut paste
- 2 large eggs, separated (yolk and white)
- 3 tablespoons granulated sugar
- A pinch of salt
- Crushed hazelnuts for garnish
- Whipped cream for serving
Measurement Guide
- Dark chocolate: 200 grams is about 7 ounces.
- Espresso: 1/4 cup equals 60 milliliters.
- Heavy cream: 1/2 cup is 120 milliliters.
- Hazelnut paste: Use 2 tablespoons for flavor.
- Granulated sugar: 3 tablespoons add sweetness.
- Eggs: Use 2 large eggs, separated into yolks and whites.
- Salt: Just a pinch to enhance flavors.
Optional Garnishes
- Crushed hazelnuts add a nice crunch and flavor.
- Whipped cream gives a light, creamy touch on top.
These ingredients create a rich and smooth mousse. The dark chocolate and espresso blend perfectly for deep flavor. The hazelnut paste adds a unique twist that elevates each bite. By using high-quality chocolate, you ensure a decadent dessert. This mousse is not only easy to make but also a showstopper at any gathering.
Step-by-Step Instructions
Melting the Chocolate
First, take 200 grams of dark chocolate and chop it finely. Place the chocolate in a heatproof bowl. Add 1/4 cup of freshly brewed espresso to the bowl for a rich flavor. Next, set the bowl over a pot of gently simmering water. This method is called a double boiler. Stir the chocolate mix often. Wait until it becomes smooth and melted. Once melted, take the bowl off the heat. Let it cool for about 5 minutes before using it.
Whipping the Cream
In a different bowl, pour in 1/2 cup of chilled heavy cream. Use an electric mixer to whip the cream. Keep mixing until it forms stiff peaks. Be careful to stop whipping before it turns grainy. After reaching the right texture, gently fold in 2 tablespoons of hazelnut paste. Use a spatula for this step. Mix until it is well combined, then set the bowl aside.
Combining Egg Yolks and Chocolate
Now, grab a new bowl for the egg yolks. Add 2 large egg yolks, 3 tablespoons of granulated sugar, and a pinch of salt. Whisk this mix for about 3 to 4 minutes. The color should turn pale and airy. Slowly pour the melted chocolate mixture into the egg yolk mix, stirring gently. Make sure everything is fully combined. This step adds a wonderful chocolate flavor to the mousse.
Tips & Tricks
Achieving the Perfect Texture
To get a smooth mousse, start with the cream. Whip it until it forms stiff peaks. Be careful not to over-whip. Over-whipped cream can become grainy. When you mix the cream with chocolate, fold gently. This keeps the mousse light and airy. If you mix too hard, you will lose the fluffiness.
Choosing the Right Chocolate
Dark chocolate is key for rich flavor. I recommend using chocolate with at least 70% cocoa. This gives a deep, bold taste. Look for high-quality chocolate to elevate your mousse. Avoid chocolate chips; they may not melt smoothly. Always chop the chocolate finely. This helps it melt evenly and quickly.
Common Mistakes to Avoid
One common mistake is not cooling the melted chocolate. If it is too hot, it can cook the egg yolks. Always let it cool for a few minutes before mixing. Another mistake is over-folding the mixtures. You want to keep air in the mousse. Lastly, do not skip chilling time. Letting the mousse set helps it firm up and enhances the flavor.
Pro Tips
- Use Quality Chocolate: Choosing high-quality dark chocolate (70% cocoa or higher) will enhance the flavor of your mousse, making it richer and more decadent.
- Chill Your Bowl: For perfectly whipped cream, chill your mixing bowl and beaters in the freezer for a few minutes before whipping. This helps achieve better volume and stability.
- Room Temperature Eggs: Ensure your eggs are at room temperature before whipping. They will whip up to a greater volume, giving your mousse its light and airy texture.
- Garnish Creatively: Add a variety of garnishes like chocolate shavings, fresh berries, or a drizzle of caramel to elevate the presentation of your mousse cups and make them visually appealing.
Variations
Alternative Flavors
You can change the flavors in your mousse to keep things fun. Try using white chocolate instead of dark chocolate. It makes a sweet and creamy treat. You can add orange zest for a citrus twist. Almond extract can also bring a nice change. Blend in peanut butter for a nutty flavor that pairs well with chocolate. Each option gives a unique taste to your mousse cups.
Vegan or Dairy-Free Options
If you want a vegan mousse, you can use coconut cream instead of heavy cream. It gives a rich texture and a hint of coconut flavor. Replace the eggs with aquafaba, the water from canned chickpeas. Whip it until fluffy, just like egg whites. Use dark chocolate that is dairy-free to keep the taste amazing. These options help everyone enjoy this treat without any dairy.
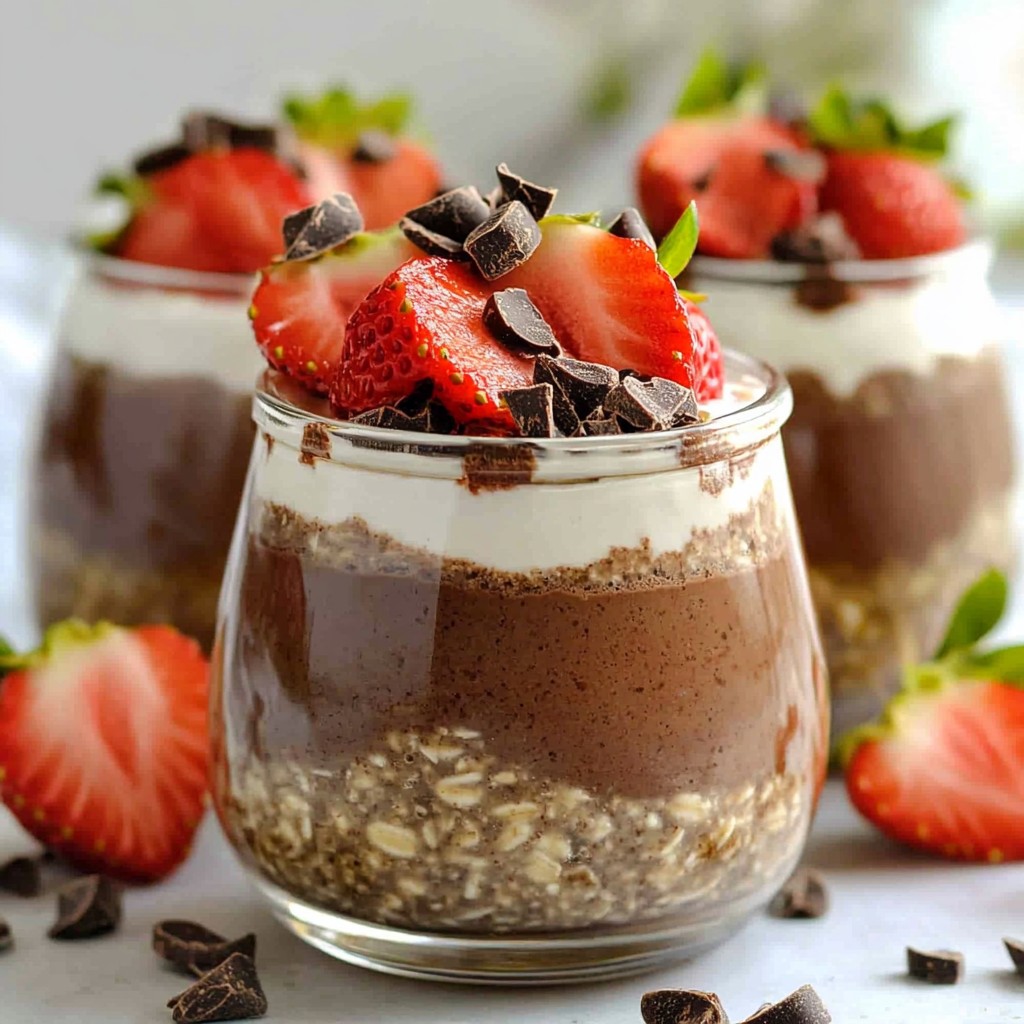
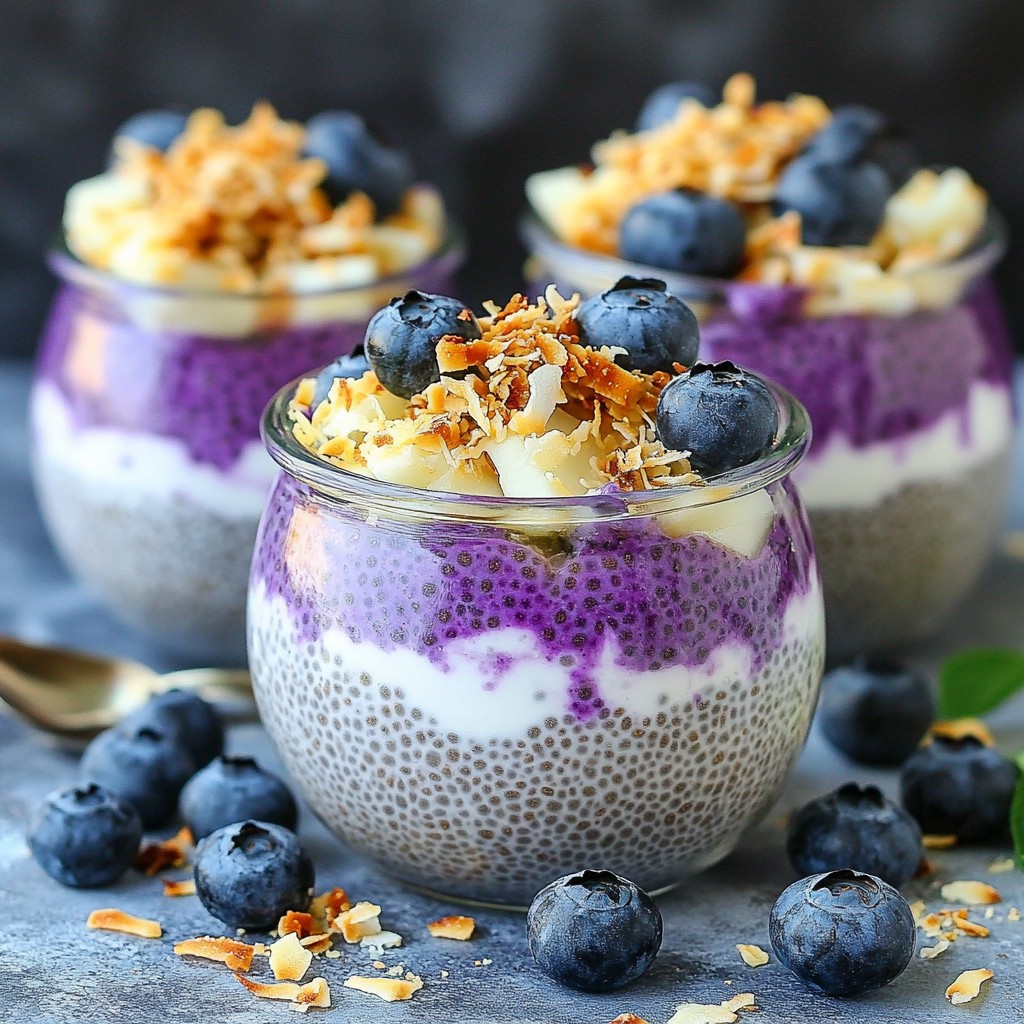
Serving Suggestions
Serve your mousse cups in small glass jars for a cute look. You can layer the mousse with fresh fruits like berries. This adds color and a refreshing taste. Consider drizzling some chocolate sauce on top for extra sweetness. You can also serve them with coffee or tea to complete the experience. Each cup can be a little work of art that impresses your guests.
Storage Info
How to Store Mousse Cups
To keep your chocolate hazelnut mousse cups fresh, place them in the fridge. Use plastic wrap to cover each cup. This helps prevent any odors from the fridge getting into your mousse. It also keeps the mousse nice and smooth.
Freezing Instructions
You can freeze the mousse too! First, let it cool completely in the fridge. Then, cover each cup with plastic wrap and a layer of aluminum foil. This keeps ice crystals from forming. To enjoy, thaw the mousse in the fridge overnight before serving.
Shelf Life
These mousse cups last about 3 days in the fridge. Be sure to check for any changes in texture or smell before eating. If frozen, they can stay good for up to a month. Just remember, the sooner you eat them, the better they taste!
FAQs
Can I use milk chocolate instead of dark chocolate?
Yes, you can use milk chocolate. It will make the mousse sweeter. However, dark chocolate brings a rich taste. If you love hazelnut, stick with dark for a deep flavor.
How long does the mousse need to set?
The mousse needs at least 2 hours to set. This time lets it become firm and creamy. For best results, let it chill longer if you can. This will improve the texture and taste.
What can I substitute for espresso?
You can use strong brewed coffee as a substitute for espresso. You may also try instant coffee mixed with hot water. Just keep the flavor strong. You want to maintain that rich taste in the mousse.
We explored the key ingredients for making chocolate mousse, from precise measurements to optional garnishes. I shared step-by-step instructions, including how to melt chocolate and whip cream. You learned tips for the best texture and common mistakes to avoid. Variations help you customize the mousse, while storage tips ensure freshness. Remember, this dessert can be simple, but the right technique makes it shine. Enjoy your mousse and experiment with flavors! Your kitchen is now ready for delicious creations.