Looking for the ultimate dessert that pleases every palate? Dive into my rich and decadent Chocolate Fudge Brownies! With just the right balance of gooey chocolate and a soft, chewy texture, these brownies are sure to impress. I’ll guide you through simple steps, tips, and tasty variations. Get ready to satisfy your sweet cravings and create a show-stopping treat that everyone will love!
Ingredients
Essential Ingredients for Chocolate Fudge Brownies
To make these brownies, you need a few key items. Gather the following ingredients:
– 1 cup unsalted butter, plus extra for greasing
– 2 cups granulated sugar
– 4 large eggs, at room temperature
– 1 teaspoon pure vanilla extract
– 1 cup all-purpose flour, sifted
– 1 cup cocoa powder, sifted
– 1/2 teaspoon baking powder
– 1/2 teaspoon fine sea salt
– 1 cup semi-sweet chocolate chips
– 1/2 cup walnuts, chopped (optional)
Each ingredient plays a role. The butter gives richness, while sugar adds sweetness. Eggs bind everything together, and vanilla brings flavor. Flour and cocoa provide structure and chocolatey goodness. Baking powder helps the brownies rise, while salt enhances all the flavors.
Optional Add-ins and Substitutes
You can customize your brownies with add-ins. Here are some ideas:
– Nuts: Try pecans or almonds for a crunchy texture.
– Chocolate: Use dark chocolate chips for a richer taste.
– Fruit: Add dried cherries or raspberries for a fruity twist.
– Spices: A pinch of cinnamon or espresso powder can deepen the flavor.
– Gluten-Free: Substitute all-purpose flour with almond flour or a gluten-free blend.
Feel free to experiment. Each add-in can change the flavor and texture.
Recommended Tools for Baking
Having the right tools helps make baking easier. Here’s what you need:
– 9×13 inch baking pan: For even cooking.
– Parchment paper: For easy removal and cleanup.
– Mixing bowls: For combining wet and dry ingredients.
– Spatula: For folding the batter gently.
– Whisk: For mixing eggs and combining ingredients well.
– Toothpick: To check if brownies are done.
These tools will ensure your baking process goes smoothly.
Step-by-Step Instructions
Preheat and Prepare the Baking Pan
Start by preheating your oven to 350°F (175°C). This step is key to baking evenly. While the oven heats, grease a 9×13 inch baking pan with a little butter. Then, line the bottom and sides with parchment paper. Let some paper hang over the edge. This helps lift out the brownies later.
Melt the Butter and Mix the Sugar
In a medium saucepan, melt 1 cup of unsalted butter over low heat. Stir it now and then for even melting. Once the butter is melted, take the pan off the heat. Add 2 cups of granulated sugar to the butter. Mix this until it looks smooth and combined.
Incorporate the Eggs and Vanilla
Let the butter-sugar mix cool for about 5 minutes. Now, add 4 large eggs one at a time. Whisk well after each egg goes in. This makes the mix fluffy. After mixing the eggs, stir in 1 teaspoon of pure vanilla extract.
– Prepare the Dry Mixture
In a separate bowl, sift together 1 cup of all-purpose flour, 1 cup of cocoa powder, 1/2 teaspoon of baking powder, and 1/2 teaspoon of fine sea salt. This step keeps your brownies light and airy.
– Combine Wet and Dry Mixtures
Gently fold the dry mixture into the wet mix using a spatula. Mix just until you don’t see dry flour. Don’t overmix, or the brownies may turn out dense.
– Add Chocolate Chips and Nuts
Now, fold in 1 cup of semi-sweet chocolate chips. If you like nuts, add 1/2 cup of chopped walnuts too. Make sure everything is spread out evenly in the batter.
Pour this rich mixture into the prepared baking pan. Use your spatula to smooth it into the corners.
Tips & Tricks
Achieving the Perfect Fudge Texture
To get that perfect fudge texture, you need to mix just right. Be gentle when combining the wet and dry ingredients. Overmixing can make the brownies tough. Aim for a smooth batter with a few lumps. The key is to mix until you see no dry flour. The melted butter and sugar mix adds a rich base. This helps create a fudgy, moist brownie that melts in your mouth.
Common Mistakes to Avoid
One common mistake is using cold eggs. Always use eggs at room temperature. This helps them blend better with the butter and sugar mix. Another mistake is not checking the baking time. Baking for too long makes the brownies dry. Insert a toothpick into the center. If it comes out with a few moist crumbs, they are done. Avoid opening the oven door too soon, as that can cause them to sink.
How to Properly Store Brownies
To keep your brownies fresh, store them in an airtight container. You can leave them at room temperature for up to four days. If you want to keep them longer, wrap them tightly and freeze them. They can last up to three months in the freezer. When you want to enjoy them again, let them thaw at room temperature. This keeps their rich taste and texture intact.
Variations
Nutty Chocolate Fudge Brownies
For a crunchy twist, try adding nuts. Chopped walnuts or pecans work great. They add a nice texture and flavor. To include nuts, simply fold in 1/2 cup of your choice when mixing in the chocolate chips. This small change makes a big difference. You can also toast the nuts for a deeper taste. Just watch them closely so they don’t burn.
Caramel Swirl Brownies
Caramel adds a sweet layer to your brownies. To make caramel swirl brownies, prepare your basic brownie batter. Then, before baking, drizzle store-bought or homemade caramel sauce over the top. Use a knife to swirl the caramel gently into the batter. This creates beautiful ribbons of caramel as it bakes. The result is a gooey, rich treat everyone will love.
Gluten-Free or Vegan Options
You can make these brownies fit different diets. To create gluten-free brownies, swap all-purpose flour for a gluten-free blend. Make sure it includes xanthan gum for the best texture. If you want a vegan version, replace eggs with flax eggs. Mix one tablespoon of ground flaxseed with three tablespoons of water for each egg. Let it sit until it thickens. Use vegan butter or coconut oil instead of regular butter. These swaps ensure everyone can enjoy these delicious brownies!
Serving Suggestions
How to Serve Brownies for Special Occasions
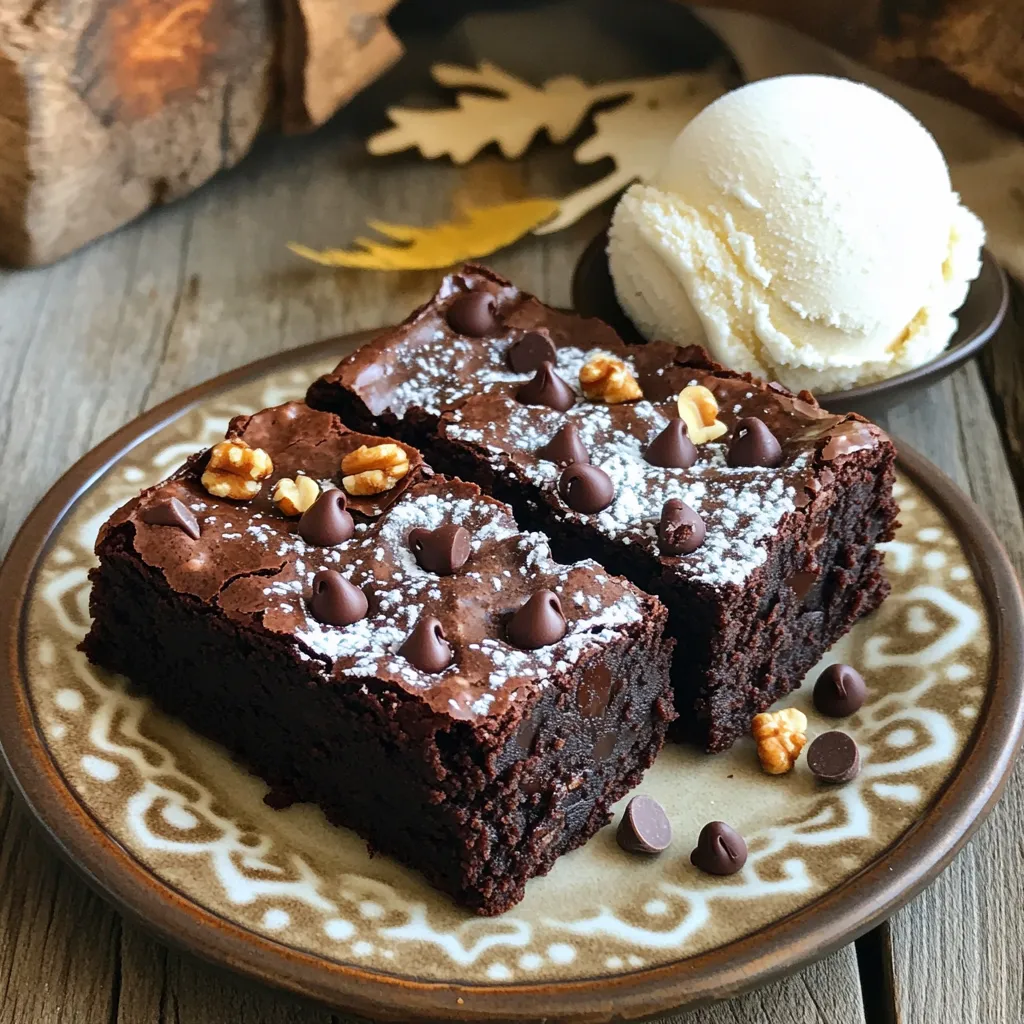
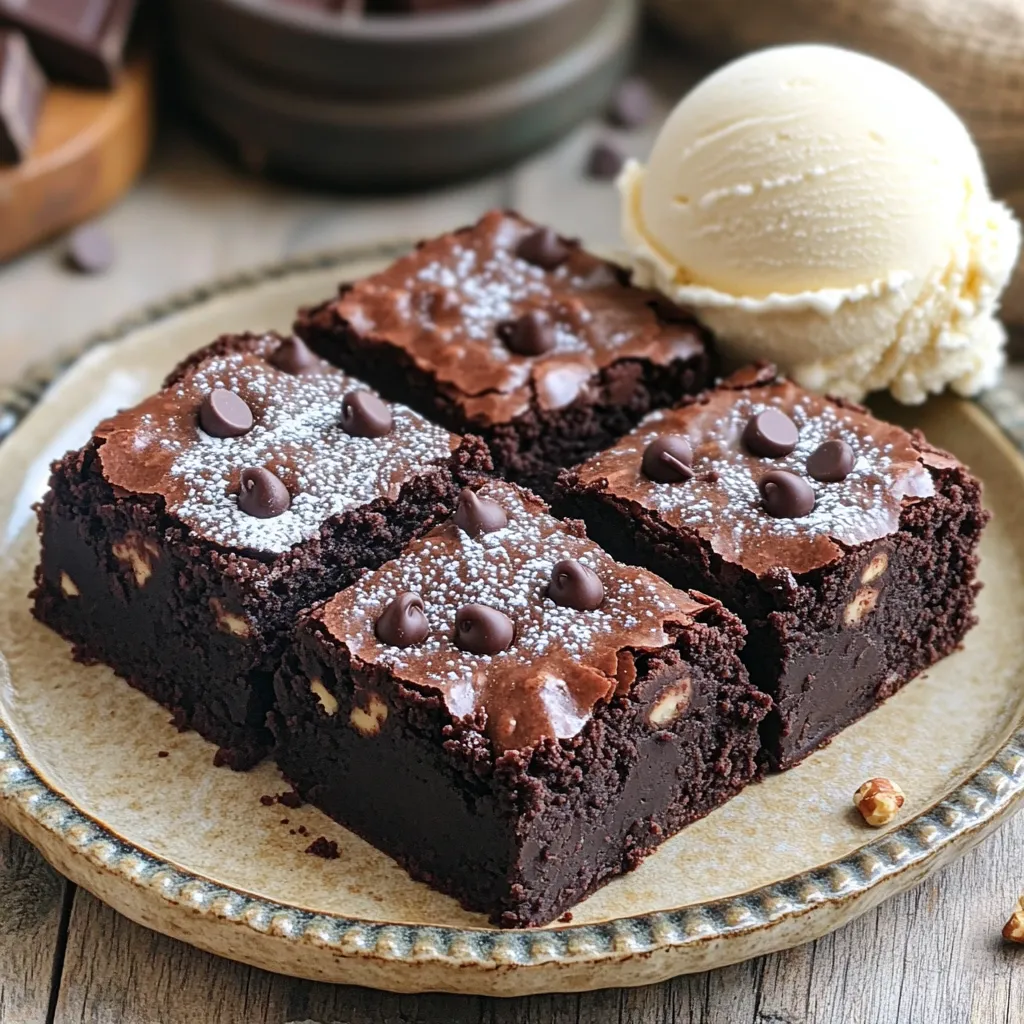
For special occasions, serve brownies warm. Cut them into neat squares. Place them on a nice plate. Add a scoop of ice cream on the side. Drizzle with chocolate sauce for extra flair. You can also top them with fresh berries or mint leaves. This makes them look beautiful and tastes great.
Pairing Suggestions (Ice Cream, Sauces)
Brownies pair well with many treats. Vanilla ice cream is a classic choice. You can also try salted caramel sauce or raspberry sauce. These add sweetness and a bit of tang. A dollop of whipped cream on top can make them even more special. Try different flavors to find your favorite!
Creative Presentation Ideas
Get creative with how you present your brownies. Dust them with powdered sugar for a pretty touch. Use a stencil to make fun shapes. Arrange them on a tiered stand for a festive look. You can even serve them in cute cupcake liners. This adds fun and makes serving easy!
FAQs
How long do chocolate fudge brownies last?
Chocolate fudge brownies last about 3 to 4 days at room temperature. Keep them in an airtight container to keep them fresh. If you store them in the fridge, they can last up to a week.
Can I freeze chocolate fudge brownies?
Yes, you can freeze chocolate fudge brownies. Wrap them in plastic wrap and then place them in a freezer bag. This way, they stay fresh for up to 3 months. To enjoy, just thaw them in the fridge overnight.
What is the best way to cut brownies?
To cut brownies well, chill them for a bit first. Use a sharp knife for clean edges. Wipe the knife with a damp cloth between cuts to avoid sticking.
Can I substitute cocoa powder with chocolate?
You can substitute cocoa powder with chocolate, but adjust the amounts. Use about 1 ounce of chocolate for every 3 tablespoons of cocoa powder. Melt the chocolate with butter for better mixing.
In this post, we explored how to make rich chocolate fudge brownies. We discussed the key ingredients and some optional add-ins. You learned step-by-step instructions for baking, along with tips to achieve that perfect texture. We also covered fun variations and serving ideas.
Brownies can be enjoyed in many ways, whether with ice cream or alone. Now you have the skills and knowledge to bake these treats. Enjoy sharing them with family and friends!


