Chocolate Covered Strawberry Brownies Savory Delight

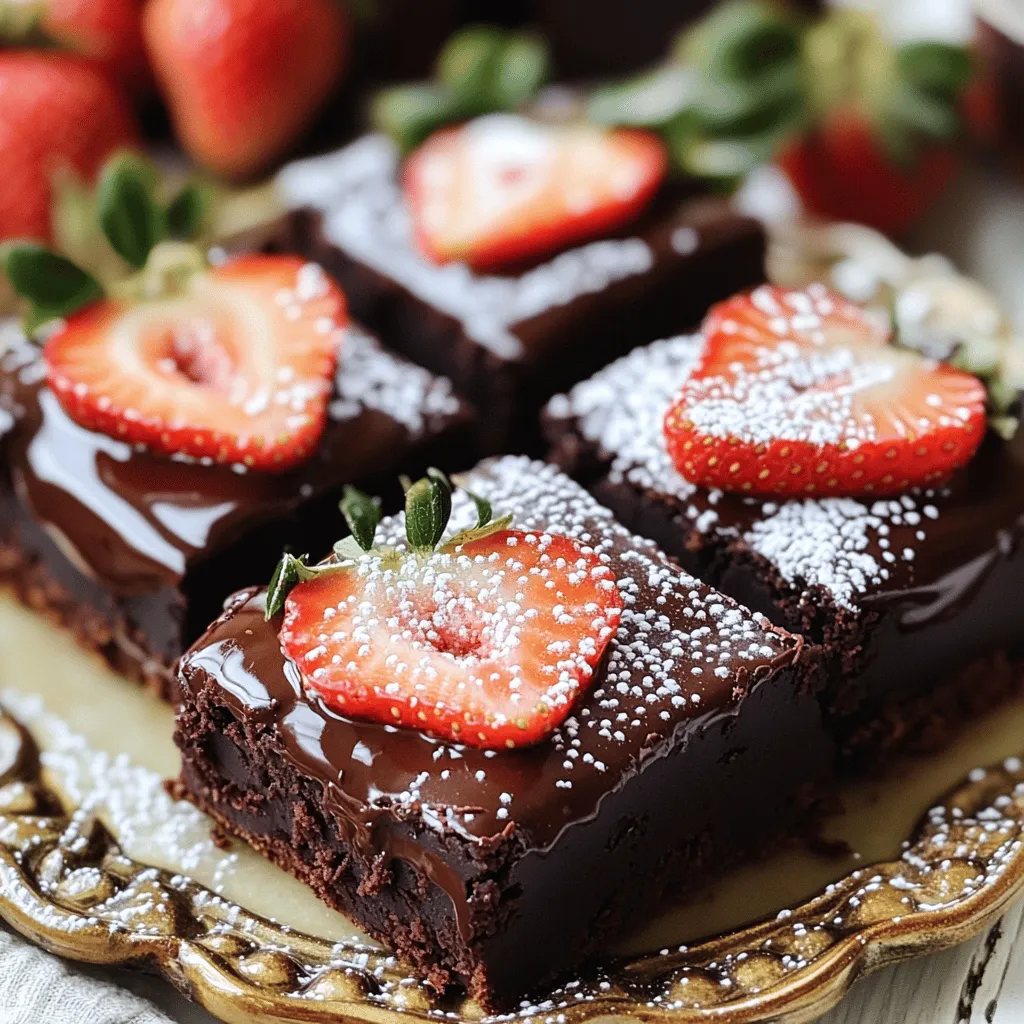
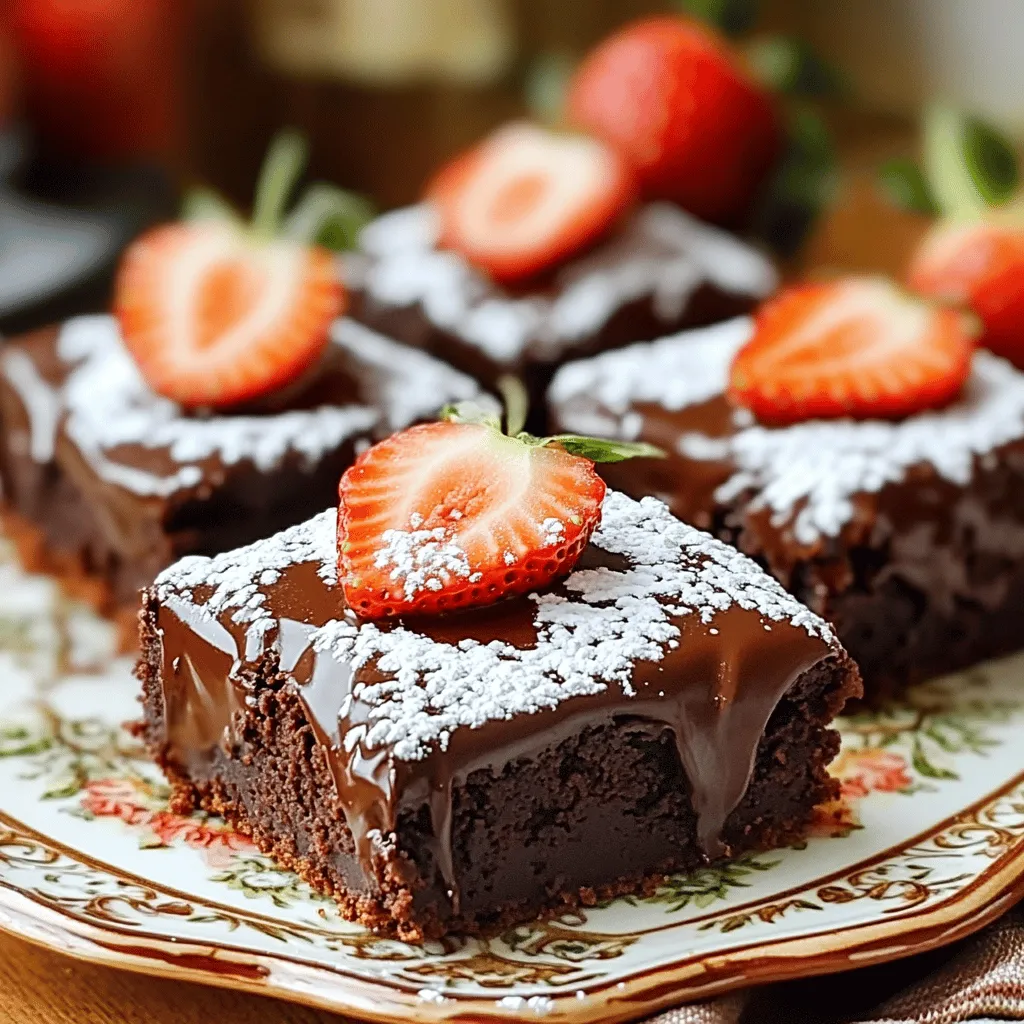
Are you ready to indulge in a sweet treat that combines the best of both worlds? My Chocolate Covered Strawberry Brownies are a win for any dessert lover. With rich chocolate, luscious strawberries, and a creamy ganache, they’re simply irresistible. Whether you’re baking for a special occasion or just because, these brownies will delight your taste buds. Let’s dive into the ingredients and get started on this delicious journey!
Ingredients
Here is the detailed list of ingredients you need for these chocolate covered strawberry brownies:
- 1 cup all-purpose flour
- 1/2 cup unsweetened cocoa powder
- 1/2 teaspoon baking powder
- 1/4 teaspoon salt
- 1/2 cup unsalted butter, melted
- 1 cup granulated sugar
- 2 large eggs
- 1 teaspoon vanilla extract
- 1 cup fresh strawberries, hulled and sliced
- 1/2 cup semi-sweet chocolate chips
- 1/2 cup heavy cream
- 1/4 cup powdered sugar
These ingredients create a rich and moist brownie base. The cocoa powder adds deep chocolate flavor, while the strawberries bring in natural sweetness and freshness. The chocolate ganache on top makes each bite a delight. You will love how they come together!
Step-by-Step Instructions
Prepping the Oven and Pan
- Preheat oven to 350°F (175°C).
- Prepare an 8×8 inch baking pan by greasing it lightly. Line it with parchment paper. Leave some paper hanging over the edges. This will help you lift the brownies out later.
Mixing Dry Ingredients
- In a medium bowl, whisk together:
- 1 cup all-purpose flour
- 1/2 cup unsweetened cocoa powder
- 1/2 teaspoon baking powder
- 1/4 teaspoon salt
- Mix until all the dry ingredients blend well. Set this bowl aside.
Combining Wet Ingredients
- In a larger bowl, mix:
- 1/2 cup melted unsalted butter
- 1 cup granulated sugar
- Use a whisk or spatula to stir until smooth.
- Add 2 large eggs one at a time. Mix well after each egg.
- Finally, stir in 1 teaspoon vanilla extract to add flavor.
Creating the Batter
- Gradually fold the dry mix into the wet ingredients. Mix just until no dry flour remains.
- Overmixing can make brownies dense, so be gentle.
- Next, fold in 1 cup of hulled and sliced fresh strawberries. Distribute them evenly in the batter.
Baking the Brownies
- Pour the brownie batter into the prepared pan. Use a spatula to spread it evenly.
- Bake in your preheated oven for 20-25 minutes.
- Check doneness with a toothpick. It should come out with a few moist crumbs.
Making the Chocolate Ganache
- While the brownies bake, prepare the chocolate ganache.
- In a small saucepan, heat 1/2 cup heavy cream over medium heat until it simmers.
- Pour the hot cream over 1/2 cup semi-sweet chocolate chips in a heatproof bowl.
- Let it sit for about a minute. Then, stir until smooth and shiny.
This method ensures each step is clear and easy to follow, making your chocolate covered strawberry brownies a delightful treat!
Tips & Tricks
Ensuring Perfect Brownies
To make perfect brownies, avoid overmixing the batter. When you mix too much, they turn out dense and tough. Mix just until you no longer see dry flour.
Know when your brownies are done baking by checking with a toothpick. Insert it into the center. If it comes out with a few moist crumbs, they are ready. If it comes out wet with batter, bake a bit longer.
Ganache Consistency
For the best chocolate ganache, use semi-sweet chocolate chips and heavy cream. Heat the cream until it simmers, then pour it over the chocolate. Let it sit for a minute before stirring. This helps the chocolate melt evenly. Stir until the ganache is smooth and shiny. If it seems too thick, add a little more warm cream for the right texture.
Presentation Suggestions
Cut the cooled brownies into equal squares for a neat look. Use a sharp knife for clean cuts. Arrange them on a decorative platter. Top each brownie with a slice of fresh strawberry. Dust with powdered sugar using a fine sieve. This adds a lovely touch and makes your brownies look inviting.

Variations
Adding Different Ingredients
You can make these brownies your own by adding nuts or other berries. Try walnuts or pecans for a nice crunch. You can also use raspberries or blueberries if you want a fruity twist. Just remember to chop nuts and berries into smaller pieces. This way, they mix well into the batter.
Alternate Frosting Options
If you want to switch things up, consider using white chocolate ganache or cream cheese frosting. For white chocolate ganache, simply melt white chocolate with heavy cream. This creates a sweet and creamy topping. Cream cheese frosting adds a tangy flavor that pairs well with the sweet brownies. Both options give a new taste to your dessert.
Gluten-Free Options
If you need gluten-free brownies, swap out the all-purpose flour for a gluten-free blend. Many stores sell these blends that work well in baking. Just make sure to check the mix for any extra ingredients. This way, you still enjoy fudgy brownies without gluten.
Storage Info
Best Practices for Storing Brownies
To keep your chocolate covered strawberry brownies fresh, place them in an airtight container. You can store them at room temperature for up to three days. If you want them to last longer, refrigerate them. Just remember to let them cool completely before sealing.
- Room temperature: up to 3 days
- Refrigerator: up to 1 week
- Freezer: up to 3 months
If you freeze them, wrap each brownie in plastic wrap, then place them in a freezer bag. This helps prevent freezer burn.
How to Reheat Brownies
When you want to enjoy a warm brownie, reheating is easy. Preheat your oven to 350°F (175°C). Place the brownies on a baking sheet and cover them with foil. Heat for about 10 minutes. This keeps them soft and chewy.
You can also reheat in the microwave. Place a brownie on a microwave-safe plate. Heat for 10-15 seconds. Check if it’s warm enough. Be careful not to overheat; they can become tough.
Shelf Life
These brownies stay fresh for a while. At room temperature, they last about three days. In the fridge, they stay good for one week. If you freeze them, they can last up to three months. Just make sure to wrap them well. This way, you can enjoy a sweet treat anytime!
FAQs
Can I make these brownies ahead of time?
Yes, you can make these brownies ahead of time. Bake them, then cool fully. Wrap them well in plastic wrap or foil. Store in the fridge for up to a week. You can also freeze them for up to three months. Just thaw before serving.
What should I do if my brownies are too dense?
If your brownies are too dense, try these tips:
- Check your mixing: Don’t overmix the batter. This can lead to density.
- Measure carefully: Use the right amount of flour and cocoa powder. Too much can make them heavy.
- Bake correctly: Overbaking can also cause density. Use a toothpick to check for doneness.
Can I substitute different types of chocolate?
Yes! You can use different types of chocolate. For the ganache, try dark or milk chocolate. You can also use white chocolate for a sweeter touch. In the batter, feel free to mix semi-sweet with dark chocolate chips. This adds a rich flavor.
Where can I buy Chocolate Covered Strawberry Brownies?
You can find Chocolate Covered Strawberry Brownies at local bakeries. Many bakeries sell gourmet brownies. You might also look online. Some websites offer delivery of freshly baked brownies. Check out specialty dessert shops for unique options.
This blog post laid out how to make delicious chocolate-covered strawberry brownies. We covered each ingredient you need and shared step-by-step instructions. Now you know tips for perfect brownies, variations you can try, and how to store them.
With these simple steps, you can impress anyone with your baking. Enjoy creating and sharing these treats! Happy baking!


![- 1 cup green or brown lentils - 1 tablespoon olive oil - 1 medium onion, finely chopped - 2 cloves garlic, minced - 2 medium carrots, diced into bite-size pieces - 2 stalks celery, diced - 1 red bell pepper, diced - Ground cumin - Smoked paprika - Turmeric - Salt - Black pepper - 6 cups vegetable broth (preferably low-sodium) - 1 (14-ounce) can diced tomatoes, including their juices - 2 tablespoons fresh lemon juice In this vegan lentil soup, I love using green or brown lentils. They add a hearty feel. The olive oil helps to sauté the veggies, making them soft and full of flavor. The mix of vegetables is key. You need an onion for sweetness. Garlic adds a nice kick. Carrots and celery give texture. The red bell pepper adds color and sweetness. For spices, I use ground cumin and smoked paprika. They bring warmth and depth. A bit of turmeric adds a lovely golden hue. Salt and black pepper round out the flavors. Liquid ingredients are vital too. I use vegetable broth for a rich base. Diced tomatoes add acidity and sweetness. Lastly, fresh lemon juice brightens the dish. You can find the full recipe above for all the details! - Rinse the lentils and chop the vegetables. - Heat olive oil and sauté onion and garlic. Start by rinsing one cup of green or brown lentils under cold water. This helps remove any dirt or debris. While the lentils drain, chop your vegetables. You will need one medium onion, two cloves of garlic, two medium carrots, two stalks of celery, and one red bell pepper. Next, in a large pot, heat one tablespoon of olive oil over medium heat. Add the chopped onion and cook for about five minutes. Stir until it becomes soft and clear. Then, add the minced garlic. Cook for one more minute to release its wonderful aroma. - Incorporate remaining vegetables and spices. - Add lentils, broth, and tomatoes, bring to a boil. Now, add the diced carrots, celery, and red bell pepper to the pot. Cook for another five to seven minutes. Stir often until the vegetables become tender. To build flavor, sprinkle in one teaspoon of ground cumin, one teaspoon of smoked paprika, and half a teaspoon of turmeric. Mix well and cook for one more minute. After the spices bloom, add the rinsed lentils, six cups of vegetable broth, and one can of diced tomatoes with their juices. Increase the heat and bring this mixture to a boil. Once it boils, reduce the heat and cover the pot. Let it simmer for 25 to 30 minutes, or until the lentils are soft but not mushy. - Simmer and add kale. - Season and serve. Once the lentils are cooked, stir in two cups of chopped kale. Let it simmer for an additional five to seven minutes. The kale should turn bright green and wilted. Now, season your soup with salt, freshly ground black pepper, and two tablespoons of fresh lemon juice. The lemon juice adds a nice zing. Taste it and adjust the seasoning as needed. Serve the soup hot, garnished with fresh parsley for a hint of color and flavor. For a full recipe, please see the [Full Recipe]. Enjoy your warm and nourishing vegan lentil soup! To boost the taste of your vegan lentil soup, consider these tips: - Add spices: Try bay leaf for depth or chili flakes for heat. - Sauté longer: Cook your vegetables a bit more. This gives a richer, deeper flavor. This soup shines when paired with the right sides. Here are my favorite ways: - Bread: Serve it with homemade bread for a warm, cozy meal. - Garnishes: Top it with nutritional yeast for a cheesy flavor or creamy avocado for richness. Lentils are packed with nutrients. Here’s why they are great: - Nutritional benefits: They provide protein, fiber, and iron, making them a healthy choice. - Leafy greens: Adding kale boosts vitamins and minerals. It also adds color and texture. For the full experience, check out the Full Recipe. These tips will help you create a dish that's not just tasty but also nourishing! {{image_4}} You can switch lentils for other beans or pulses. Black beans or chickpeas work well. Each bean adds a unique taste and texture to the soup. You can also use seasonal vegetables. Try zucchini in summer or butternut squash in fall. These swaps keep your soup fresh and exciting. To make your soup creamier, add coconut milk. It gives a rich texture and a hint of sweetness. You can also use fresh herbs like basil or cilantro. They add bright flavors and an herbal kick. A sprinkle of fresh herbs before serving makes a big difference. If you want a faster option, try an Instant Pot. Cook the soup on high pressure for about 15 minutes. You can also use a slow cooker. Simply set it on low for 6-8 hours. For a creamy version, use a blender. Blend half the soup and mix it back in. This makes the soup thick and smooth. Explore the [Full Recipe] for more ideas on making this soup your own! After enjoying your vegan lentil soup, you can store leftovers easily. Let the soup cool down first. Then, transfer it to airtight containers. Glass or plastic containers work well for this. Store it in the fridge for up to five days. For longer storage, freeze the soup. Use freezer-safe containers or bags to prevent freezer burn. The soup can last up to three months in the freezer. When it’s time to enjoy the soup again, reheat it gently. You can use a pot on the stove or a microwave. If using a pot, heat it over medium-low until warm. Stir occasionally to prevent sticking. In the microwave, use a microwave-safe bowl. Heat in short bursts, stirring in between. This helps heat evenly. Avoid overcooking, as the lentils may become mushy. Preparing for future meals is smart and easy with this soup. Chop your vegetables ahead of time, like onion, garlic, and carrots. Store them in the fridge for quick use. You can also rinse your lentils in advance and keep them in a container. Making larger batches is a great idea too. This way, you always have a warm, nourishing meal ready. Just follow the full recipe and freeze extra portions for busy days. Green and brown lentils are great for soup. They hold their shape well. Green lentils have a slightly peppery taste. Brown lentils are milder and cook faster. Both work well in this vegan lentil soup. Yes, you can adapt this recipe. If you prefer meat, try adding cooked chicken or sausage. For dairy, a splash of cream or some cheese can add richness. Just remember, this makes it less vegan. To thicken your soup, you have a few options. You can mash some lentils against the pot. Adding a spoonful of tomato paste also helps. If you want a creamier feel, blend a portion of the soup. These techniques will help you achieve the perfect consistency. For more details, check the full recipe. This blog post covers the key aspects of making a hearty lentil soup. We discussed the essential ingredients, including lentils, vegetables, and spices. I shared step-by-step instructions for preparing and cooking the soup. We explored tips for enhancing flavors and serving suggestions. You can create variations with different ingredients and learn best practices for storing and reheating leftovers. Lentil soup is a healthy, versatile meal that is easy to make. Enjoy experimenting with your own flavors and keep discovering new ways to make it.](https://dishtreats.com/wp-content/uploads/2025/06/c46bc7f1-46e5-4579-b786-1848127316df-768x768.webp)
. You’ll find all the details to make this delicious dish! This blog covered how to make delicious Sweet Potato Black Bean Chili. We explored ingredients, cooking steps, and tips for the best flavor. You can easily change this recipe to fit your taste. Try different veggies or beans to create new dishes. Remember to store leftovers properly and heat them right for maximum flavor. Enjoy your cooking and share this hearty chili with family and friends. It’s tasty, healthy, and satisfying!](https://dishtreats.com/wp-content/uploads/2025/07/29cb1591-b5b7-4cc4-a611-b282edbacc0b-768x768.webp)