Craving a sweet treat that’s easy to make and full of flavor? Look no further! My Chocolate Chip Cookie Bars are simple, delicious, and perfect for sharing. With just a few ingredients and easy steps, you’ll whip up a batch in no time. This guide covers everything from essential ingredients to baking tips. Let’s get baking and enjoy these gooey goodies together!
Ingredients
Essential Ingredients for Chocolate Chip Cookie Bars
– Butter, Sugars, and Eggs
For this recipe, you need butter, brown sugar, granulated sugar, and eggs. Use one cup of softened unsalted butter. The butter needs to be soft for easy mixing. You will also need one cup of brown sugar and half a cup of granulated sugar. These sugars add sweetness and help the bars stay soft. Finally, include two large eggs. They help bind everything together.
– Dry Ingredients: Flour, Baking Soda, Salt
The dry mix is just as important. You will need three cups of all-purpose flour. This gives the bars their shape and structure. Add one teaspoon of baking soda to help them rise. Lastly, use half a teaspoon of fine sea salt to balance the sweetness.
– Chocolate Chips and Optional Nuts
Chocolate chips are the star of this recipe. You will need two cups. Semi-sweet or milk chocolate chips work great. If you like a crunch, add half a cup of chopped walnuts or pecans. This is optional but adds a nice texture.
Step-by-Step Instructions
Preheat and Prepare Your Baking Dish
Setting Your Oven Temperature
Start by preheating your oven to 350°F (175°C). This step is key for even baking.
Greasing or Lining the Baking Dish
Next, grab a 9×13-inch baking dish. Lightly grease it with butter or line it with parchment paper. This makes it easy to remove the bars later.
Mixing the Ingredients
Creaming the Butter and Sugars
In a large bowl, combine the softened butter, brown sugar, and granulated sugar. Use an electric mixer on medium speed. Mix until it is light and fluffy, which takes about 2-3 minutes.
Incorporating Eggs and Vanilla
Add the eggs one by one. Mix well after each addition. Then, pour in the vanilla extract and mix until it’s all combined.
Combining Dry and Wet Ingredients
Mixing Dry Ingredients Thoroughly
In another bowl, whisk together the all-purpose flour, baking soda, and sea salt. This helps to evenly distribute all leavening and seasoning.
Folding in Chocolate and Nuts
Gradually add the dry mixture to the wet mixture. Gently stir until just combined. Be careful not to overmix. Then, fold in the chocolate chips and any optional nuts for that extra crunch.
Baking the Cookie Bars
Spreading the Dough in the Baking Dish
Transfer the dough into the prepared baking dish. Use a spatula to spread it evenly. Smooth the surface to ensure an even bake.
Baking Time and Checking for Doneness
Place the dish in the oven. Bake for 25-30 minutes. Watch for the edges to turn golden brown. A toothpick inserted in the center should come out clean or with a few moist crumbs.
Cooling and Cutting the Bars
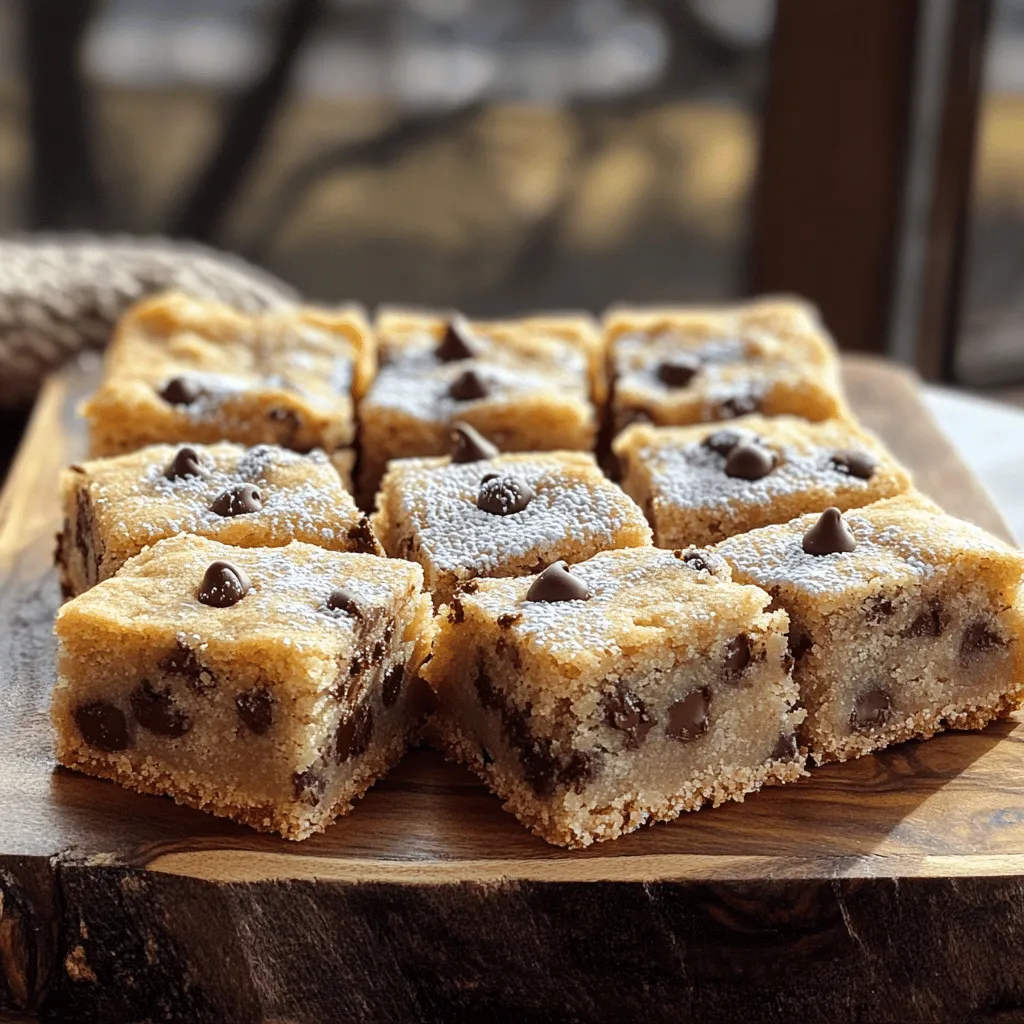
Once baked, remove the dish from the oven. Let it cool in the pan for about 10 minutes. Then, transfer the bars to a wire rack to cool completely. Once cool, slice them into squares or bars. You now have delicious chocolate chip cookie bars!
Tips & Tricks
Best Practices for Perfect Cookie Bars
– Measuring Ingredients Accurately: Use measuring cups and spoons for best results. Fill each cup carefully to avoid too much or too little of an ingredient. Too much flour can make your bars dry. Too little can make them too gooey. Precision is key for great cookie bars.
– Avoiding Overmixing the Dough: Once you combine the wet and dry ingredients, mix gently. Overmixing can lead to tough cookie bars. Stir until just combined for soft, chewy bars that melt in your mouth.
Customization Ideas
– Adding Different Types of Chocolate: You can mix semi-sweet, milk, or dark chocolate chips. Try white chocolate or even butterscotch chips for a fun twist. Each type of chocolate adds a unique flavor.
– Incorporating Flavor Enhancements: Consider adding nuts like walnuts or pecans for crunch. You can also mix in a pinch of cinnamon for warmth. For a tropical touch, try shredded coconut. Get creative and adjust to your taste!
Serving Suggestions
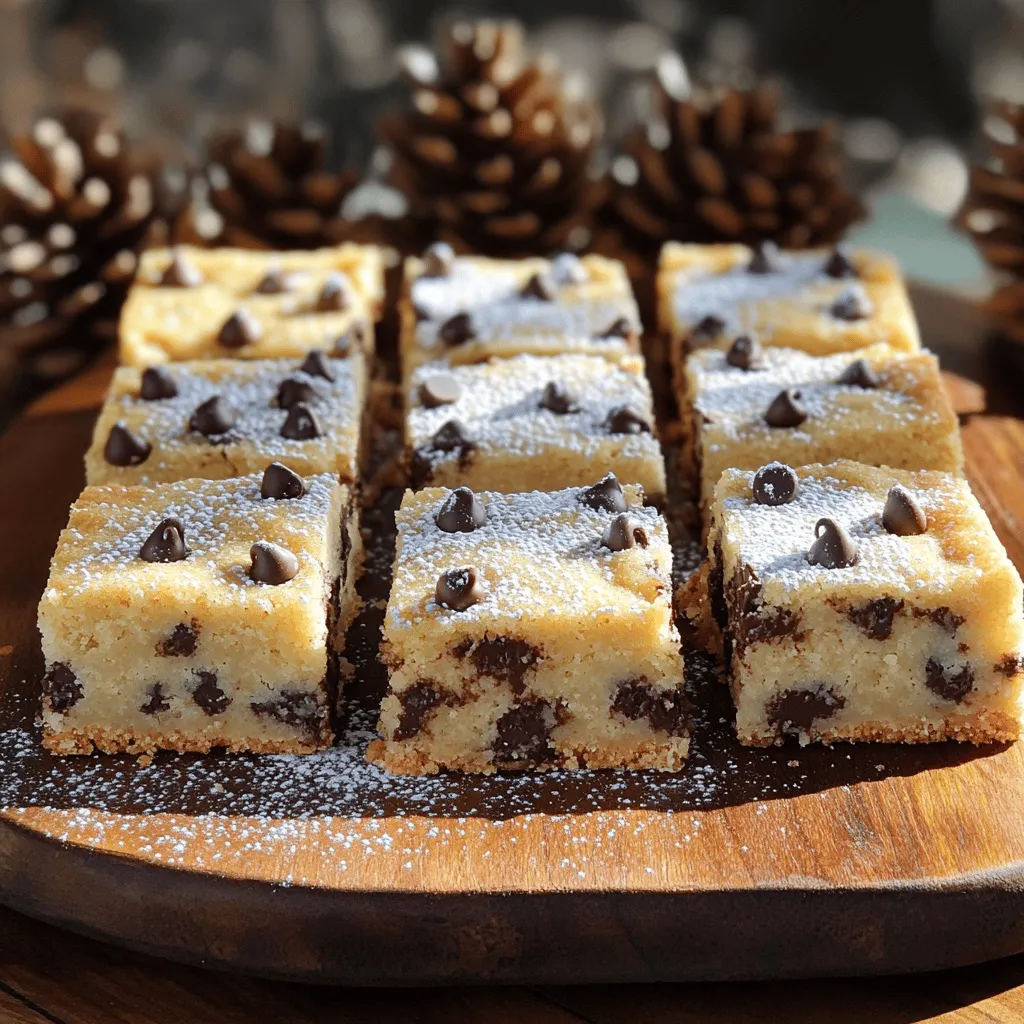
– Plating Ideas and Pairings with Beverages: Serve your cookie bars on a nice plate. A wooden board adds a rustic touch. Pair with a glass of cold milk or a warm cup of coffee. The flavors blend perfectly!
– Storing Leftovers Properly: Keep cookie bars in an airtight container to maintain freshness. They last up to a week at room temperature. If you want to save them longer, freeze individual bars. Just wrap each one tightly and store in a freezer bag. Enjoy them later whenever you crave a sweet treat!
Variations
Gluten-Free Chocolate Chip Cookie Bars
To make gluten-free chocolate chip cookie bars, swap regular flour for gluten-free options. You can use almond flour, coconut flour, or a gluten-free all-purpose blend. Each flour has a unique taste and texture, so choose what suits you best.
For the best texture, try adding a bit of cornstarch. This helps maintain a soft and chewy bar. Mix the gluten-free flour blend with baking soda and salt just like in the original recipe.
Vegan Chocolate Chip Cookie Bars
To create vegan chocolate chip cookie bars, you need to replace eggs and butter. Use flaxseed meal and water as an egg substitute. Mix one tablespoon of flaxseed with three tablespoons of water. Let it sit for a few minutes to thicken.
For butter, choose a plant-based butter. This will give you the same creamy texture. You can also use coconut oil if you prefer.
When it comes to sweetness, consider using maple syrup or agave nectar. These alternatives add a nice flavor while keeping your bars vegan-friendly.
Healthier Versions
If you want a lighter treat, reduce the sugar in your recipe. You can cut the sugar by a third without losing taste. Try using natural sweeteners like honey or maple syrup for a healthier option.
Adding oats or nut butters can also boost nutrition. Substitute a cup of flour with oats for a chewy texture. Peanut butter or almond butter can add richness and flavor.
Feel free to mix and match these ideas to find what you love!
Storage Info
How to Store Cookie Bars
To keep your cookie bars fresh, store them in an airtight container. You can leave them at room temperature for a few days. If you want to keep them longer, put them in the fridge. Just remember, the cold can change the texture a bit.
For freezing, wrap each bar in plastic wrap. Then, place them in a freezer-safe bag. This way, they can last up to three months! When you want to enjoy them, just thaw overnight in the fridge.
Shelf Life of Chocolate Chip Cookie Bars
How long do they last? At room temperature, cookie bars stay fresh for about 3 to 5 days. In the fridge, they can last up to a week. If frozen, they can hold their quality for 3 months.
Signs of freshness include a soft and chewy texture. If they feel hard or dry, they may be past their prime. A quick smell test can also help. If they smell off, it’s time to toss them.
Remember, enjoying your chocolate chip cookie bars fresh is always best!
FAQs
Common Questions About Chocolate Chip Cookie Bars
Can I use dark chocolate instead of semi-sweet?
Yes, you can use dark chocolate. It adds a richer flavor. Dark chocolate makes the bars less sweet. This change gives you a nice balance in taste. If you love dark chocolate, go for it!
What can I substitute for eggs in this recipe?
You can use applesauce or mashed bananas. Use 1/4 cup for each egg. This keeps the bars moist. It also adds a bit of natural sweetness. Another option is flaxseed meal mixed with water. Mix 1 tablespoon of flaxseed meal with 2.5 tablespoons of water. Let it sit for five minutes before using.
How do I know when the cookie bars are done baking?
Check the edges for a golden brown color. The center should look set but may be soft. Insert a toothpick in the center. If it comes out clean or with a few crumbs, they are done. Let them cool before cutting for the best results.
You now know how to make delicious chocolate chip cookie bars from scratch. We covered essential ingredients, step-by-step instructions, and expert tips. You learned about gluten-free and vegan options, plus how to store them well. Remember, measuring accurately and not overmixing are key for the best results. Enjoy your baking journey. Share these tips with friends so everyone can enjoy these tasty treats!


