Are you ready to indulge in a treat that combines two favorite snacks? Chocolate Chip Banana Bread Cookies offer the perfect blend of soft banana bread and gooey chocolate chips. In this post, I’ll share the simple ingredients and easy steps you need to create this delightful dessert. Get your baking gear ready; your taste buds will thank you! Let’s dive in and make magic happen in your kitchen!
Why I Love This Recipe
- Delicious Flavor Combination: The sweet bananas perfectly complement the rich chocolate, creating a delightful treat that satisfies any sweet tooth.
- Easy to Make: This recipe requires minimal effort and ingredients, making it perfect for both novice and experienced bakers alike.
- Healthy Twist: Using ripe bananas not only adds natural sweetness but also incorporates additional nutrients, making these cookies a bit healthier than traditional ones.
- Customizable: Feel free to add your favorite nuts or even replace chocolate chips with dried fruits for a unique twist on the classic cookie.
Ingredients
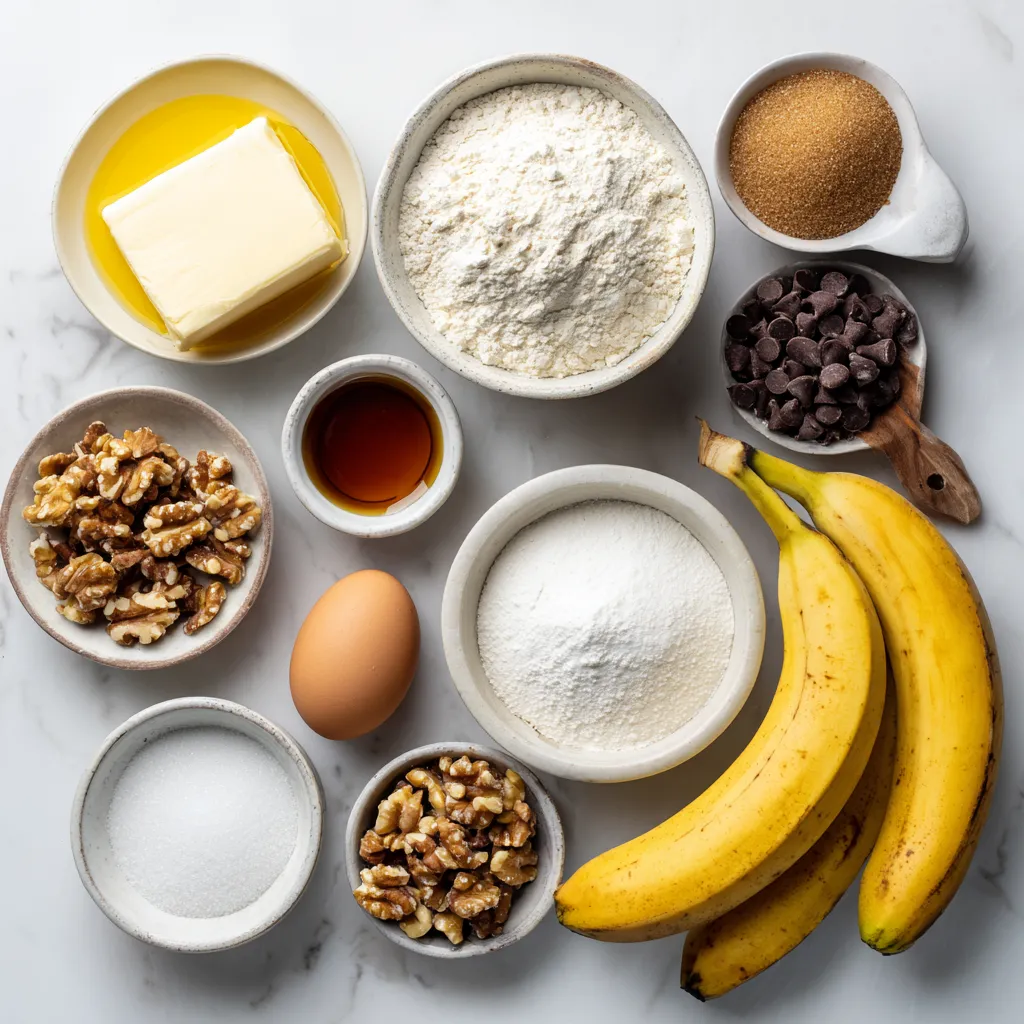
List of Ingredients
– 2 ripe bananas, thoroughly mashed
– 1/2 cup unsalted butter, softened to room temperature
– 1/2 cup packed brown sugar
– 1/4 cup granulated sugar
– 1 large egg, at room temperature
– 1 teaspoon pure vanilla extract
– 1 cup all-purpose flour
– 1/2 teaspoon baking soda
– 1/4 teaspoon fine sea salt
– 1/2 cup semi-sweet chocolate chips
– 1/2 cup chopped walnuts (optional)
To make chocolate chip banana bread cookies, you need fresh, ripe bananas. The riper the bananas, the sweeter your cookies will be. You want them to be soft and brown. Next, you need butter. Unsalted butter works best. It should be soft to mix easily.
You will also need both brown and granulated sugar. Brown sugar adds moisture and a rich flavor. Granulated sugar helps with the cookies’ texture. A large egg is essential too. Use one that is at room temperature for better mixing.
Don’t forget vanilla extract. It gives a lovely aroma and taste. For the dry ingredients, you need all-purpose flour, baking soda, and sea salt. The flour makes the dough strong, while baking soda helps it rise. Sea salt is key for flavor.
Finally, we have the stars of our cookies—semi-sweet chocolate chips. They add sweetness and gooeyness. If you like a crunch, add chopped walnuts. They are optional but delicious! These ingredients come together to create a delightful treat everyone will love.
Step-by-Step Instructions
Preheating the Oven
Start by preheating your oven to 350°F (175°C). This ensures even baking. Next, prepare your baking sheet. Line it with parchment paper. This will help the cookies not stick.
Creaming the Butter and Sugars
In a large bowl, add the softened butter, brown sugar, and granulated sugar. Mix these together until light and fluffy. This step gives your cookies a great texture. It takes about 2-3 minutes.
Mixing Wet Ingredients
Now, add the mashed bananas, egg, and vanilla extract to the bowl. Blend everything until smooth. Proper mixing is key for a uniform taste. You want all flavors to shine in every bite.
Combining Dry Ingredients
In a separate bowl, whisk together the flour, baking soda, and sea salt. This will help the leavening agent spread evenly. Gradually add this dry mix to the wet ingredients. Stir gently until just combined. Don’t overmix; this keeps your cookies tender.
Adding Chocolate and Nuts
Carefully fold in the chocolate chips and walnuts, if you choose to use them. Make sure they are spread evenly in the dough. This ensures every cookie has a delicious bite of chocolate.
Shaping and Baking the Cookies
Using a tablespoon, scoop dough onto your prepared baking sheet. Space the dough balls about 2 inches apart. This allows them to spread while baking. Bake them for 10-12 minutes. Look for golden edges and soft centers.
Once baked, remove the cookies from the oven. Let them cool on the baking sheet for about 5 minutes. After that, transfer them to a wire rack to cool completely. This will help them firm up.
Tips & Tricks
Baking Time Variations
Different ovens may need slight changes in baking time. If your oven runs hot, check the cookies a minute or two early. The edges should turn golden brown, while the centers remain soft. If your oven runs cool, add an extra minute or two. Always trust your eyes and nose.
Achieving the Perfect Texture
Mixing is key to the cookie’s texture. Overmixing can make them tough. Once you add the dry ingredients, stir just until combined. A few lumps are okay! This keeps your cookies light and chewy. Remember, less is more when it comes to mixing.
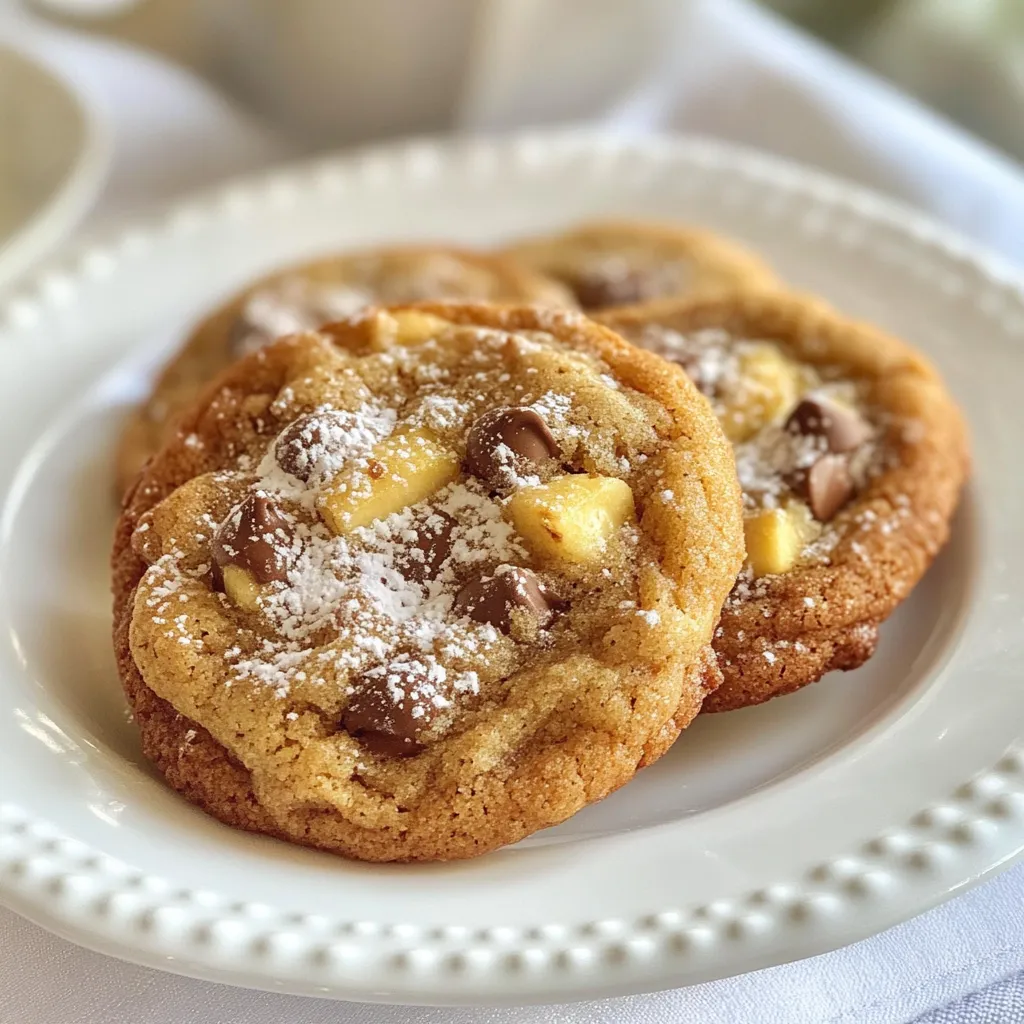
Serving Suggestions
Presentation matters. Arrange the cookies on a colorful plate for a fun look. A light dusting of powdered sugar adds sweetness and charm. For a yummy treat, serve with a scoop of vanilla ice cream. The warm cookie and cold ice cream create a delightful contrast. Enjoy!
Pro Tips
- Use Overripe Bananas: The riper the bananas, the sweeter and more flavorful your cookies will be. Look for bananas with lots of brown spots for the best results.
- Chill the Dough: For even better cookies, chill the dough in the refrigerator for 30 minutes before baking. This helps prevent spreading and enhances the flavors.
- Experiment with Add-ins: Feel free to customize your cookies by adding other mix-ins such as dried fruits, coconut flakes, or different types of nuts for added texture and flavor.
- Store Properly: Keep your cookies in an airtight container at room temperature for up to a week, or freeze them for longer storage. They can be enjoyed later with just a few seconds in the microwave!
Variations
Alternative Add-Ins
You can change the chocolate type in these cookies. Try using dark or white chocolate chips for a new taste. Walnuts add a nice crunch, but you can swap them for pecans or almonds. Dried fruits like raisins or cranberries add sweetness, too. For a fun twist, try adding spices like ginger or cardamom. These flavors will give your cookies a unique touch.
Healthier Options
To make these cookies healthier, consider using whole wheat flour instead of all-purpose flour. This swap adds fiber and nutrients. You can also lower the sugar by using honey or maple syrup. For a vegan version, replace the egg with a flax egg or applesauce. Use coconut oil instead of butter for a healthier fat option. These changes keep the cookies tasty while making them better for you.
Flavor Enhancements
You can boost flavors by adding spices. Cinnamon or nutmeg makes the cookies warm and cozy. A splash of almond or coconut extract can change the whole flavor profile. If you want a more tropical taste, consider adding shredded coconut. These enhancements let you customize your cookies to your liking. Everyone will love the added depth of flavor!
Storage Info
Best Storage Practices
To keep your chocolate chip banana bread cookies fresh, use airtight containers. A good option is a plastic or glass container with a tight lid. Store them at room temperature for the best taste. Avoid placing them in the fridge, as that can dry them out.
Freezing the Cookies
You can freeze these cookies in two ways. For uncooked dough, scoop the dough into balls and place them on a baking sheet. Freeze until firm, then transfer to a freezer bag. For baked cookies, let them cool first. Then, place them in an airtight container or bag.
To thaw, take the cookies out and let them sit at room temperature for about 30 minutes. For dough, you can bake straight from the freezer. Just add a couple of extra minutes to the baking time.
Expiry and Freshness Tips
Watch for signs of spoilage. If cookies become hard or have an off smell, it’s time to toss them. Properly stored, these cookies last about a week at room temperature. If you freeze them, they can last up to three months. Enjoy your delightful treats!
FAQs
Can I use ripe bananas that are overripe?
Yes, you can use overripe bananas. They add more sweetness and flavor. Overripe bananas have a softer texture. This makes them easy to mash. The natural sugars in these bananas enhance the taste. Just be sure they are not moldy. They should smell sweet and fruity.
How to prevent cookies from spreading too much?
To stop cookies from spreading too much, chill the dough first. This helps keep their shape during baking. Use the right ratio of flour to wet ingredients. If the dough is too wet, add a bit more flour. Make sure your oven is preheated properly. Baking on parchment paper also helps keep them in shape.
What can I substitute for chocolate chips?
You can use many things instead of chocolate chips. Try chopped nuts, dried fruits, or white chocolate. If you want a twist, use peanut butter chips or butterscotch chips. Each option will give a new flavor to your cookies. Choose what you love or what you have at home.
How to make these cookies gluten-free?
To make gluten-free cookies, swap regular flour for gluten-free flour. You can use almond flour or a gluten-free blend. Just be sure to check that your baking soda is also gluten-free. Sometimes, adding a bit of xanthan gum helps with texture. Follow the rest of the recipe as usual. Your cookies will still be tasty!
This blog post covers how to make delicious banana chocolate chip cookies. We went through the needed ingredients, easy steps to bake, and tips to perfect your cookies. Remember to not overmix for the best texture. You can also explore fun variations, from different chocolates to healthier options. Store your cookies right and enjoy them fresh. With these ideas and tips, you’ll be a cookie expert in no time. Enjoy every bite of your homemade treat


