Cherry Oatmeal Chocolate Chip Muffins Easy Recipe

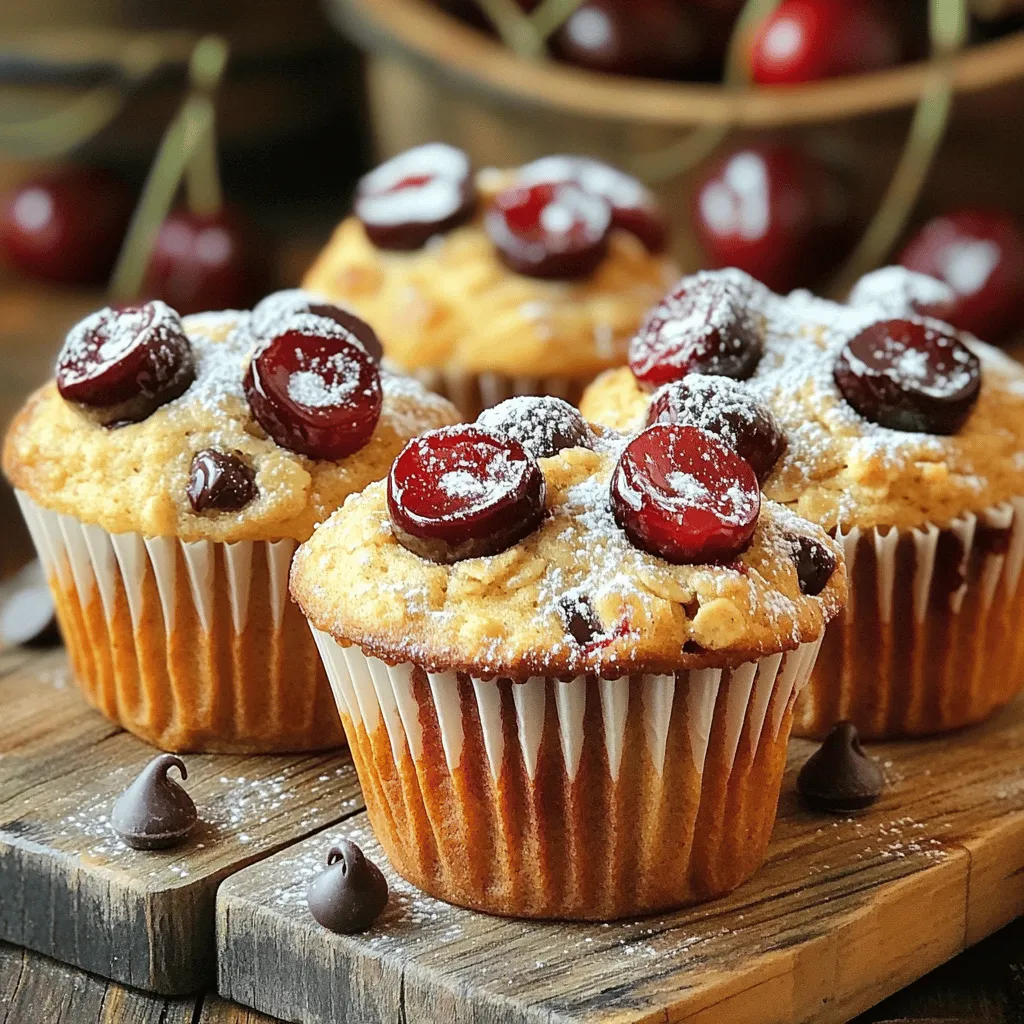
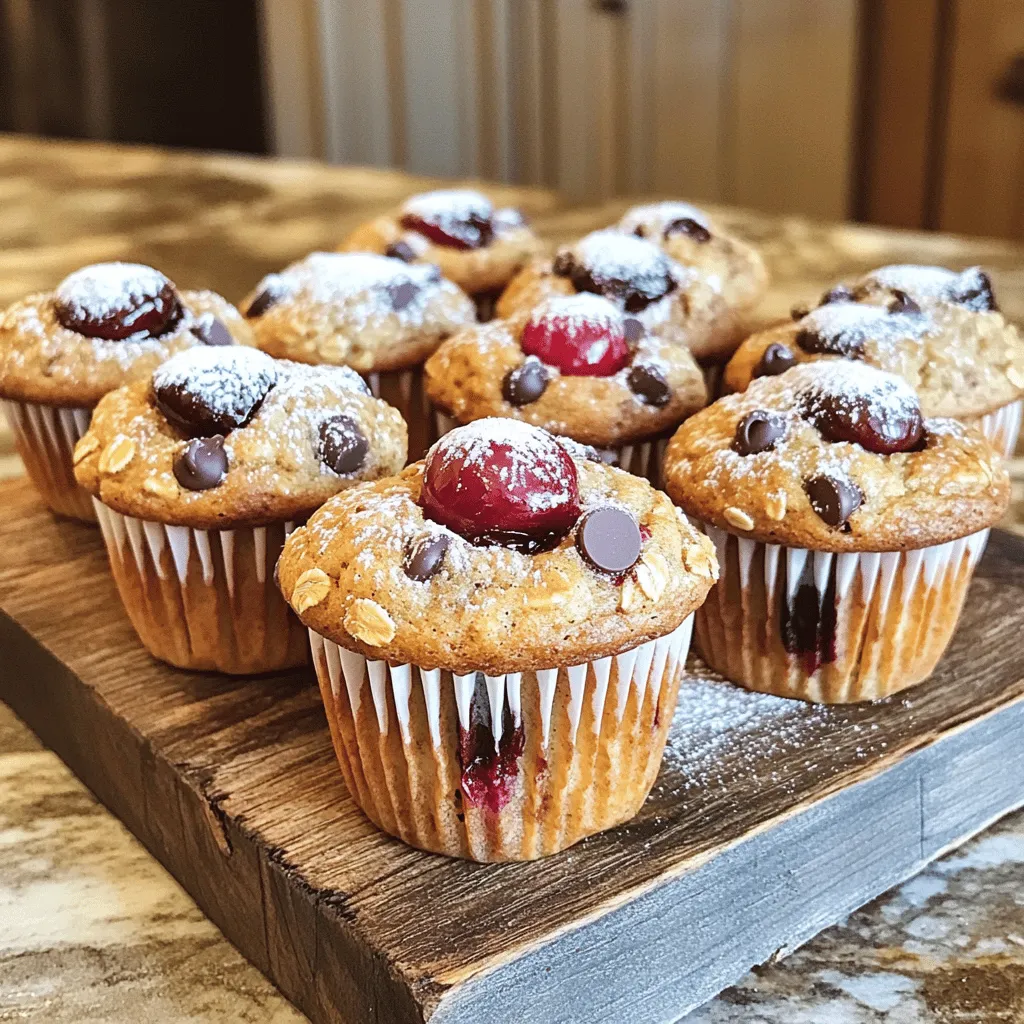
If you’re craving a sweet treat, you need to try my Cherry Oatmeal Chocolate Chip Muffins. This easy recipe combines juicy cherries, hearty oatmeal, and rich chocolate chips for a delicious snack or breakfast. With simple steps and common ingredients, you’ll whip up a batch in no time. Plus, I’ll share tips for making these muffins perfect every time, along with storage and fun variations. Ready to bake? Let’s dive in!
Ingredients
List of Ingredients
To make Cherry Oatmeal Chocolate Chip Muffins, you need the following:
- 1 cup rolled oats
- 1 cup milk (or almond milk for a dairy-free option)
- 1 cup all-purpose flour
- 1/2 cup packed brown sugar
- 1/4 cup granulated sugar
- 1/2 teaspoon baking powder
- 1/2 teaspoon baking soda
- 1/4 teaspoon salt
- 1/2 teaspoon ground cinnamon
- 1/3 cup vegetable oil
- 2 large eggs
- 1 teaspoon vanilla extract
- 1 cup fresh or frozen cherries, pitted and halved
- 1/2 cup semi-sweet chocolate chips
Substitutions for Dietary Preferences
If you want to change some ingredients, here are some options:
- Use almond milk instead of regular milk for a dairy-free option.
- Swap all-purpose flour with gluten-free flour for a gluten-free treat.
- Replace brown sugar with coconut sugar for a different sweetness.
- Use applesauce instead of eggs for a vegan version.
Nutritional Information Breakdown
These muffins are not just tasty; they also provide good nutrition. Here’s a rough breakdown per muffin:
- Calories: 180
- Protein: 4g
- Carbohydrates: 28g
- Fat: 7g
- Fiber: 2g
- Sugar: 8g
With these ingredients and options, you can make delicious Cherry Oatmeal Chocolate Chip Muffins.
Step-by-Step Instructions
Preparation Overview
To make cherry oatmeal chocolate chip muffins, start with simple steps. These muffins are quick to prep and bake. Gather your ingredients first. You need rolled oats, flour, sugars, and more. The process is easy and fun.
Detailed Instructions for Each Step
1. Preheat the Oven: Set your oven to 375°F (190°C). Get your muffin tin ready by lining it with paper liners or greasing it well. This helps the muffins not stick.
2. Soak the Oats: In a medium bowl, mix rolled oats with milk. Stir and let it sit for about 10 minutes. This softens the oats and makes them creamy.
3. Combine Dry Ingredients: In a large bowl, whisk together flour, brown sugar, granulated sugar, baking powder, baking soda, salt, and cinnamon. Mix well to avoid lumps.
4. Prepare Wet Ingredients: Add vegetable oil, eggs, and vanilla to the soaked oats. Whisk until smooth and well-mixed.
5. Combine Wet and Dry: Carefully fold the wet mix into the dry mix with a spatula. Mix until just combined. A few lumps are okay, so don’t overmix.
6. Incorporate Fruits: Gently fold in halved cherries and chocolate chips. Make sure they are evenly mixed in the batter.
7. Fill the Muffin Cups: Use a scoop or spoon to fill each muffin cup two-thirds full. This allows space for the muffins to rise.
8. Bake the Muffins: Place the muffin tin in the oven. Bake for 18-20 minutes. To check if they are done, insert a toothpick. It should come out clean.
9. Cool and Serve: Take the muffins out and let them cool in the pan for 5 minutes. Then move them to a wire rack to cool completely. Enjoy warm!
Tips for Testing Muffin Doneness
To check if your muffins are ready, use a toothpick. Insert it into the center of a muffin. If it comes out clean, your muffins are done. If there’s batter on the toothpick, bake for a few more minutes. Keep an eye on them to avoid overbaking. Trust your senses; the smell will guide you too!
Tips & Tricks
How to Ensure Incorporation of Ingredients
To get the best muffins, mix your wet and dry ingredients well. First, soak the oats in milk for ten minutes. This softens the oats and helps them blend. When you mix the wet and dry ingredients, do it gently. Use a spatula to fold them together. You want to see some lumps. This keeps your muffins light and fluffy.
Common Mistakes to Avoid
One big mistake is overmixing the batter. If you mix too much, your muffins can turn out dense. Another mistake is not measuring ingredients properly. Use measuring cups and spoons for accuracy. Also, don’t skip soaking the oats. This step is key to soft muffins. Finally, make sure your oven is preheated. If it’s not hot enough, your muffins won’t rise well.
Perfecting Texture and Moisture
For moist muffins, keep an eye on your baking time. Check them at 18 minutes. Insert a toothpick into the center. If it comes out clean, they’re done. If you want extra moisture, you can add a bit more milk or oil. Lastly, let the muffins cool in the pan for five minutes. This helps them stay moist and tasty.

Variations
Gluten-Free Option
You can easily make these cherry oatmeal chocolate chip muffins gluten-free. Simply swap the all-purpose flour with a 1:1 gluten-free flour blend. Ensure the blend you choose contains xanthan gum for the best texture. Check your oats too; make sure they are certified gluten-free. This way, you can enjoy the same great taste without gluten!
Vegan Modification
To make these muffins vegan, you can replace eggs with flaxseed meal. Mix 1 tablespoon of flaxseed meal with 2.5 tablespoons of water. Let it sit for a few minutes to thicken. Use almond milk instead of regular milk for a dairy-free option. The oats, cherries, and chocolate chips will still shine through in this plant-based version.
Flavor Add-Ins and Alternatives
Feel free to get creative with your muffins! Here are some fun ideas:
- Nuts: Add 1/2 cup of chopped walnuts or pecans for a crunchy bite.
- Spices: Try adding a pinch of nutmeg or allspice for warmth.
- Fruit Swaps: Use blueberries, raspberries, or diced apples instead of cherries for a twist.
- Chocolate Variants: Swap semi-sweet chocolate chips for dark or white chocolate chips.
These variations make the muffins fun and flexible. Don’t hesitate to mix and match based on your taste!
Storage Info
Best Storage Practices
To keep your cherry oatmeal chocolate chip muffins fresh, store them in an airtight container. This helps prevent them from drying out. If you have leftovers, let them cool completely before sealing. Place a piece of parchment paper between layers to keep them from sticking together. They stay fresh for up to three days at room temperature.
Freezing Muffins for Later Use
Freezing your muffins is easy. First, wrap each muffin in plastic wrap. Then, put them in a freezer-safe bag or container. This keeps them fresh for up to three months. When you’re ready to enjoy them, simply take out a muffin and let it thaw at room temperature. You can also pop it in the microwave for about 30 seconds for a quick treat.
Reheating Instructions
To warm your muffins, preheat your oven to 350°F (175°C). Place the muffins on a baking sheet and heat for about 10 minutes. This helps restore their soft texture. If you prefer the microwave, heat one muffin for about 15 to 20 seconds. Enjoy your muffins warm for the best taste!
FAQs
How can I make cherry oatmeal chocolate chip muffins healthier?
You can make these muffins healthier by using whole wheat flour instead of all-purpose flour. Also, reduce the sugar by half or use a natural sweetener like maple syrup. Adding ground flaxseed increases fiber and nutrients. You can also swap half of the oil for unsweetened applesauce. This keeps them moist while cutting down on fat.
Can I use dried cherries in this recipe?
Yes, you can use dried cherries. Just remember to chop them into smaller pieces. Dried cherries will add a nice chewy texture. Soak them in warm water for about 10 minutes before adding them to the mix. This helps them stay moist during baking.
How long do these muffins last?
These muffins stay fresh for about 3 to 4 days at room temperature. Store them in an airtight container to keep them soft. If you want them to last longer, you can freeze them. They will stay good for up to 3 months in the freezer.
What can I substitute for eggs in this recipe?
If you need an egg substitute, try using flax eggs. To make one flax egg, mix 1 tablespoon of ground flaxseed with 2.5 tablespoons of water. Let it sit for 5 minutes to thicken. You can also use unsweetened applesauce or mashed banana. Use 1/4 cup for each egg you replace. This keeps your muffins moist and adds flavor.
In this blog post, we explored every detail of making cherry oatmeal chocolate chip muffins. We covered ingredients, substitutions for diets, and nutritional breakdowns. I provided step-by-step instructions and tips to avoid common mistakes. You learned variations like gluten-free and vegan options. Lastly, I shared storage tips and frequently asked questions.
Now you’re ready to bake perfect muffins. Enjoy your delicious creations!


 link for all details! Asian Chicken Lettuce Wraps are fun, tasty, and easy to make. We covered key ingredients, step-by-step cooking, and helpful tips. You can mix things up with different proteins and veggies. Storing leftovers is simple, too. This dish is perfect for quick meals or impressing guests. Use the recipe and ideas to create your own version. Enjoy every bite, and share your creations!](https://dishtreats.com/wp-content/uploads/2025/07/cde1ffe3-32d5-41af-a230-f4c5c520fc8a-768x768.webp)

![- 2 cups diced apples - 1 cup celery, thinly sliced - 1 cup red grapes, halved - 1/2 cup walnuts, chopped - 1/2 cup raisins or dried cranberries - 1 cup plain Greek yogurt - 1 tablespoon honey - 1/2 teaspoon fresh lemon juice - Salt and pepper to taste - Lettuce leaves for serving Fresh produce makes this salad shine. I love using crisp apples, like Granny Smith, for their tartness. They add a nice crunch. The celery brings a refreshing snap, while juicy red grapes add sweetness. Nuts and dried fruits give texture and flavor. Chopped walnuts are my go-to. Toast them for even more flavor. Raisins or dried cranberries add a touch of sweetness, balancing the dish well. For the dressing, I use plain Greek yogurt. It’s creamy and healthy. Honey adds sweetness, and a bit of lemon juice brightens the flavors. Season with salt and pepper to enhance everything. Finally, serve on fresh lettuce leaves. They make a great base and add color. This combination of ingredients creates a delightful Waldorf salad. You can find the full recipe at [Full Recipe]. - Start by adding 2 cups of diced apples to a large bowl. - Drizzle the apples with 1/2 teaspoon of fresh lemon juice. This keeps them fresh and bright. - Next, slice 1 cup of celery into thin pieces. Add this to the bowl. - Halve 1 cup of red grapes and toss them in too. - In the same bowl, mix the fruit with 1/2 cup of chopped walnuts. - Add 1/2 cup of raisins or dried cranberries for sweetness. Gently toss the mixture. - In a separate bowl, combine 1 cup of plain Greek yogurt with 1 tablespoon of honey. Stir until smooth. - Carefully fold the yogurt dressing into the fruit mixture. Make sure everything is coated. - Season with salt and pepper to taste, folding gently to mix. - Cover the bowl and chill it in the fridge for at least 30 minutes. This helps the flavors blend. - When ready, serve on fresh lettuce leaves for a beautiful presentation. Enjoy your Waldorf salad! - For the complete recipe, check out the Full Recipe. You can swap out fruits and nuts to suit your taste. Try pears or oranges for a fresh twist. For nuts, almonds or pecans work well, too. If you want a creamier texture, use Greek yogurt instead of mayonnaise. The yogurt adds protein and keeps the salad light. Toasting walnuts really boosts their flavor. Just place them in a dry pan over medium heat. Stir them until they smell nutty and are lightly browned. You can also adjust sweetness or tartness. If the salad is too sweet, add a dash of lemon juice. For more sweetness, drizzle in extra honey. Serve your Waldorf salad on crisp lettuce leaves for a vibrant look. Arrange the salad in a large bowl or individual cups. Garnish with mint leaves for a fresh pop of color. You can also sprinkle extra toasted walnuts on top for added crunch. These simple touches make your dish stand out. For the full recipe, refer to the Waldorf Wonderland Salad 🥗. {{image_4}} The classic Waldorf salad uses simple, fresh ingredients. It combines apples, celery, grapes, and walnuts in a creamy dressing. Modern twists can add new flavors. You might see variations like adding chicken or swapping yogurt for mayonnaise. These changes keep the dish fresh and fun. You can experiment with spices, too. A hint of cinnamon or nutmeg can add warmth. If you want a vegan Waldorf salad, swap Greek yogurt for a plant-based option. Silken tofu blended with lemon juice makes a great dressing. For a gluten-free version, check your nuts and dried fruits. Most are safe, but some brands add gluten. You can also cut calories by using low-fat yogurt. This keeps the creaminess while reducing fat. Seasonal fruits can enhance the Waldorf salad. In fall, add sliced pears for sweetness. In winter, pomegranate seeds add color and crunch. Fresh berries in summer create a bright, juicy contrast. Each season brings a new twist to this classic salad. Try different fruits to match the season and your taste. The full recipe allows you to mix and match as you please. To store leftover Waldorf salad, place it in an airtight container. This keeps the salad fresh. Use a lid or plastic wrap to seal it well. The salad can last up to 3 days in the fridge. After that, the texture and flavor may change. If you see any browning apples, it’s best to toss them out. You can prepare some ingredients in advance. Chop your apples, celery, and grapes a day before. Keep them in separate containers in the fridge. This saves time when you want to make the salad. If you want to freeze Waldorf salad, I suggest not freezing it whole. The fruits will lose their crunch. Instead, freeze just the nuts or dried fruits. This keeps them fresh longer. When you are ready, mix them in fresh, chilled salad. You can enjoy that fresh taste even after storage! For the full recipe, check out the Waldorf Wonderland Salad. Waldorf Salad dates back to the late 1800s. A chef at the Waldorf Astoria Hotel in New York created it. The original recipe had only apples, celery, and mayonnaise. Over time, people added more ingredients, like walnuts and grapes. This salad became popular at formal dinners and events. It has a classic, timeless appeal that many enjoy today. Yes, you can prepare Waldorf Salad ahead of time. Make it a few hours before serving for best results. Just follow the steps of mixing everything and keep it in the fridge. This helps the flavors blend well. If you plan to serve it the next day, be careful with the apples. They can brown, so use lemon juice to keep them fresh. Waldorf Salad is quite healthy! It features fresh fruits and nuts, which offer great nutrients. Apples provide fiber and vitamins, while walnuts add healthy fats. The Greek yogurt dressing gives protein and a creamy texture. This salad is a great choice for a light meal or side dish. Eating it can help you feel full and satisfied. You can find the full recipe for this delightful salad [here](#). Waldorf salad combines fresh produce, nuts, and a creamy dressing. You learned how to prepare it step-by-step. I shared tips to enhance flavor and presentation. Feel free to adjust ingredients based on your taste. You can also explore various dietary options and seasonal fruits. This salad is not only tasty but also healthy. With proper storage methods, you’ll enjoy it for days. Now, it's time to create your own delicious version!](https://dishtreats.com/wp-content/uploads/2025/06/24fb7af7-5454-4649-a19f-39fd463a867f-768x768.webp)
![- 8 oz. spaghetti or pasta of your choice - 1 cup cherry tomatoes, halved - 1 cup zucchini, sliced into half-moons - 1 cup mixed bell peppers, sliced - 1 cup broccoli florets - 1 cup fresh spinach - 2 tablespoons extra virgin olive oil - 3 cloves garlic, finely minced - Zest and juice from 1 medium-sized lemon - 1 teaspoon dried oregano - Salt and freshly ground black pepper, to taste - Fresh basil leaves and grated Parmesan cheese (optional) When I craft my Pasta Primavera, I focus on fresh and vibrant veggies. The cherry tomatoes burst with flavor, giving a sweet touch. Zucchini adds a nice crunch, while bell peppers bring color. Broccoli florets add a delightful bite, and fresh spinach wilts perfectly into the mix. I love using extra virgin olive oil for its rich taste. Garlic gives it a fragrant kick. The zest and juice of the lemon brighten the dish and enhance all the flavors. Dried oregano is my go-to herb here, adding warmth and depth. A pinch of salt and pepper brings it all together. For a finishing touch, I often sprinkle fresh basil on top. You can also add grated Parmesan cheese for creaminess. This recipe is simple yet packed with flavor, perfect for any meal. To see the full recipe, check out the details above. - Fill a large pot with salted water. - Bring to a boil and cook pasta until al dente. - Reserve pasta water and drain. To cook the pasta, I fill a big pot with water and add a good amount of salt. This helps to flavor the pasta. Once the water boils, I add my spaghetti or whatever pasta I choose. I cook it until it is al dente, which means it is firm but cooked. Before draining, I set aside about one cup of the pasta water. This water is full of starch and will help make my sauce creamy later. - Heat olive oil in a skillet. - Sauté minced garlic for fragrance. - Add broccoli and mixed bell peppers, sauté for 3-4 minutes. Next, I heat some olive oil in a large skillet over medium heat. Once the oil is hot, I add minced garlic and sauté it for about 30 seconds. The smell is amazing! I have to be careful not to burn it. After that, I toss in the broccoli and mixed bell peppers. I sauté these for 3-4 minutes until they soften a bit but still have some crunch. - Incorporate zucchini and cherry tomatoes. - Add reserved pasta water and seasonings. - Let simmer to create sauce. Now, I add my zucchini and cherry tomatoes to the skillet. I stir everything for about three minutes. The tomatoes will start to release their juices, making the dish juicy. I then pour in the reserved pasta water, followed by the lemon juice and zest, and dried oregano. This creates a light sauce. I let it simmer for two minutes to blend the flavors. - Add drained pasta and fresh spinach. - Toss until well mixed. - Season to taste and plate with garnishes. Finally, I gently add the drained pasta to the skillet along with fresh spinach. I toss everything well so the pasta gets coated in the sauce. The heat wilts the spinach just right. I taste the dish and season it with salt and black pepper. To serve, I plate the pasta in deep bowls and garnish with fresh basil and a sprinkle of Parmesan cheese if I want. This dish looks and tastes great. You can find the full recipe for this delightful dish to enjoy! To achieve al dente pasta, you need to watch the clock. Start checking your pasta a minute before the package time. It should be firm but not hard. The texture is key! Reserving pasta water is a must. Always save about one cup before you drain it. This water is starchy and helps create a silky sauce later. It can make your dish creamy without adding heavy cream. To boost flavor, think about adding fresh herbs like parsley or thyme. You can also sprinkle in some red pepper flakes for heat. These add extra layers of taste and excitement. When sautéing vegetables, keep the heat high but don’t overcook them. Stir them quickly to keep their crunch. A short cooking time keeps veggies bright and fresh. For a beautiful presentation, use deep bowls for serving. This allows the colors to pop. A splash of lemon zest on top adds brightness, too. Garnishing can elevate your dish. Scatter fresh basil leaves over the top. A sprinkle of grated Parmesan cheese adds a nice touch. It makes your dish look like it came from a restaurant! For the full recipe, check out the detailed instructions above. Enjoy your cooking adventure! {{image_4}} You can change up the veggies in your Pasta Primavera with Lemon. Seasonal veggies work best. Try using asparagus, snap peas, or carrots. These will add color and flavor. If fresh veggies aren't available, frozen ones are a great option too. Just remember to thaw them and drain any excess water before cooking. This keeps your dish from getting soggy. Want to make your Pasta Primavera heartier? You can add protein! Chicken, shrimp, or tofu are great choices. If you use chicken, cook it in the skillet first, and then add the veggies. For shrimp, toss them in when the veggies are almost done. They only need a few minutes to cook. If you prefer tofu, press it to remove moisture, then cube and sauté until golden before adding it to the mix. Pasta Primavera is very flexible with pasta types. You can choose gluten-free pasta if you need it. Options like brown rice or quinoa pasta work well. Whole grain pasta is another healthy choice, adding fiber to your meal. If you want something unique, try legume-based pasta made from lentils or chickpeas. These add a nice twist and extra protein. For the full recipe, check out the [Full Recipe]. To keep your Pasta Primavera fresh, refrigerate it right after cooling. Place it in airtight containers. This helps lock in flavors and keeps it safe to eat. Always store leftovers within two hours of cooking. The pasta will taste great for up to three days in the fridge. When you reheat your pasta, use a stove or microwave. For the stove, add a splash of water or olive oil. Stir gently to heat evenly. If using a microwave, cover it to keep moisture in. Avoid overheating to prevent soggy pasta. Heat just until warm. To freeze Pasta Primavera, let it cool first. Transfer it to freezer-safe containers, leaving space for expansion. This dish can be frozen for up to three months. When ready to eat, thaw it overnight in the fridge. Reheat it on the stove or microwave, adding a bit of water to help it steam. Enjoy your flavorful veggie delight later! For the full recipe, check out the details above. Pasta Primavera lasts about 3 to 5 days in the fridge. To keep it fresh, store it in an airtight container. It’s best to let the pasta cool before sealing. This helps prevent moisture buildup, which can make it soggy. Yes, you can make Pasta Primavera ahead of time. To prepare, cook the pasta and veggies as usual. Let everything cool completely before storing. When you are ready to eat, just reheat it in a skillet over low heat. Add a splash of water or extra olive oil to keep it moist. If you need a lemon substitute, try lime juice or vinegar. Use the same amount, about 2 tablespoons. You can also use orange juice for a sweeter flavor. Adjust to your taste, as different fruits can change the dish's profile. Pasta Primavera is healthy and full of nutrients. It has lots of veggies like broccoli, spinach, and bell peppers. These provide vitamins and fiber. The olive oil adds healthy fats. Overall, this dish is low in calories and high in flavor, making it a great choice. Pasta Primavera is a simple and tasty dish. We discussed the essential ingredients, like pasta, fresh vegetables, and seasonings. I shared step-by-step instructions for cooking and combining ingredients. You can enhance flavors with herbs and spices while following tips for perfect presentation. Consider variations with protein and different pasta types for more options. Lastly, I covered storage and reheating to keep leftovers fresh. This dish is not only delicious but also healthy, making it a great meal for everyone. Enjoy experimenting with it!](https://dishtreats.com/wp-content/uploads/2025/05/1202f33f-9285-4746-af91-946a78d77e80-768x768.webp)