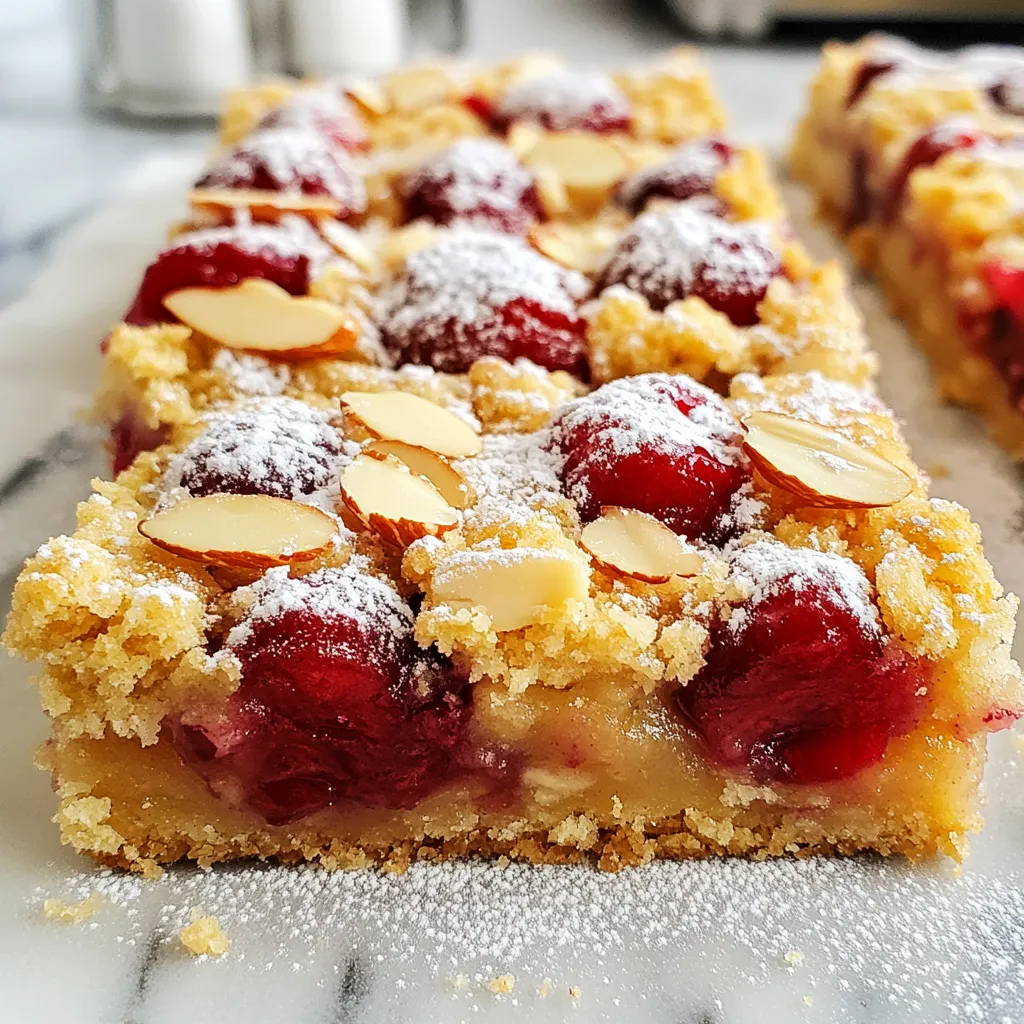
Looking for a delightful dessert that’s easy to make? Cherry Almond Crumble Bars combine juicy cherries with a buttery almond topping. You’ll love how simple it is to whip up these tasty bars. Whether you’re a baking novice or a pro, this recipe is perfect for any occasion. Let’s dive into the ingredients, step-by-step instructions, and expert tips that will elevate your dessert game!
Why I Love This Recipe
- Delicious Flavor Combination: The sweet and tart cherries perfectly complement the nutty flavor of almond flour, creating a delightful balance that is irresistible.
- Easy to Prepare: This recipe comes together quickly, making it a perfect choice for busy weeknights or spontaneous gatherings with friends and family.
- Healthy Ingredients: Using almond flour and oats not only adds a wholesome touch but also makes these bars a guilt-free treat packed with nutrients.
- Versatile Treat: These crumble bars can be enjoyed warm straight from the oven, or chilled as a refreshing dessert, making them a versatile addition to any occasion.
Ingredients
List of Ingredients
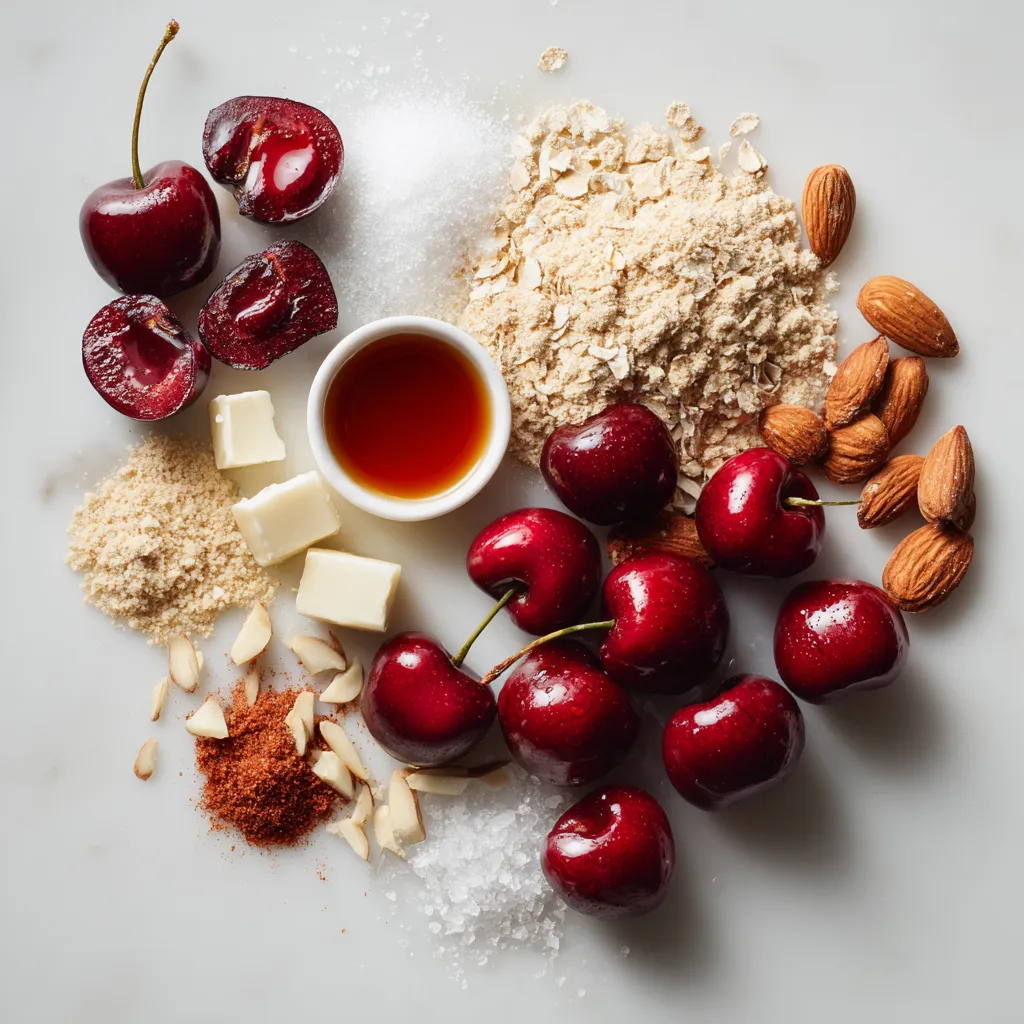
– 2 cups fresh or frozen cherries, pitted and halved
– 1 cup almond flour
– 1 cup rolled oats
– 1/2 cup packed brown sugar
– 1/4 cup granulated sugar
– 1/2 cup cold unsalted butter, cut into small cubes
– 1/2 teaspoon pure vanilla extract
– 1/4 teaspoon pure almond extract
– 1/2 teaspoon ground cinnamon
– 1/4 teaspoon sea salt
– 1/4 cup sliced almonds (for topping)
Ingredient Notes
You can use fresh or frozen cherries for this recipe. Fresh cherries taste great, but frozen cherries work well, too. If using frozen, do not thaw them first. This keeps them juicy as they bake. Almond flour gives the bars a nice nutty flavor. If you don’t have almond flour, you can use regular flour.
Suggested Substitutes
If you have nut allergies, use all-purpose flour instead of almond flour. For a dairy-free version, substitute the butter with coconut oil or a plant-based butter. If you prefer lower sugar, reduce the amount of brown sugar or use a sugar substitute like stevia. Adjusting these ingredients can help meet your dietary needs while keeping the bars tasty!
Step-by-Step Instructions
Preparation Overview
The prep time for Cherry Almond Crumble Bars is just 15 minutes. Once you add baking time, the total time is about 50 minutes. You will get 12 tasty bars from this recipe.
Detailed Baking Instructions
1. Preheat your oven: Start by setting your oven to 350°F (175°C). This helps the bars cook evenly.
2. Mix the dry ingredients: In a large bowl, combine the almond flour, rolled oats, brown sugar, granulated sugar, ground cinnamon, and sea salt. Stir them well until mixed.
3. Incorporate the butter: Add the cold, cubed butter to your bowl. Use your fingers or a pastry cutter to mix the butter in. Stop when the mix looks like coarse crumbs. Keep some bigger bits for a nice texture.
4. Create the base layer: Take half of the crumble mix and press it into the bottom of a 9×9-inch baking dish. Make sure it is flat and even for a strong base.
5. Prepare the cherries: In another bowl, toss the halved cherries with vanilla and almond extracts. Make sure they are coated well. Spread these cherries evenly over the base.
6. Add the crumble topping: Crumble the rest of the oat mixture over the cherries. Try to cover all the fruit for a crispy top.
7. Sprinkle with almonds: Add sliced almonds on top to give an extra crunch and flavor.
8. Bake: Put the dish in the oven and bake for 30-35 minutes. Look for a golden brown top and bubbling cherries to know they are ready.
Cooling and Serving Instructions
After baking, let the bars cool in the dish. Use the parchment paper to lift them out once cool. Cut the bars into squares or rectangles to serve. For a pretty touch, dust with powdered sugar or add fresh cherries on the side.
Tips & Tricks
Baking Tips for Perfect Crumble Texture
To get the best crumble texture, use cold butter. Cut it into small cubes and mix it with dry ingredients gently. This helps keep some butter chunks. These chunks will melt during baking and create a nice, crumbly top.
Advice for Even Baking
Make sure your oven is preheated to 350°F (175°C). This step is key for even baking. Place your baking dish in the center of the oven. This helps the heat circulate well around the bars. Check them around 30 minutes. Look for a golden brown top and bubbling cherries.
Presentation Ideas
To make your bars look fancy, dust them lightly with powdered sugar. This adds a nice touch and makes them look special. You can also garnish with fresh cherries or a sprig of mint. These small details make your dessert more appealing.
Pro Tips
- Use Fresh Cherries: For the best flavor and texture, opt for fresh cherries when in season. They provide a juicier filling compared to frozen ones.
- Chill the Butter: Ensure your butter is very cold before incorporating it into the crumble mixture. This helps create a flaky, crumbly texture in the baked bars.
- Customize Sweetness: Adjust the sweetness by varying the amount of brown and granulated sugar according to your taste or the tartness of your cherries.
- Let it Cool: Allow the bars to cool completely in the baking dish before cutting. This helps them set properly, making them easier to slice into neat squares.
Variations
Flavor Variations
You can change up the taste of your Cherry Almond Crumble Bars with different fruits or extracts. For example, try using blueberries, peaches, or raspberries instead of cherries. Each fruit brings its own flavor and sweetness. You can also swap almond extract for other extracts like lemon or coconut. This little change can give your bars a whole new vibe.
Dietary Adjustments
If you need gluten-free options, use certified gluten-free oats and almond flour. These swaps keep the texture and flavor great. For a vegan version, replace the butter with coconut oil or vegan butter. You can use a flax egg in place of the regular egg if the recipe calls for one. These adjustments make the bars friendly for many diets.
Serving Suggestions
These bars are delicious on their own, but pairing them can make them even better. Top your bars with a scoop of vanilla ice cream or a dollop of yogurt. The creaminess enhances the tartness of the cherries. You could also serve them with whipped cream or a sprinkle of nuts on top for added crunch. Enjoy these bars warm or chilled!
Storage Info
How to Store Leftover Bars
Once you finish enjoying your Cherry Almond Crumble Bars, store any leftovers in an airtight container. This keeps them fresh and tasty. Place parchment paper between the bars if you stack them. This prevents sticking. You can store them at room temperature for up to three days. For longer storage, use the freezing method below.
Freezing Instructions
To freeze your crumble bars, first, let them cool completely. Then, cut them into squares. Wrap each square tightly in plastic wrap. Next, place the wrapped bars in a freezer-safe bag or container. This way, they stay fresh for up to three months. When you’re ready to enjoy them, simply thaw in the fridge or at room temperature.
Shelf Life and Reheating Tips
Cherry Almond Crumble Bars last up to three days at room temperature. If you refrigerate them, they can last about a week. To reheat, place a bar in the microwave for about 10-15 seconds. This warms it up and brings back that fresh taste. If you prefer a crispier top, reheat in the oven at 350°F for about 5-10 minutes. Enjoy the warm, gooey cherries and crunchy topping!
FAQs
Can I make Cherry Almond Crumble Bars ahead of time?
Yes, you can make Cherry Almond Crumble Bars ahead of time. They store well in the fridge for up to five days. Simply let the bars cool completely after baking. Then, cover them tightly with plastic wrap or foil. If you want to keep them longer, you can freeze them. Wrap them in plastic and place them in an airtight container. They can last up to three months in the freezer. When you’re ready, just thaw them in the fridge overnight before enjoying.
What’s the best way to pit cherries?
Pitting cherries can be quick and easy. You can use a cherry pitter, which is the best tool for the job. If you don’t have one, a small paring knife works too. Just cut the cherry in half and twist to remove the pit. You can also use a chopstick or a straw. Simply push it through the cherry to pop the pit out. Remember to wear an apron or old clothes, as cherry juice can stain!
How do I know when the bars are done baking?
To tell if the Cherry Almond Crumble Bars are done, look for a golden brown top. The cherry filling should bubble slightly around the edges. This means the fruit is warm and cooked. You can also gently press the top with a finger; it should feel firm but not hard. If you see a nice golden hue and some bubbling, your bars are ready to come out of the oven!
In this post, I shared key steps to make Cherry Almond Crumble Bars. We covered essential ingredients and substitutes for diets. You learned detailed baking instructions and tips for a perfect texture. Variations let you customize this treat, and I included storage info for leftovers.
Remember, baking is fun and a great way to share flavors. Enjoy your baking journey and make these bars your ow


