Do you love cheesy comfort food but want a healthier option? My Cheesy Cauliflower Casserole is the answer! This flavorful dish combines creamy cheeses with tender cauliflower for a delightfully satisfying experience. Whether you’re cooking for a family dinner or a potluck, this easy recipe will impress everyone. Join me as I walk you through the ingredients, simple steps, and variations to make this dish your own! Let’s get started!
Ingredients
List of Ingredients
– 1 large head of cauliflower, trimmed and cut into bite-sized florets
– 1 cup shredded sharp cheddar cheese, divided
– 1 cup cream cheese, softened to room temperature
– 1 cup milk, preferably whole
– 1/2 cup grated Parmesan cheese
– 1 cup breadcrumbs (whole wheat or panko for extra crunch)
– 2 garlic cloves, finely minced
– 1 teaspoon onion powder
– Salt and freshly cracked black pepper to taste
– 2 tablespoons extra virgin olive oil
– Fresh parsley, finely chopped (for garnish)
Ingredient Substitutions
– For cheese lovers, try gouda or mozzarella for a different taste.
– If you want a dairy-free version, use cashew cream and dairy-free cheese.
– Whole grain breadcrumbs work well. For gluten-free, use crushed nuts or gluten-free crumbs.
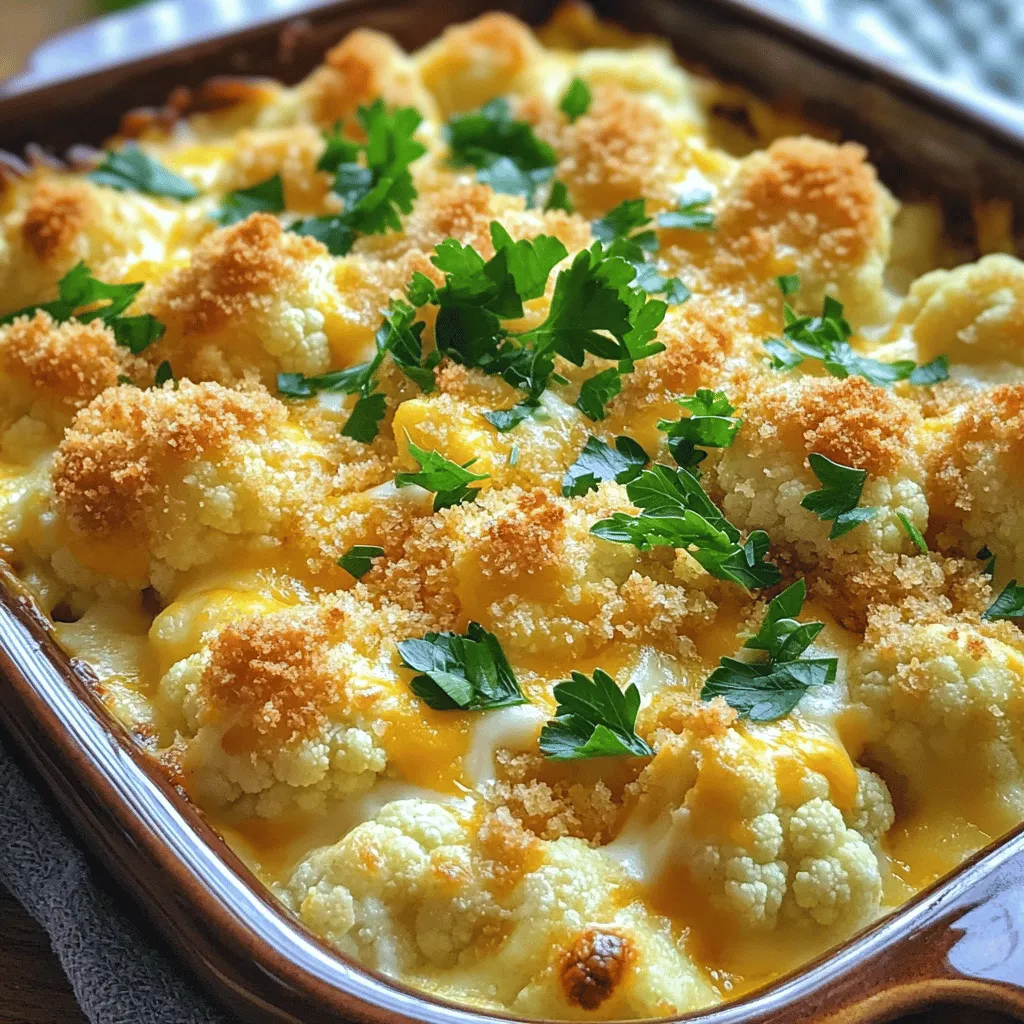
This cheesy cauliflower casserole is perfect for a cozy meal. The rich flavors come from simple ingredients, making it easy to enjoy.
Step-by-Step Instructions
Preheat The Oven
First, set your oven to 375°F (190°C). Preheating is key. It ensures even cooking and helps achieve a golden crust. If you skip this step, your casserole may not cook right.
Blanch The Cauliflower
Next, you will blanch the cauliflower. Fill a large pot with water and add a pinch of salt. Once it boils, gently add the cauliflower florets. Blanch them for about 5 minutes. They should be tender but still crunchy. Drain and let them cool. Keeping that crunch is important for the final dish.
Prepare The Cheese Mixture
Now, let’s make the cheese mixture. In a big bowl, mix softened cream cheese with milk until smooth. Then add minced garlic and onion powder. Finally, fold in half of the shredded cheddar cheese. You want it creamy and well-blended. This mixture adds great flavor.
Combine With Cauliflower
Next, fold the blanched cauliflower into the cheese mixture. Make sure each floret gets coated well. This is where you can add salt and freshly cracked black pepper. Taste it to ensure it’s seasoned just right.
Fill The Casserole Dish
Take a 9×13 inch casserole dish and grease it with olive oil or cooking spray. Pour the creamy cauliflower mixture into the dish. Spread it out evenly. This helps every bite to be delicious.
Bake To Perfection
Finally, bake your casserole. Place it in the oven for 25-30 minutes. Look for a golden brown top and bubbly cheese. When it’s done, let it cool for about 5 minutes before serving. This helps the flavors settle and makes it easier to serve.
Tips & Tricks
Perfecting the Texture
To get creamy cauliflower, use softened cream cheese and whole milk. This mix gives a rich feel. Blanch the cauliflower just right, so it stays firm. If you want a crispy topping, use panko breadcrumbs. They add extra crunch and texture. Mixing the breadcrumbs with a bit of olive oil helps them brown.
Flavor Enhancements
Try adding fresh herbs like thyme or rosemary for extra flavor. A pinch of smoked paprika can bring a nice twist too. If you like heat, consider some chili flakes. Always taste your mix before baking. Adjust salt and pepper to your liking. This will make sure every bite is just right.
Presentation Tips
For a fun touch, serve the casserole in individual ramekins. This makes each serving special. You can also top each ramekin with fresh parsley for color. Using a sprinkle of extra Parmesan adds a nice look and taste. Remember, we eat with our eyes first. A pretty dish makes it more inviting!

Variations
Low-Carb Version
To make a low-carb version, use cauliflower rice instead of whole florets. This change will keep the dish light and reduce carbs. You can also add other veggies like broccoli or spinach. These will boost the flavor and nutrition.
Vegan Adaptation
For a vegan option, swap dairy cheese with dairy-free cheese alternatives. Look for brands made from nuts or soy that melt well. You can also use plant-based cream options like coconut cream or cashew cream. This keeps the creamy texture without dairy.
Spice it Up
If you like heat, add chili flakes or jalapeños. These will give your casserole a nice kick. You may also explore global twists. Try Mediterranean flavors with olives and feta cheese, or go for Mexican flavors by adding black beans and corn. Each twist makes this dish exciting!
Storage Info
Storing Leftovers
To store leftovers, use an airtight container. Make sure to cool the casserole first. Place it in the fridge. It will stay fresh for about 3 to 5 days. Always check for signs of spoilage before eating.
Reheating Techniques
For reheating, the oven is best for keeping the texture. Preheat your oven to 350°F (175°C). Place the casserole in a baking dish. Cover it with foil to avoid drying out. Heat for about 20 minutes or until warm. Limit reheating to just once to keep it tasty.
Freezing Instructions
To freeze, let the casserole cool completely. Cut it into portions for easy use. Wrap each piece well in plastic wrap. Then place them in a freezer-safe bag. It can last up to 3 months. For thawing, place it in the fridge overnight for best results. This helps keep the quality.
FAQs
How to make cheesy cauliflower casserole?
To make this cheesy cauliflower casserole, follow these easy steps:
1. Preheat the oven: Set it to 375°F (190°C).
2. Blanch the cauliflower: Boil water with salt, then add cauliflower florets for about 5 minutes. Drain and let cool.
3. Prepare the cheese mixture: In a bowl, mix cream cheese and milk until smooth. Add minced garlic, onion powder, and half the cheddar cheese.
4. Combine with cauliflower: Fold the blanched cauliflower into the cheese mixture. Season with salt and pepper.
5. Fill the casserole dish: Grease a 9×13 inch dish and pour the mixture in.
6. Prepare the topping: Combine breadcrumbs, Parmesan, remaining cheddar, and olive oil. Sprinkle on top.
7. Bake: Cook in the oven for 25-30 minutes until golden brown.
8. Cool and garnish: Let it cool for a few minutes and add parsley on top.
Can I make this recipe ahead of time?
Yes, you can make this casserole ahead of time. Prepare it up to the baking step. Cover it and place it in the fridge for up to 24 hours. When ready to serve, bake it at 375°F (190°C) for about 30-35 minutes. You may need to add a few extra minutes if it’s cold from the fridge.
What can I serve with cheesy cauliflower casserole?
This casserole pairs well with many dishes. Here are some great options:
– Grilled chicken or fish for protein.
– A fresh green salad for crunch.
– Roasted vegetables for added nutrition.
– Garlic bread for a comforting touch.
These sides will balance the rich flavors of the casserole.
Is this casserole suitable for meal prep?
Yes, it is perfect for meal prep. Store leftovers in airtight containers in the fridge for up to 4 days. Reheat in the microwave or oven. For best results, use the oven to keep the topping crispy.
What are the nutritional benefits of cauliflower?
Cauliflower is a powerhouse of nutrients. Here are some key benefits:
– Low in calories: This makes it great for weight management.
– High in fiber: Promotes good digestion and keeps you full.
– Rich in vitamins: Especially vitamin C and K, which support health.
– Antioxidants: Help protect your body from damage.
Including cauliflower in your diet can boost overall health while enjoying delicious meals.
This cheesy cauliflower casserole is a blend of flavor and ease. We covered the key ingredients, preparation steps, and variations to make it your own. From storing leftovers to serving suggestions, this dish fits many needs.
Whether you prefer it low-carb, vegan, or with a spicy kick, there’s a version for everyone. Enjoy creating your own twist on this delightful dish. Cooking should be fun and tasty!


