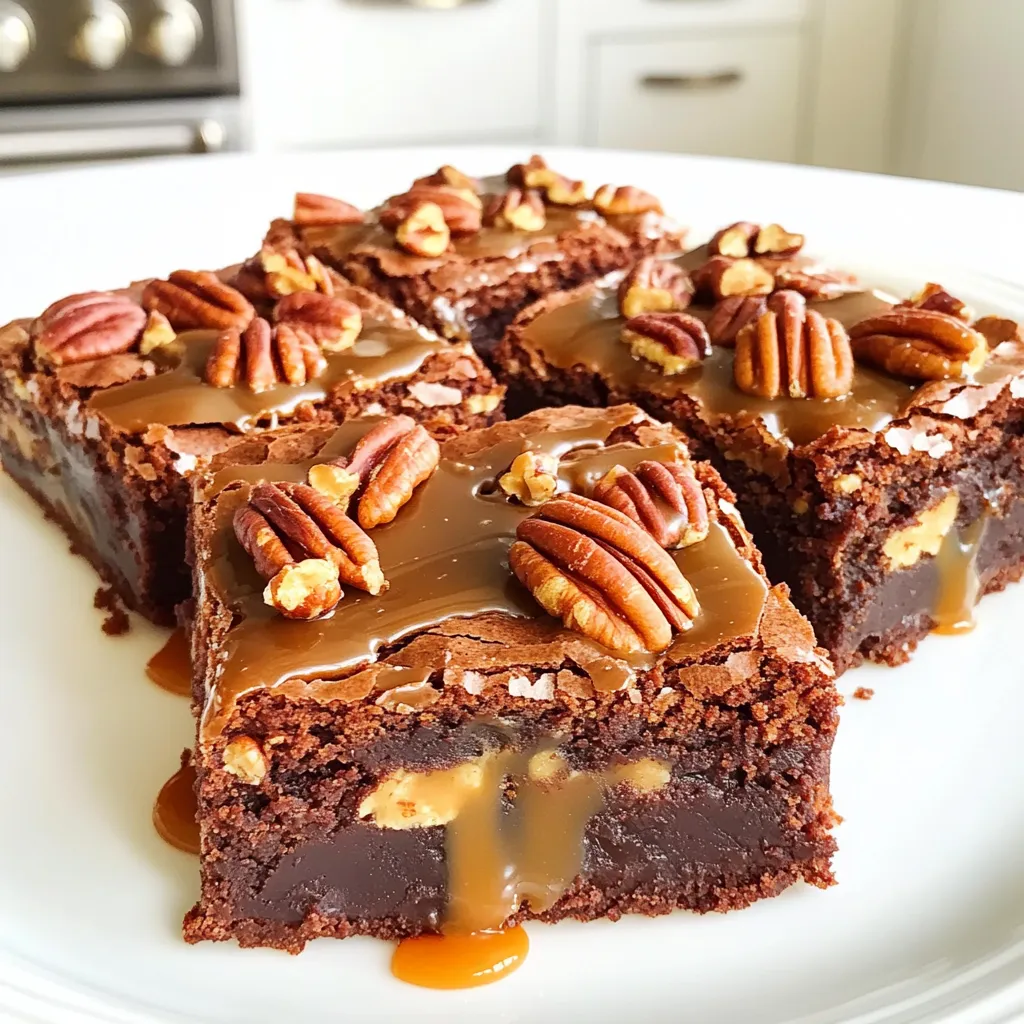
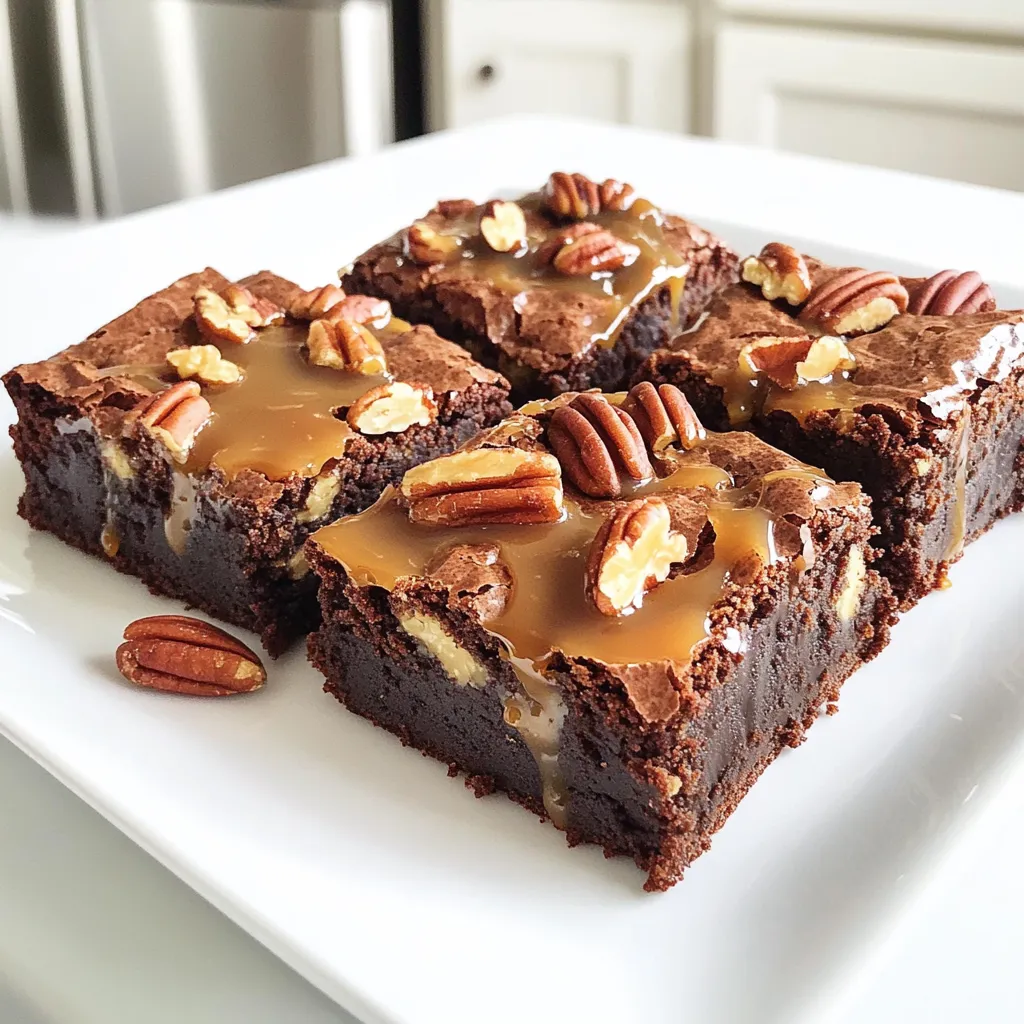
Are you ready to indulge in a dessert that truly shines? My Caramel Pecan Turtle Brownies are a rich, gooey delight that combines chocolate, caramel, and pecans. In this recipe, I’ll guide you through each step, ensuring your brownies turn out perfect every time. Whether you’re a baking novice or a seasoned pro, you’ll want to savor these treats. Let’s dive in and explore how to make these decadent brownies!
Ingredients
Complete List of Ingredients
– 1 cup unsalted butter, melted
– 1 ¼ cups granulated sugar
– 1 cup packed light brown sugar
– 4 large eggs, at room temperature
– 1 teaspoon pure vanilla extract
– 1 cup all-purpose flour
– ¾ cup unsweetened cocoa powder
– ½ teaspoon sea salt
– 1 cup semi-sweet chocolate chips
– 1 cup pecans, roughly chopped
– 1 cup soft caramel candies, cut into small pieces
– ¼ cup heavy cream
To make these brownies, use high-quality ingredients. Fresh eggs give a richer taste. Choose chocolate chips that you love. I recommend semi-sweet for balance. The pecans add a nice crunch and nutty flavor.
Optional Ingredients for Customization
You can add a pinch of sea salt on top for contrast. Want a twist? Use dark chocolate chips instead. If you like a hint of spice, try adding cinnamon. You can also mix in a bit of instant coffee for depth.
Tips for Ingredient Quality
Always use unsalted butter for better control of salt levels. Look for fresh eggs for the best texture. Choose cocoa powder with a 100% cacao label for intense chocolate flavor. Buy pecans that are whole, then chop them for freshness. The caramel should be soft and easy to cut. This makes melting simple during baking.
Step-by-Step Instructions
Preparing the Baking Dish and Preheating Oven
Start by preheating your oven to 350°F (175°C). This step is key for even baking. Next, grab a 9×13 inch baking dish. Grease it well with butter or line it with parchment paper. This makes removing the brownies easy later.
Mixing Wet Ingredients
In a large mixing bowl, pour in the melted butter. Add the granulated sugar and brown sugar. Whisk these together until smooth. Then, crack in the four large eggs, adding one at a time. Mix well after each addition. The batter should look glossy. Finally, stir in the pure vanilla extract. This adds a lovely flavor.
Combining Dry Ingredients with Wet Mixture
In a separate bowl, sift together the all-purpose flour, cocoa powder, and sea salt. Sifting helps remove lumps and ensures a fine texture. Slowly fold this dry mix into the wet mixture. Use a spatula for this step. Mix gently until just combined. It’s okay if you see a few lumps; don’t overmix.
Layering the Brownies
Pour half of the brownie batter into your prepared baking dish. Spread it evenly across the bottom. Next, scatter the chopped caramel candies over this layer. Drizzle the heavy cream on top to help the caramel melt during baking. Carefully add the rest of the brownie batter on top. Smooth it out evenly with a spatula. Finally, sprinkle the reserved pecans on top for extra crunch.
Tips & Tricks
Ensuring the Perfect Texture
To get the best texture in your brownies, use room temperature eggs. This helps blend them well. Mix your wet ingredients until smooth. When adding dry ingredients, fold gently. Overmixing can make them tough. You want a fudgy brownie with a soft, rich bite. Avoid using cold butter, as it does not mix well.
How to Cut Brownies for Clean Edges
Cutting brownies can be tricky. Use a sharp knife for clean cuts. Lightly grease the knife or dip it in warm water. This helps the knife glide through easily. Let the brownies cool for at least 30 minutes. This step sets the caramel, making it easier to cut. Cut into squares or rectangles, depending on your style.
Best Practices for Storing Leftovers
Keep your brownies fresh by storing them in an airtight container. Layer parchment paper between brownies to prevent sticking. They will stay good at room temperature for up to four days. If you want to keep them longer, consider freezing. Wrap them well in plastic, then place in a freezer bag. When you’re ready, thaw them overnight in the fridge.
Variations
Nut-Free Option
You can make these brownies nut-free by simply leaving out the pecans. This change will not affect the rich taste of the brownies. To add crunch, try using sunflower seeds or pumpkin seeds instead. They will give a nice texture without the nuts.
Gluten-Free Alternative
To make these brownies gluten-free, swap the all-purpose flour for a gluten-free blend. Many blends work well in baking. Just check that the blend contains xanthan gum, which helps mimic the texture of regular flour. This way, you can enjoy these brownies without worry.
Flavor Enhancements
Want to change things up? Adding espresso powder can boost the chocolate flavor. Just one teaspoon mixed into the dry ingredients does wonders. If you prefer a fresher taste, try adding a few drops of mint extract. It brings a cool twist that pairs nicely with the caramel and chocolate. You can also experiment with flavored extracts, like almond or coconut, for unique results.
Storage Info
Best Ways to Store Leftover Brownies
To keep your caramel pecan turtle brownies fresh, store them in an airtight container. Use parchment paper to separate layers if stacking. This method helps avoid sticking. You can keep them at room temperature for 3 to 5 days. If you want to extend their life, consider refrigeration. Just remember to let them come to room temp before serving.
Freezing for Extended Shelf Life
Freezing is perfect for brownies. First, cut your brownies into squares. Wrap each square in plastic wrap tightly. Then, place the wrapped brownies in a freezer-safe bag. This method prevents freezer burn. They will last for up to three months. When you’re ready to enjoy, thaw them in the fridge overnight or at room temperature for a few hours.
Reheating Tips for Enjoyment
Reheating brownies can bring back their gooey goodness. Preheat your oven to 350°F (175°C). Place the brownies on a baking sheet. Warm them for about 10 minutes. This method keeps them moist and delicious. For a quick fix, microwave a single brownie for 10-15 seconds. Add a scoop of ice cream on top for an extra treat!
FAQs
How long do caramel pecan turtle brownies last?
Caramel pecan turtle brownies stay fresh for about 3 to 5 days. Store them in an airtight container at room temperature. If you want them to last longer, refrigerate them. They can last up to a week when cold.
Can I use different types of nuts?
Yes, you can use different nuts. Walnuts, almonds, or hazelnuts work well. Each nut adds its own flavor and crunch. Just make sure to chop them roughly for even distribution.
What can I substitute for heavy cream?
You can use half-and-half or full-fat milk as a substitute. For a dairy-free option, try coconut cream or almond milk with a bit of cornstarch. These options will still give you a nice texture.
How can I tell when the brownies are done?
To check if the brownies are done, insert a toothpick in the center. If it comes out with a few moist crumbs, they are ready. If it comes out clean, they might be overbaked. Keep an eye on them around the 30-minute mark.
Can I make these brownies ahead of time?
Yes, you can make these brownies ahead of time. Bake them and let them cool completely. Store them in an airtight container or wrap them tightly. They taste great even a day or two later!
This blog covered all you need to make caramel pecan turtle brownies. We discussed ingredients, step-by-step instructions, and helpful tips. You have options to customize and store your brownies. Remember, using quality ingredients makes a big difference. Enjoy the rich flavors and textures. Don’t hesitate to experiment with variations. Baking should be fun and creative. Now you’re ready to make the best brownies ever! Happy baking!


