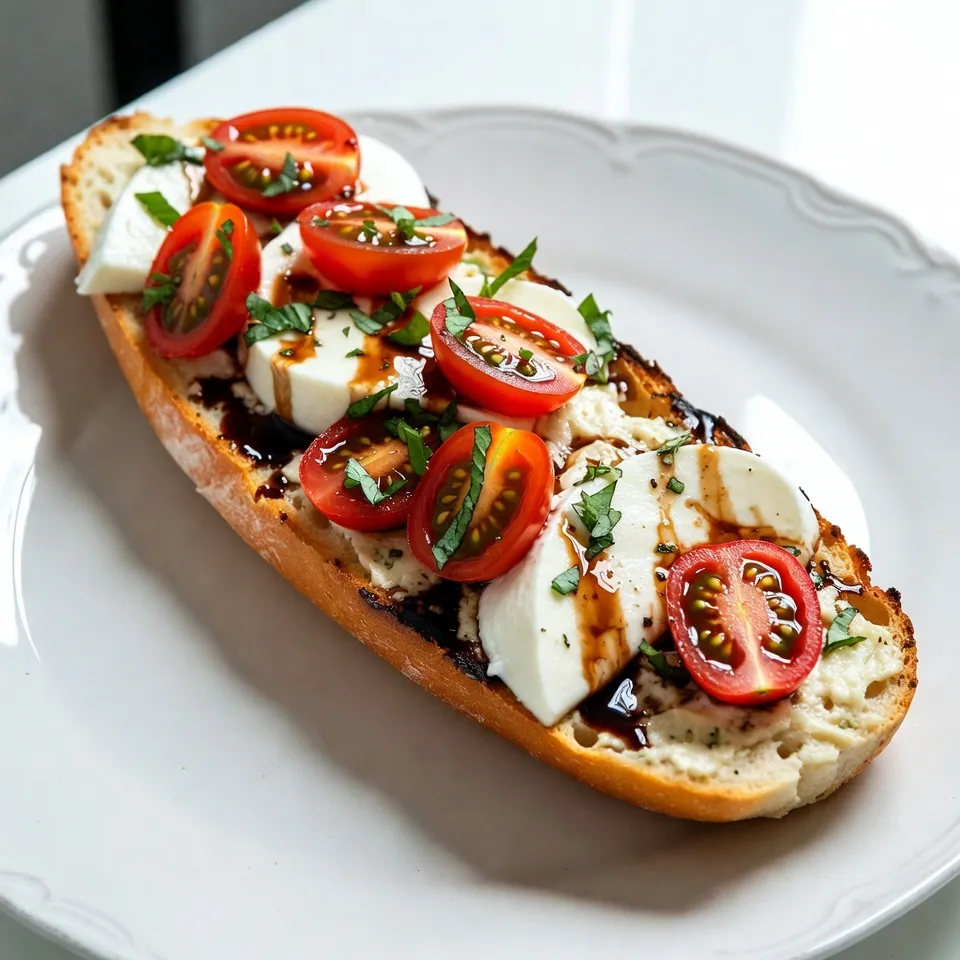
Are you ready to elevate your bread game? My Caprese Garlic Bread recipe combines fresh ingredients into a tasty twist on your favorite appetizer. With just a few simple steps, you can create a delicious dish that will impress your friends and family. Let’s explore the perfect blend of crusty bread, creamy mozzarella, and zesty tomatoes—an easy treat that brings flavor to every gathering. Dive in and see how simple it can be!
Why I Love This Recipe
- Delicious Flavor Combination: The mix of garlic, fresh mozzarella, and sweet cherry tomatoes creates an irresistible taste that’s hard to resist.
- Quick and Easy: This recipe comes together in under 30 minutes, making it a perfect choice for a last-minute appetizer or side dish.
- Versatile Serving Options: Whether as a snack, side, or party appetizer, this Caprese Garlic Bread can fit any occasion.
- Beautiful Presentation: With its vibrant colors and fresh ingredients, this dish is not only delicious but also visually appealing on any table.
Ingredients
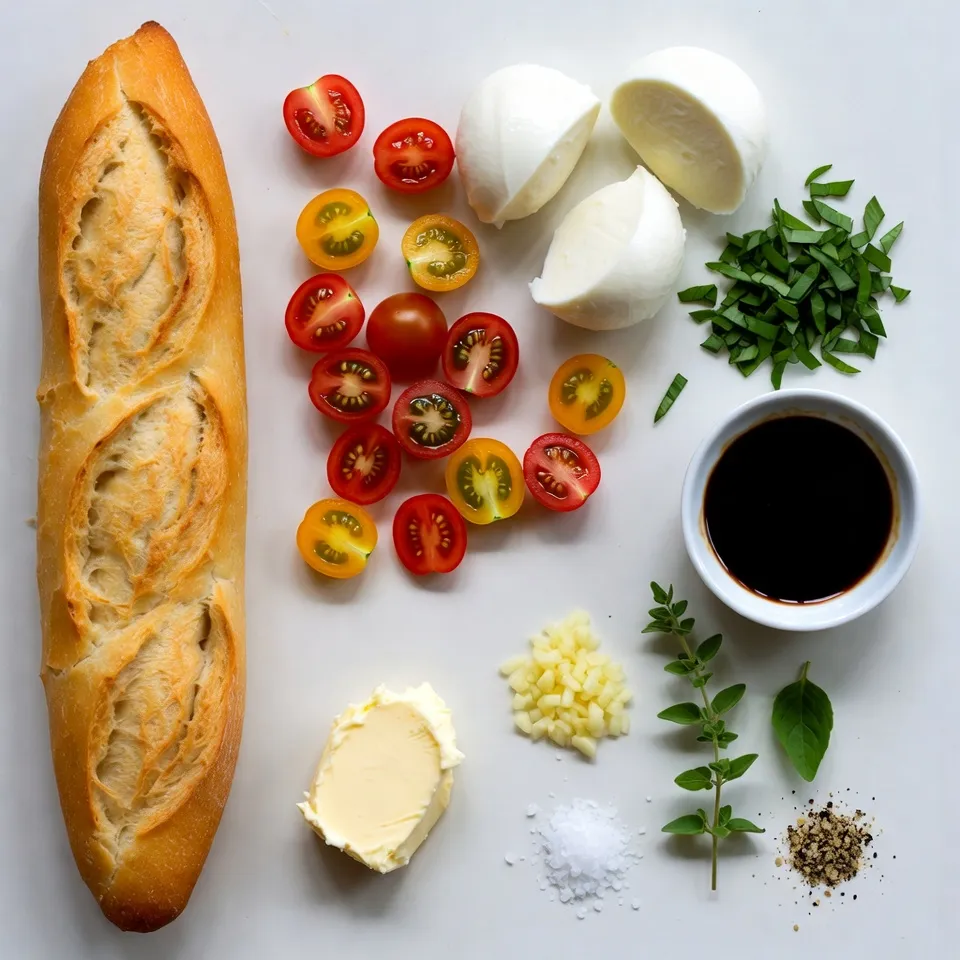
Main Ingredients
– 1 large baguette or ciabatta bread
– 1/2 cup unsalted butter, softened
– 4 cloves garlic, minced
– 2 cups cherry tomatoes, halved
– 8 ounces fresh mozzarella cheese, sliced
The main ingredients bring rich flavors. The bread serves as a base. I love using a baguette for its crust. Ciabatta works great too, as it has a soft center.
Butter adds creaminess, while garlic gives a punch. Minced garlic spreads its aroma throughout. Cherry tomatoes add sweetness. Their juicy nature complements the cheese. Fresh mozzarella melts beautifully for a creamy texture.
Seasoning Ingredients
– 1 teaspoon dried oregano
– 1 teaspoon salt
– Freshly cracked black pepper, to taste
– Balsamic glaze, for drizzling
These seasonings play a big role in flavor. Dried oregano adds an earthy taste. Salt brings out the natural flavors. Freshly cracked black pepper adds a slight heat.
Drizzling balsamic glaze on top provides a sweet and tangy kick. It enhances the overall taste and makes it pop.
Optional Garnishes
– 1/4 cup fresh basil leaves, chopped
Basil is a must for garnishing. Its fresh aroma brightens the dish. It adds a lovely green color too. I recommend using fresh basil leaves. They are fragrant and vibrant. You can chop them or leave them whole for a beautiful finish.
Step-by-Step Instructions
Preheat Your Oven
To start, preheat your oven to 400°F (200°C). This step is key for nice, crispy bread. A hot oven will help the cheese melt perfectly and the edges turn golden.
Make the Garlic Butter
Next, we need to make the garlic butter. In a small bowl, mix together 1/2 cup of softened unsalted butter and 4 minced garlic cloves. Add 1 teaspoon of dried oregano and 1 teaspoon of salt. For some heat, sprinkle in freshly cracked black pepper. Stir until everything blends well into a smooth mixture.
Assemble the Bread
Now, take your baguette or ciabatta and slice it in half lengthwise. Place the halves on a baking sheet with the cut side facing up. Spread the garlic butter generously over each half. Make sure the butter covers every inch for maximum flavor. After that, layer 2 cups of halved cherry tomatoes on top. Finally, add 8 ounces of sliced fresh mozzarella cheese, spreading it evenly.
Baking the Bread
Place your baking sheet in the preheated oven. Bake for about 10-12 minutes. Keep an eye on it! The mozzarella should be melted and bubbly, while the bread’s edges turn golden brown.
Serve and Enjoy
When it’s done, take the bread out of the oven. Immediately sprinkle 1/4 cup of chopped fresh basil leaves on top. This will make the aroma fantastic. To finish, drizzle some balsamic glaze over the bread. It adds a sweet and tangy taste. Now, slice the bread into pieces and serve warm. Enjoy your delicious Caprese Garlic Bread!
Tips & Tricks
Perfecting the Garlic Butter
To make the garlic butter even better, add fresh herbs. Chopped parsley or thyme works great. Mix these into the butter with garlic for a fresh taste. You can also try a pinch of red pepper flakes for a little heat. This adds depth and flavor to your garlic butter.
Choosing the Right Bread
When picking bread, consider taste and texture. A baguette has a crispy crust and soft inside. It holds toppings well and gives a nice crunch. Ciabatta is softer and chewier. It soaks up flavors and is great for a softer bite. Choose based on your preference for crunch or softness.
Serving Suggestions
Caprese garlic bread pairs well with many dishes. Try it with a fresh salad for a light meal. It also goes nicely with pasta. For drinks, serve with a chilled white wine or sparkling water. The flavors blend well and make for a delicious meal. Enjoy experimenting!
Pro Tips
- Use Fresh Ingredients: Always opt for fresh mozzarella and ripe cherry tomatoes for the best flavor and texture.
- Customize the Seasoning: Feel free to add red pepper flakes or fresh herbs like thyme or rosemary for added depth of flavor.
- Monitor Baking Time: Keep an eye on the bread while it bakes to prevent burning, as oven temperatures can vary.
- Serve Immediately: This dish is best enjoyed fresh out of the oven while the cheese is melty and the bread is warm.
Variations
Vegan Version
To make a vegan version of Caprese Garlic Bread, you can swap out the dairy ingredients. Use a plant-based butter instead of unsalted butter. For cheese, try a dairy-free mozzarella or a cashew-based cheese. These options melt well and keep the flavor intact.
When it comes to the toppings, feel free to add extra veggies. Sliced olives or artichokes work great. They add a nice twist and keep the dish vibrant and fresh.
Adding More Veggies
You can boost the nutritional value of your Caprese Garlic Bread by adding more veggies. Sliced bell peppers, spinach, or even roasted zucchini can give your dish extra color and flavor.
Try layering the veggies on top of the garlic butter before the tomatoes and cheese. This way, they roast beautifully while baking. It makes every bite more exciting and healthy.
Spicy Caprese Garlic Bread
If you love some heat, add spicy elements to your bread. Sliced jalapeños or a sprinkle of red pepper flakes can bring a kick to the dish.
Mix the spicy ingredients into the garlic butter for a subtle heat. Or, sprinkle them on top before serving. Either way, it adds a fun twist that will thrill those who enjoy spice!
Storage Info
Storing Leftovers
To keep your Caprese garlic bread fresh, follow these steps:
– Refrigerate: Wrap the bread tightly in plastic wrap or aluminum foil. Store it in the fridge for up to 3 days.
– Freeze: For longer storage, place the wrapped bread in a freezer bag. It can last up to 2 months. Make sure to remove as much air as possible.
Reheating Tips
To restore the crispness and flavor, try these methods:
– Oven: Preheat your oven to 350°F (175°C). Place the bread on a baking sheet and heat it for about 10 minutes. This will make the crust crispy again.
– Air Fryer: If you have one, set it to 350°F (175°C) and heat for around 5 minutes. This gives a nice texture.
Shelf Life
Caprese garlic bread lasts:
– In the fridge: Up to 3 days.
– In the freezer: Up to 2 months.
Check for any signs of spoilage before eating.
FAQs
Can I make Caprese Garlic Bread ahead of time?
Yes, you can make this dish ahead of time. Prepare the garlic butter and spread it on the bread. Layer the tomatoes and cheese, then cover it. Store it in the fridge for up to 24 hours. When ready to bake, just pop it in the oven. This saves time for busy days.
What is the best way to reheat garlic bread?
Reheating garlic bread can be easy. Preheat your oven to 350°F (175°C). Place the bread on a baking sheet. Heat it for about 10 minutes. This method keeps the bread crispy. You can also use a toaster oven for a quicker option. Avoid using the microwave, as it makes bread soggy.
Can I use different types of cheese?
Absolutely! While fresh mozzarella is classic, you can try other cheeses. Provolone or fontina work well too. If you like a stronger flavor, add some aged cheddar. Mixing cheeses can create a unique taste. Feel free to experiment based on your preference.
How do I make it gluten-free?
To make Caprese Garlic Bread gluten-free, choose the right bread. Look for gluten-free baguettes or ciabatta. Many stores sell gluten-free options now. You can also use gluten-free flatbreads. Just follow the same steps in the recipe. Enjoy this tasty treat without worry!
In this blog post, we explored how to make delicious Caprese Garlic Bread. We covered essential ingredients like baguette, butter, and garlic, along with easy step-by-step instructions. I shared tips for perfecting flavors and ideas for variations, such as vegan options or adding spicy elements. Proper storage and reheating tips ensure your leftovers stay tasty.
With these techniques, you can impress anyone at your next meal. Enjoy crafting this flavorful trea


