Looking for an easy and tasty dinner? Baked Parmesan Crusted Chicken is your answer! This dish combines juicy chicken breasts with a crispy, cheesy coating that everyone will love. With simple ingredients and easy steps, you’ll whip this up in no time. Trust me, it’s a great way to impress your family or friends without breaking a sweat. Let’s dive into this delightful recipe!
Ingredients
Main Ingredients
– 4 boneless, skinless chicken breasts
– 1 cup finely grated Parmesan cheese
– 1 cup panko breadcrumbs
Seasoning and Coating
– 2 teaspoons garlic powder
– 1 teaspoon onion powder
– 1 teaspoon dried Italian herbs
– Salt and pepper to taste
Breading Mixture
– 2 large eggs
– 2 tablespoons olive oil
– 1 tablespoon fresh parsley (for garnish)
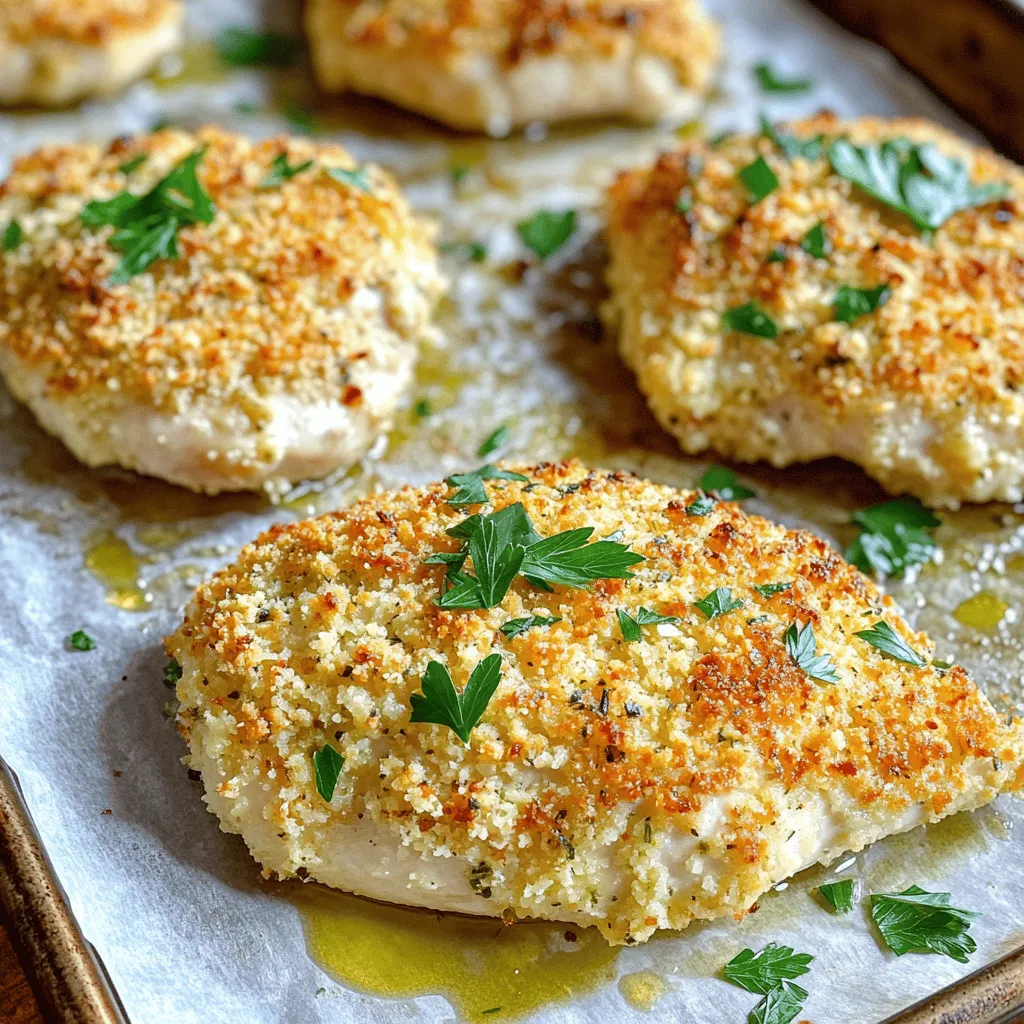
This dish starts with simple, fresh ingredients. The chicken breasts are the star, offering lean protein. The Parmesan cheese gives a rich, savory flavor. I love panko breadcrumbs for their crunch. They make the crust crispy and delightful.
For seasoning, I use garlic and onion powders. They add depth to the chicken. Dried Italian herbs bring a nice touch of flavor. Don’t forget salt and pepper for balance.
The breading mixture includes eggs and olive oil. The eggs help the coating stick well. Olive oil adds richness. Fresh parsley is for garnish. It brightens up the dish and adds color.Each ingredient plays an important role in making this dish a winner.
Step-by-Step Instructions
Preheat and Prepare
– Preheat your oven to 400°F (200°C).
– Line a baking sheet with parchment paper or grease it with olive oil.
Create the Coating Mix
– Combine 1 cup of finely grated Parmesan cheese, 1 cup of panko breadcrumbs, and the seasonings. You can use 2 teaspoons of garlic powder, 1 teaspoon of onion powder, and 1 teaspoon of dried Italian herbs. Add salt and pepper to taste. Mix everything well in a bowl and set aside.
Coat the Chicken
– Take 4 boneless, skinless chicken breasts. Dip each breast into the egg mixture, then coat it in the breadcrumb mix. Make sure to cover it completely. Arrange the coated chicken on the baking sheet, leaving space between each piece.
Baking Process
– Drizzle olive oil (2 tablespoons) over the coated chicken for added flavor and crispiness.
– Bake the chicken for 25-30 minutes. It is ready when it turns golden and reaches an internal temperature of 165°F (75°C).
Tips & Tricks
Achieving Perfect Crispiness
To get that amazing crispiness, you need an even coating. Make sure to press the breadcrumb mixture onto the chicken well. This helps the crust stick. Drizzle a little extra olive oil on top before baking. This oil adds a great crunch and helps the chicken brown nicely.
Flavor Enhancements
Want to kick up the taste? Try adding different spices to the breadcrumb mix. You can mix in paprika for a smoky flavor or some crushed black pepper for a bit of heat. Fresh herbs like thyme or rosemary can also add a nice touch. Experiment until you find your favorite blend!
Serving Suggestions
This dish pairs well with lemon wedges. Squeeze some lemon juice over the chicken for brightness. A fresh salad is also a great side. It balances the meal and adds crunch. Try a simple green salad with a light vinaigrette to round out your plate!

Variations
Cheesy Variants
You can make this dish even more delicious by adding cheese. Try mixing in shredded mozzarella for a cheesy twist. This extra layer of gooey goodness makes every bite special. You can also use different types of cheese. Parmesan pairs well with cheddar, gouda, or even pepper jack. Each choice brings a new flavor to the table.
Spicy Alternatives
For those who like a kick, add crushed red pepper flakes to the breadcrumb mix. This small change can bring big heat. Adjust the amount to suit your taste. Just a pinch can make your chicken sing with flavor.
Low-Carb Options
If you want a low-carb version, swap panko for almond flour. Almond flour gives you a nice crunch without the carbs. This option is great for anyone watching their carbs. It keeps the dish light while still being tasty.
Storage Info
Refrigeration
Store leftovers in an airtight container in the fridge for up to 3 days. This keeps the chicken fresh and safe to eat. When ready to enjoy, just take it out and reheat.
Freezing
You can freeze the breaded chicken before baking for up to 2 months. This option is great for meal prep. Just coat the chicken and place it in a freezer-safe container. When you are ready to cook, bake it straight from the freezer.
Reheating Tips
Reheat in the oven to maintain crispiness rather than using the microwave. Preheat your oven to 350°F (175°C) and bake for about 10-15 minutes. This way, your chicken will stay crunchy and delicious. Enjoy it as if it was freshly made!
FAQs
Can I use chicken thighs instead of breasts?
Yes, chicken thighs can be used for more flavor and moisture. Chicken thighs are juicier than breasts. They provide a rich taste that pairs well with the crispy coating. You can follow the same steps in the recipe. Just adjust the baking time if needed.
What can I serve with Baked Parmesan Crusted Chicken?
Serve with pasta, steamed vegetables, or a simple green salad. Pasta with olive oil and garlic makes a great side. Steamed broccoli or green beans add color and nutrients. A light salad with lemon dressing balances the meal perfectly. These options make dinner fun and flavorful!
How can I adjust the recipe for fewer servings?
Reduce ingredient quantities accordingly while maintaining ratios. For example, if you need two servings, simply cut the chicken and other ingredients in half. This keeps the flavors balanced and the dish just as tasty. You can easily scale it up or down based on your needs.
This post outlined how to make Baked Parmesan Crusted Chicken, from ingredients to storage tips. We covered key steps, including creating a crispy coating and baking methods. To achieve perfect results, remember to coat evenly and explore flavor options. Enjoy this dish with sides like pasta or salad. With easy adjustments for servings, this recipe fits any table. Try it out and savor every bite!


