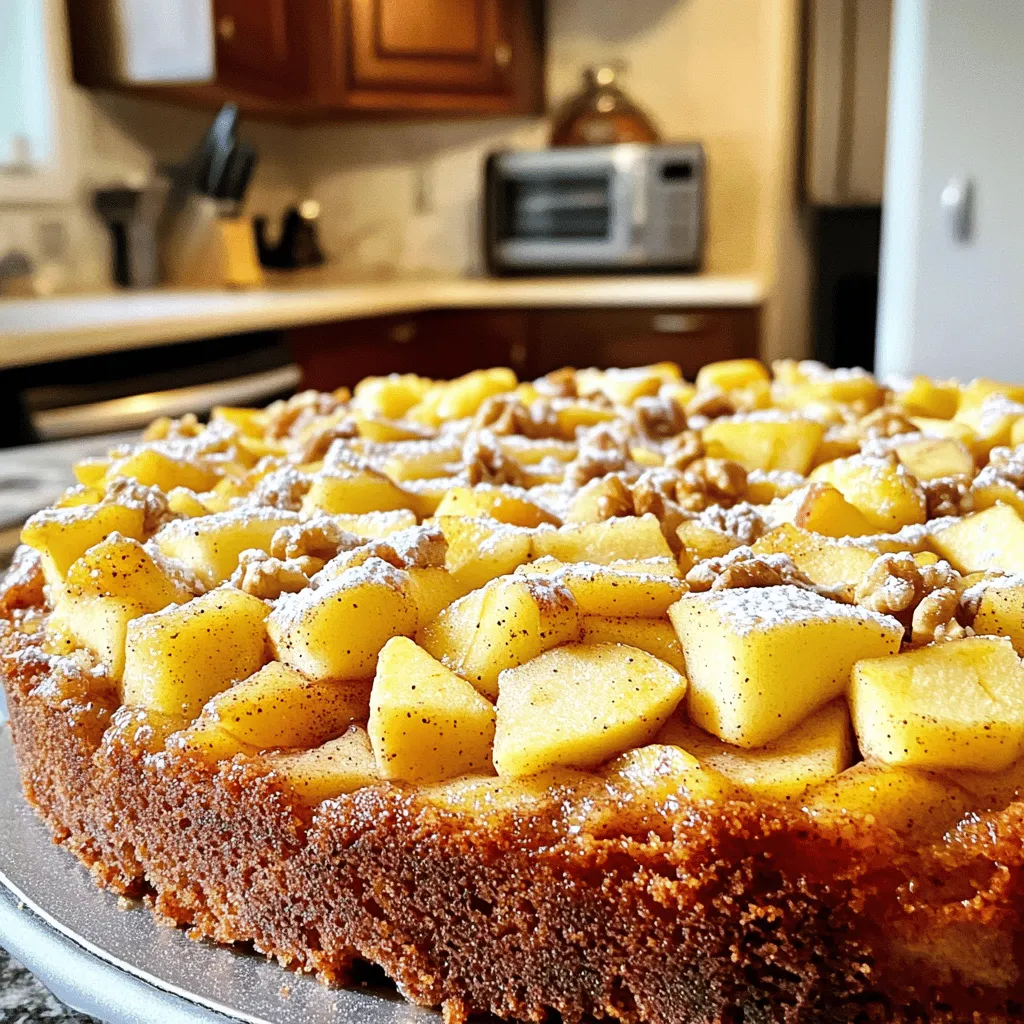
Are you ready to impress your friends with a bakery-style apple cinnamon coffee cake? This delightful treat combines the sweet flavors of Granny Smith apples and warm cinnamon in a moist, fluffy cake. Whether it’s for breakfast or dessert, everyone will love it! In this post, I’ll walk you through easy steps, share helpful tips, and explore tasty variations. Let’s dive into this delicious adventure together!
Ingredients
Detailed Ingredient List
– 2 cups all-purpose flour
– 1 cup granulated sugar
– 1/2 cup unsalted butter, softened to room temperature
– 1 cup sour cream
– 3 large eggs, at room temperature
– 1 teaspoon pure vanilla extract
– 1 teaspoon baking powder
– 1/2 teaspoon baking soda
– 1/2 teaspoon fine salt
– 2 cups Granny Smith apples, peeled, cored, and diced
– 1 teaspoon ground cinnamon
– 1/2 cup packed brown sugar
– 1/2 cup chopped walnuts (optional, for added crunch)
– Powdered sugar for dusting (optional, for presentation)
The ingredients for this cake come together to create a warm, comforting flavor.
All-purpose flour gives the cake its structure. I love using granulated sugar for sweetness. The unsalted butter adds richness and moisture. Sour cream keeps the cake tender and adds a nice tang.
Eggs bring everything together. The vanilla extract adds a lovely aroma. Baking powder and baking soda help the cake rise. Fine salt enhances all the flavors.
Granny Smith apples give a tart crunch. Ground cinnamon adds warmth and spice. Brown sugar adds depth and moisture. Chopped walnuts bring a delicious crunch, but they’re optional. Lastly, powdered sugar is perfect for a lovely finish.
With these ingredients, you can create a bakery-style delight right at home. Each bite will remind you of cozy mornings and fresh coffee.
Step-by-Step Instructions
Preparation Steps
– Preheat the oven and prepare the baking pan: Set your oven to 350°F (175°C). Grease a 9×13 inch baking pan with butter and lightly dust it with flour. This helps the cake come out easily.
– Creaming the butter and sugar: In a large bowl, mix 1/2 cup of softened butter with 1 cup of granulated sugar. Beat this mixture with an electric mixer on medium speed for about 3-4 minutes. It should become light and fluffy.
Mixing the Batter
– Incorporating eggs and vanilla extract: Add 3 large eggs to the butter mixture one by one. Mix well after each addition. Then, stir in 1 teaspoon of pure vanilla extract until it blends in smoothly.
– Mixing dry ingredients and combining with wet ingredients: In a separate bowl, whisk together 2 cups of all-purpose flour, 1 teaspoon of baking powder, 1/2 teaspoon of baking soda, and 1/2 teaspoon of fine salt. Slowly add this dry mix to the wet mix, alternating with 1 cup of sour cream. Stir until just combined; do not overmix.
Apple Mixture and Layering
– Preparing the apple mixture: Take 2 cups of diced Granny Smith apples and toss them in a bowl with 1 teaspoon of ground cinnamon and 1/2 cup of packed brown sugar. Make sure the apples are well coated.
– Assembling the cake layers: Pour half of the batter into your prepared pan. Spread it out evenly. Then, layer half of the apple mixture on top of the batter. Next, pour the remaining batter over the apples and spread it out. Top with the rest of the apple mixture. If you like, sprinkle 1/2 cup of chopped walnuts for extra crunch.
Baking and Cooling
– Baking the cake and checking doneness: Place the pan in the oven and bake for 40-45 minutes. Use a toothpick to check for doneness; it should come out clean when inserted into the center.
– Cooling and transferring the cake: Once baked, let the cake cool in the pan for about 10 minutes. Then, carefully transfer it to a wire rack to cool completely before serving.
Tips & Tricks
Baking Tips
How to achieve a fluffy texture:
To make your cake light and fluffy, start with room-temperature butter and eggs. This helps them blend better. Cream the butter and sugar well, about 3-4 minutes. This step adds air to your batter, making it rise beautifully.
Best practices for measuring ingredients:
Always use measuring cups for dry and wet ingredients. For flour, spoon it into the cup and level it off. Do not pack it down. For liquids, use a clear measuring cup for accuracy. This ensures even baking and the perfect texture.
Presentation Tips
Ideas for an elegant presentation:
Slice the coffee cake into neat squares. Place them on a vintage platter for a touch of charm. You can also add a drizzle of glaze over the top for a nice shine.
Garnishing suggestions for serving:
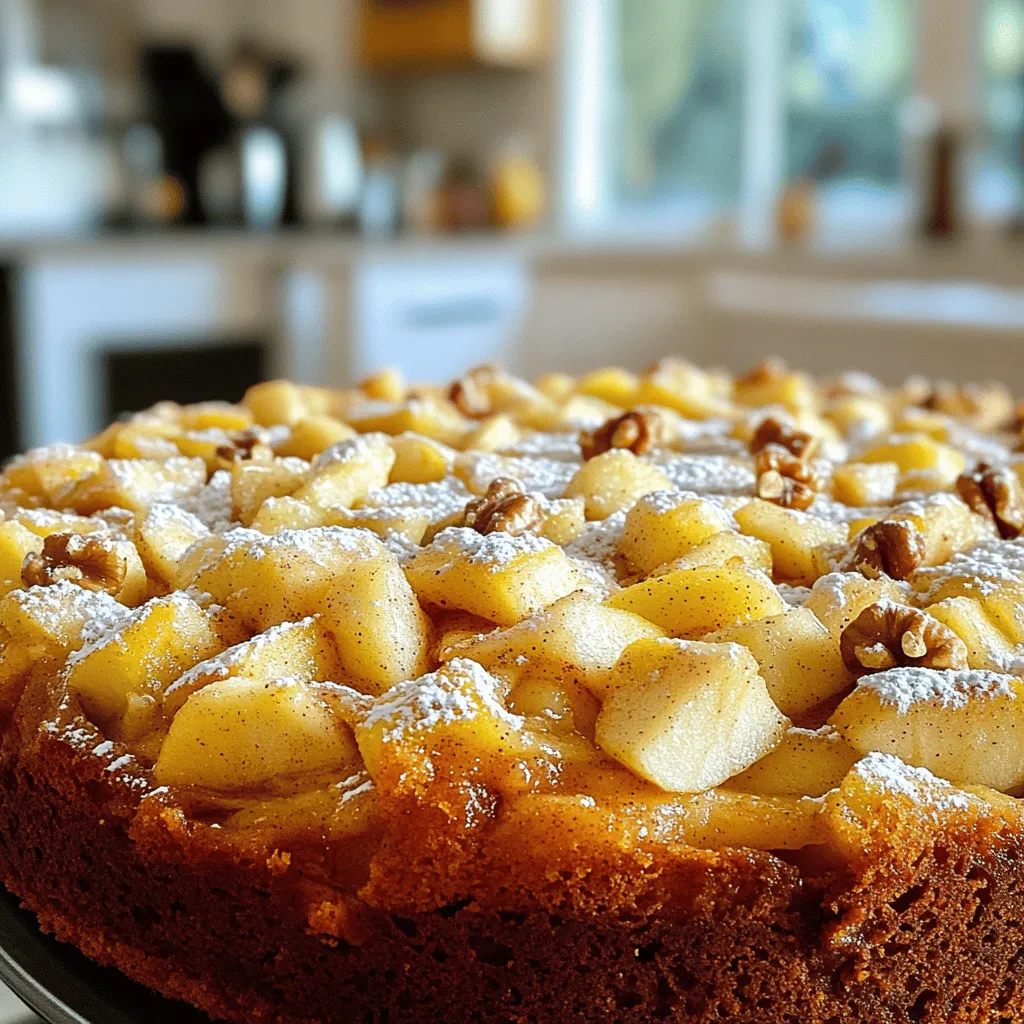
Sprinkle powdered sugar on top just before serving. This adds a lovely contrast to the apples. Fresh apple slices or a sprinkle of cinnamon gives a nice touch, too. These small details make your cake look bakery-style.
Variations
Flavor Variations
You can make this cake your own by adding different spices. Nutmeg and allspice add warmth. Just add a pinch to the batter.
You can also try different types of apples. While Granny Smith apples are tart and crisp, you can use Honeycrisp for sweetness. Fuji apples add a nice crunch and flavor too. Experiment with what you like best.
Dietary Modifications
If you are gluten-free, use a gluten-free flour blend. This works well and keeps the cake light.
For dairy-free options, replace sour cream with almond or coconut yogurt. Use vegan butter instead of regular butter. This makes the cake just as tasty without the dairy.
If you want a full vegan cake, simply swap eggs with flax eggs. Mix one tablespoon of flaxseed meal with three tablespoons of water for each egg. Let it sit for a few minutes until it thickens. This will help bind the ingredients together. Enjoy your baking adventure!
Storage Info
Storing the Cake
To keep your apple cinnamon coffee cake fresh, store it in an airtight container. This helps maintain moisture and flavor. You can leave it at room temperature for up to three days. If you want to keep it longer, place it in the fridge. In the fridge, it can last about a week. Just remember, cold storage may change the cake’s texture slightly.
Reheating Instructions
To reheat your cake for the best taste, preheat your oven to 350°F. Place a slice on a baking sheet and warm it for about 10 minutes. If you’re in a hurry, you can use the microwave. Heat it for about 15-20 seconds.
For serving after reheating, add a light dusting of powdered sugar. You can also pair it with a scoop of vanilla ice cream or a dollop of whipped cream. Enjoy it with a hot cup of coffee to enhance the flavors!
FAQs
Common Questions
Can I use a different type of flour?
Yes, you can use whole wheat flour or gluten-free flour. Each type may change the cake’s texture. Whole wheat will add a nutty taste. Gluten-free flour may need extra moisture.
How do I know when the coffee cake is done baking?
To check if it’s done, insert a toothpick into the center. It should come out clean or with a few crumbs. If it has wet batter, bake a bit longer.
Troubleshooting
What to do if the cake is too dense?
If the cake is too dense, it might be overmixed or have too much flour. Try mixing just until combined next time. You can also beat the eggs well for more air.
Tips for avoiding an overly dry cake
To avoid a dry cake, watch the baking time closely. Also, check the oven’s temperature. Using sour cream adds moisture, so don’t skip it.
Serving Suggestions
Best beverages to pair with the coffee cake
This coffee cake pairs well with coffee, tea, or hot chocolate. A glass of milk also works great. Each drink adds a cozy touch.
Alternative toppings or accompaniments
You can serve with whipped cream or ice cream for extra sweetness. Fresh fruit or a drizzle of caramel adds a nice touch too. Try dusting with powdered sugar for a pretty look.
This blog post covered all you need for a delicious apple coffee cake. We explored the key ingredients and step-by-step methods for mixing, baking, and cooling. Helpful tips ensured you achieve a fluffy texture and an elegant presentation. We also shared ways to customize the cake to fit various diets. Lastly, proper storage and reheating tips help keep your cake fresh and tasty. Now you can confidently bake and enjoy this delightful treat!


