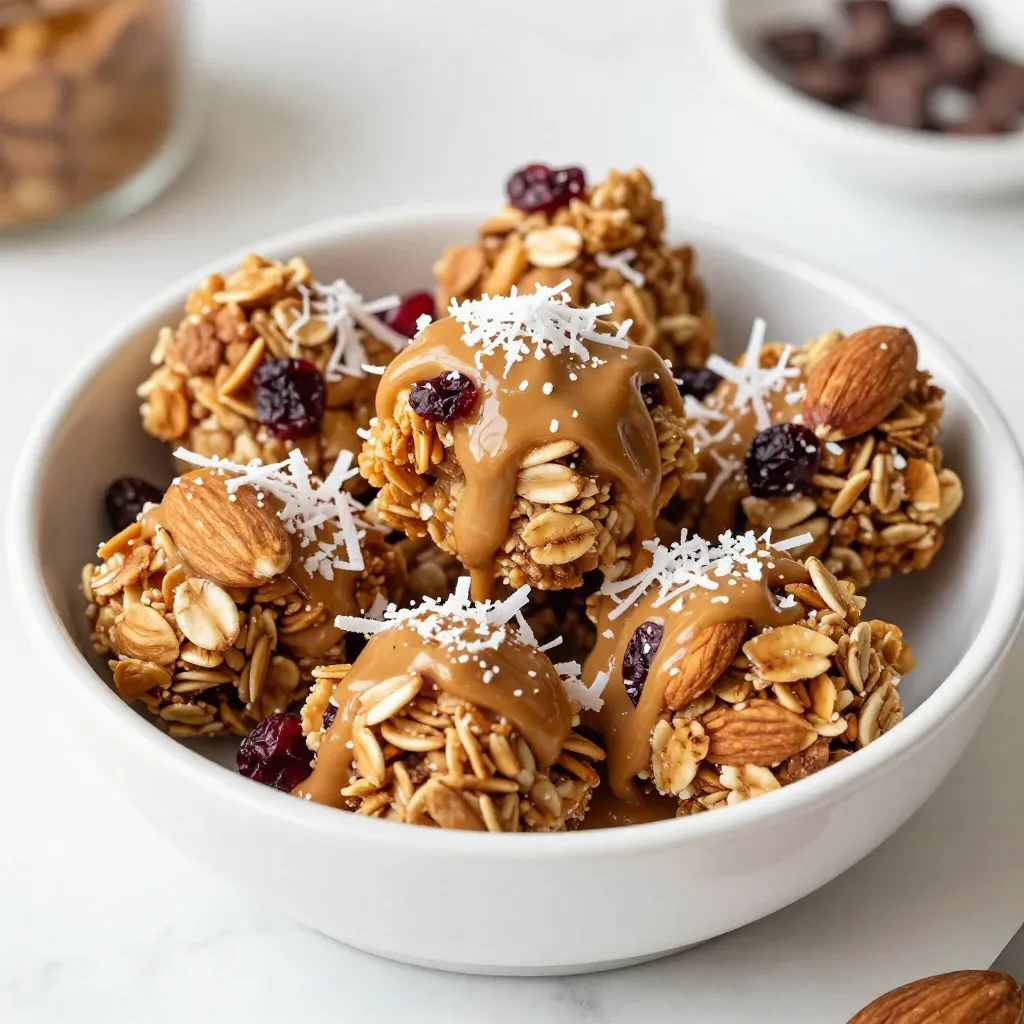
Craving a snack that’s both tasty and healthy? You’re in the right place! Almond Butter Granola Clusters pack a punch of flavors and crunch, plus they’re easy to make. I will guide you through simple steps to create a nutritious treat that you can enjoy anytime. Let’s dive into the tasty world of these delightful granola clusters that are perfect for on-the-go snacking!
Why I Love This Recipe
- Healthy Snack Option: This granola clusters recipe is packed with wholesome ingredients like oats, almonds, and almond butter, making it a nutritious choice for snacking.
- Customizable Ingredients: You can easily adjust the recipe by adding your favorite nuts or dried fruits, allowing for endless flavor combinations.
- Easy to Make: With just a few simple steps, you can whip up a batch of granola clusters in no time, perfect for busy mornings or a quick snack.
- Deliciously Satisfying: The combination of sweet and nutty flavors, along with a satisfying crunch, makes these clusters a delight in every bite!
Ingredients
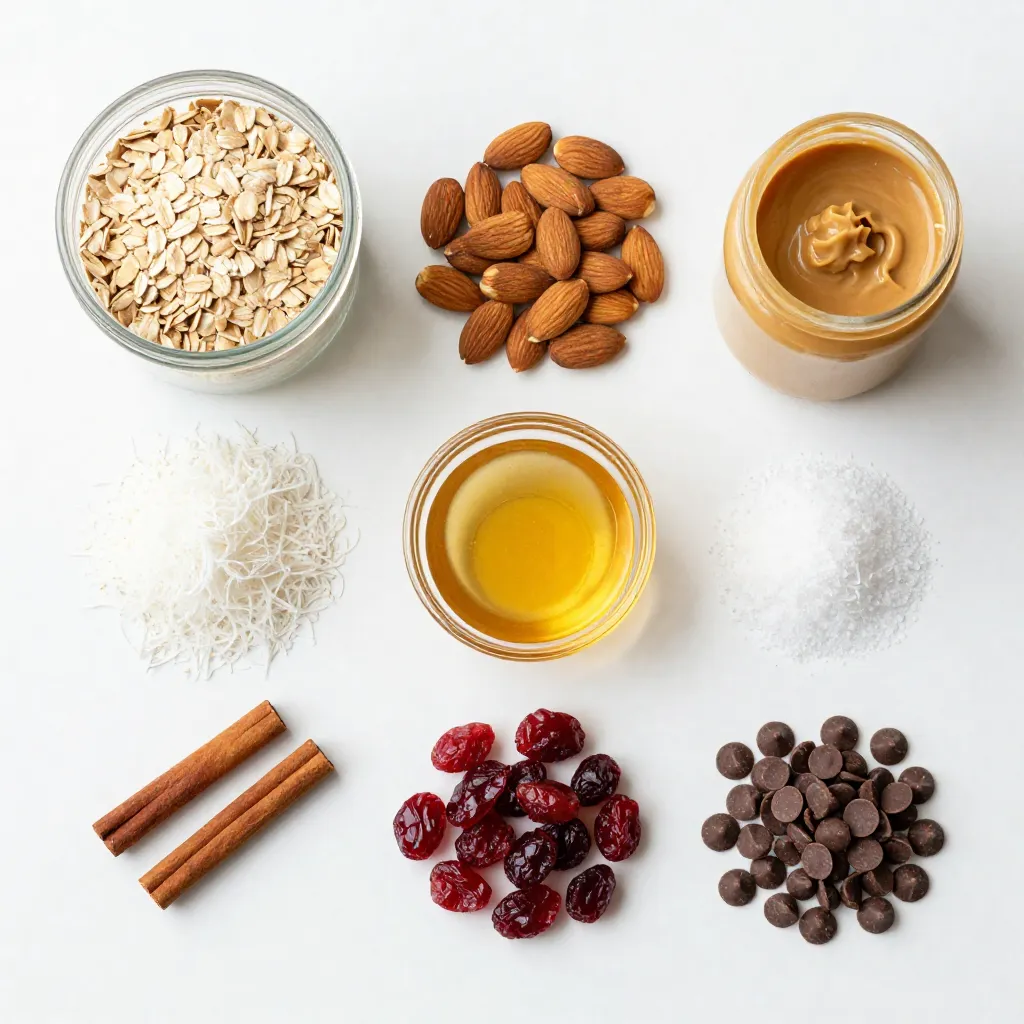
Detailed List of Ingredients
– 2 cups rolled oats
– 1 cup chopped almonds
– 1/2 cup almond butter
– 1/4 cup honey or maple syrup
– 1/4 cup shredded coconut
– 1/2 teaspoon ground cinnamon
– 1/4 teaspoon sea salt
– Optional: Dried cranberries or cherries, mini chocolate chips
Gather these ingredients before you start. Using fresh, high-quality items makes a big difference. Rolled oats form the base, giving the clusters their crunch. Chopped almonds add a nutty taste and extra texture. Almond butter binds everything together and adds creaminess. Honey or maple syrup provides sweetness and helps with clusters. Shredded coconut gives a tropical twist, while cinnamon brings warmth. Sea salt enhances all the flavors.
If you want to add a fruity burst, include dried cranberries or cherries. For a sweet touch, mini chocolate chips are a fun option. These ingredients can easily be adjusted to fit your taste. Enjoy the process of mixing and matching!
Step-by-Step Instructions
Prepping Your Oven and Baking Sheet
First, preheat your oven to 325°F (163°C). This helps the granola cook evenly. While it heats, line a baking sheet with parchment paper. This makes it easy to lift the granola out later.
Mixing Dry Ingredients
In a large bowl, add 2 cups of rolled oats, 1 cup of roughly chopped almonds, and 1/4 cup of shredded coconut. Sprinkle in 1/2 teaspoon of ground cinnamon and 1/4 teaspoon of sea salt. Use a spatula to mix everything well. This blend will create a tasty base for your granola.
Preparing the Almond Butter Mixture
In a small saucepan, combine 1/2 cup of almond butter with 1/4 cup of honey or maple syrup. Heat this mixture over low heat. Stir it constantly until it melts and becomes smooth. This step is key to ensuring the almond butter blends well with the dry ingredients.
Combining Ingredients
Carefully pour the warm almond butter mixture over the dry ingredients in the bowl. Use your spatula to fold and mix everything together. Make sure all the dry ingredients get coated in the almond butter. This helps form the clusters later on.
Baking the Granola
Now, transfer the mixture to your prepared baking sheet. Spread it out evenly and press it down firmly with the back of your spatula. This step helps the granola form nice clusters. Place the baking sheet in your preheated oven. Bake for 15-20 minutes until the granola turns a lovely golden brown. Remember to stir it halfway through to keep it from burning.
Cooling and Storing Granola Clusters
Once baked, take the sheet out of the oven and let the granola cool completely on the sheet. This cooling time is important. It allows the clusters to harden. After cooling, break the granola into clusters. Store them in an airtight container for up to two weeks. Enjoy your healthy snack!
Tips & Tricks
Achieving Perfect Granola Clusters
To get those perfect granola clusters, follow these steps:
– Use rolled oats. They hold together well.
– Press the mixture firmly on the baking sheet. This helps form clusters.
– Bake until golden brown. This gives a nice crunch.
– Let them cool completely. This step helps them set up.
If you want larger clusters, don’t stir too much while baking. Less stirring means bigger pieces.
Recommended Substitutes for Ingredients
You can easily swap some ingredients to fit your taste or needs:
– Almond butter: Try peanut butter or sun butter for a nut-free option.
– Honey: Maple syrup works great if you prefer a vegan choice.
– Shredded coconut: Use chopped nuts for added crunch.
– Dried fruits: Swap cranberries or cherries for raisins or apricots.
These swaps keep the flavor good, but they change the texture a bit. Experiment to find your favorite mix.
Best Practices for Baking and Cooling
Follow these best practices to bake and cool your granola:
– Preheat your oven. This ensures even baking.
– Line your baking sheet with parchment paper. It makes cleanup easy.
– Stir halfway through baking. This prevents burning and cooks evenly.
– Let the granola cool on the baking sheet. This helps form clusters.
When cooling, avoid moving it too much. Let it set before breaking it into pieces. Enjoy your tasty snack!
Pro Tips
- Use Fresh Ingredients: Always opt for fresh nuts and dried fruits to enhance the flavor and nutritional value of your granola clusters.
- Customize Sweetness: Adjust the amount of honey or maple syrup according to your taste preference; you can also experiment with different sweeteners like agave or coconut sugar.
- Storage Matters: For maximum freshness, store your granola clusters in an airtight container and keep them in a cool, dry place.
- Mix and Match: Feel free to substitute almonds with other nuts or seeds, and try adding spices like nutmeg or vanilla for a different flavor profile.
Variations
Flavor Additions (e.g., spices, dried fruits)
You can make almond butter granola clusters more fun with different flavors. Adding spices can boost taste. Try adding a pinch of nutmeg or ginger for warmth. You can also mix in dried fruits. Dried cranberries or cherries are great choices. They add a sweet touch. You might also try raisins or chopped apricots for a fruity twist. Experimenting with flavors keeps things exciting!
Nut and Seed Alternatives
If you want to switch things up, you can use other nuts and seeds. Pecans and walnuts work well instead of almonds. They bring different textures and tastes. If you like seeds, consider sunflower seeds or pumpkin seeds. They add crunch and nutrition. Just make sure to adjust the amounts to keep your clusters balanced. This way, you can enjoy a variety of flavors!
Chocolate or Healthy Swaps
For those chocolate lovers, adding mini chocolate chips can be a treat. You can mix them in right before baking. If you want a healthier option, use cacao nibs instead. They still give a chocolate flavor but with less sugar. You can also swap honey for agave syrup for a vegan choice. These simple swaps can help you enjoy your granola clusters while keeping your health goals in mind!
Storage Info
How to Store Almond Butter Granola Clusters
To keep your almond butter granola clusters fresh, store them in an airtight container. A glass jar works well. Make sure the lid is tight. This helps keep out air and moisture. You can keep them on your kitchen counter or in a pantry.
Shelf Life and Freshness Tips
When stored correctly, these clusters last up to two weeks. To check for freshness, look for any signs of spoilage. If they smell off or look stale, it’s best to toss them. To keep them crunchy, avoid storing in the fridge. The cold can make them soft.
Freezing Instructions for Longer Storage
If you want to keep your granola clusters longer, freezing is a great option. First, let the clusters cool completely. Then, place them in a freezer bag. Try to remove as much air as possible. They will stay fresh for up to three months in the freezer. When you’re ready to eat, just thaw at room temperature. Enjoy your tasty snack!
FAQs
How can I make almond butter granola clusters vegan?
To make almond butter granola clusters vegan, simply swap honey for maple syrup. Maple syrup is a great vegan sweetener. Use the same amount as the honey in the recipe. This change keeps the clusters sweet while fitting a vegan diet.
Can I use different types of nut butter?
Yes, you can use different nut butters. Cashew, peanut, or sunflower butter work well too. Each nut butter brings its own flavor. Experiment to find your favorite. Just keep the amount the same as the almond butter in the recipe.
What are some serving suggestions for granola clusters?
You can enjoy granola clusters in many ways. Here are some fun ideas:
– Eat them as a quick snack on their own.
– Top yogurt with clusters and fresh fruit.
– Add clusters to your smoothie bowl for crunch.
– Use them in trail mix for a perfect on-the-go snack.
Feel free to get creative with how you enjoy these tasty granola clusters!
This post guided you through making tasty almond butter granola clusters. You learned about the key ingredients, easy steps, and helpful tips for perfect clusters. Plus, I shared fun variations to try and how to store your granola.
In conclusion, making these clusters is simple and fun. You can customize them to fit your taste. Enjoy them for breakfast or as a snack anytime. Happy bakin


