Air Fryer Sweet Potato Chips Crunchy and Flavorful Snack
. Enjoy making your air fryer sweet potato chips! You now know how to make tasty sweet potato chips with an air fryer. We covered the needed ingredients, proper preparation, and seasoning. I shared tips for perfect crispiness and suggested flavor boosts. I also explored storage and reheating methods to keep your chips fresh. Try different seasonings and root veggies for variety. Enjoy the fun of making your own snacks!](https://dishtreats.com/wp-content/uploads/2025/06/63cc0e6b-da42-45de-be59-e2118d293653.webp)
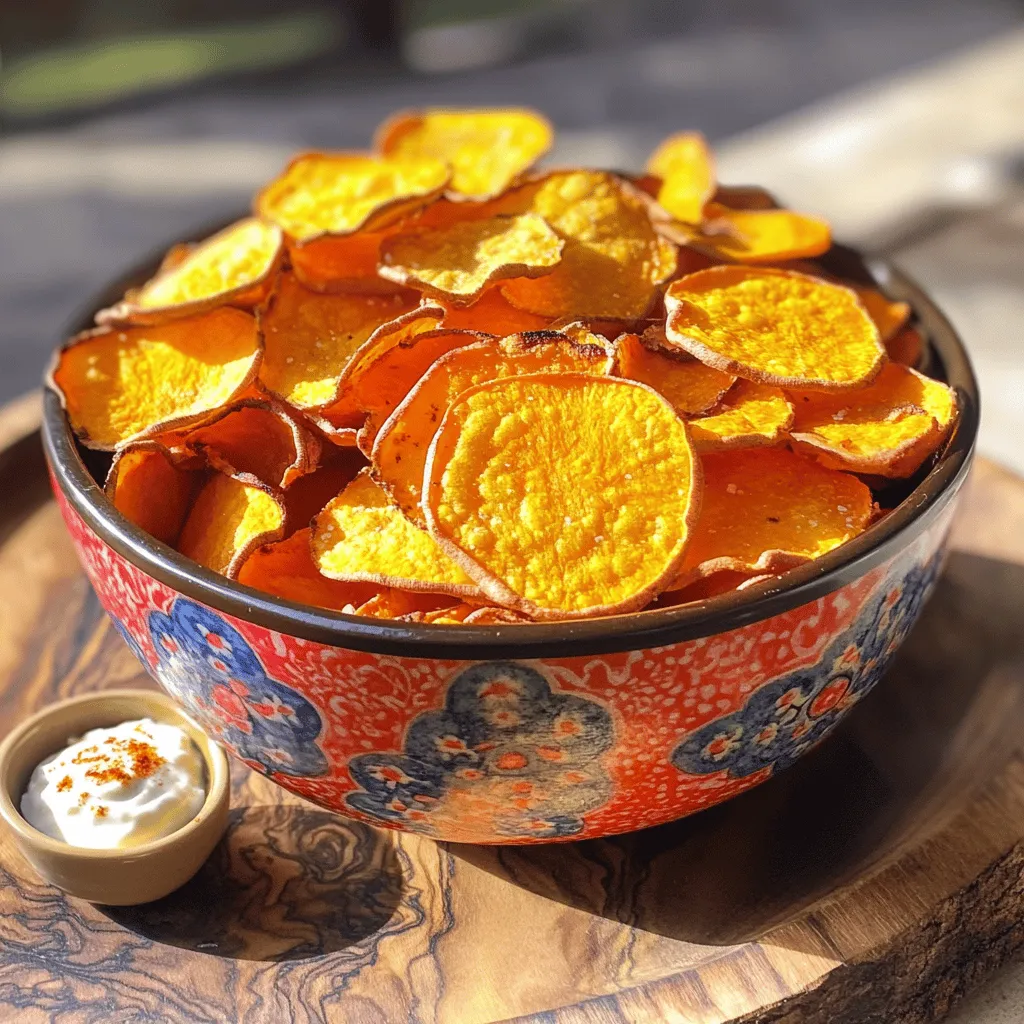
Looking for a tasty and healthy snack? Let me introduce you to Air Fryer Sweet Potato Chips! These chips are crunchy, flavorful, and easy to make. With just a few simple ingredients like olive oil, garlic powder, and, of course, sweet potatoes, you can whip up a delicious batch. Whether you’re craving a light snack or a party treat, these chips will satisfy your taste buds. Ready to get started?
Ingredients
List of Required Ingredients
- 2 medium sweet potatoes
- 2 tablespoons olive oil
- 1 teaspoon garlic powder
- 1 teaspoon smoked paprika
- Salt and pepper to taste
- Optional: ½ teaspoon chili powder for added spice
Gather these ingredients before you start. Sweet potatoes are the star of this dish. They bring a natural sweetness and a vibrant color to your snack. Olive oil helps the chips crisp up nicely. Garlic powder and smoked paprika add a rich, savory flavor. You can adjust the salt and pepper to fit your taste. If you like heat, the optional chili powder is a great choice.
For the best results, pick sweet potatoes that are firm and smooth. Avoid any with soft spots or blemishes. You will use these ingredients to create a crunchy and flavorful snack.
Step-by-Step Instructions
Preparation of Sweet Potatoes
First, wash and scrub the sweet potatoes under cool running water. This step removes dirt and ensures a clean snack. After washing, dry them with a towel completely.
Next, slice the sweet potatoes. You can use a sharp knife or a mandoline slicer. A mandoline helps you cut them evenly and thinly. Aim for about 1/8 inch thick. This thickness helps them get crispy in the air fryer.
Mixing and Seasoning
In a large bowl, combine sweet potato slices with olive oil, garlic powder, smoked paprika, salt, and pepper. Mix gently but well. You want every slice to be coated evenly with the seasoning. This step gives your chips the best flavor.
Air Frying Process
Preheat your air fryer to 375°F (190°C) for about 5 minutes. This step is key to getting a nice crunch on your chips.
After preheating, arrange the sweet potato slices in a single layer in the fryer basket. Do not overcrowd the basket. This helps them cook evenly and stay crispy.
Cook the sweet potato chips for 12 to 15 minutes. Halfway through, give the basket a gentle shake. This helps the chips cook evenly. Keep an eye on them. In the last few minutes, they can go from perfectly crisp to burnt very quickly.
Once they are done, take them out and let them cool for a few minutes. They will continue to crisp up as they cool. If you like some heat, sprinkle the optional chili powder on top before serving.
Tips & Tricks
Achieving the Perfect Crispiness
To get the crunch you crave, slice your sweet potatoes evenly. Aim for about 1/8 inch thick. If you cut them too thick, they won’t crisp well. If they are too thin, they may burn. For perfect chips, air fry them for 12 to 15 minutes, depending on thickness. Keep an eye on them, especially in the last few minutes.
Flavor Enhancements
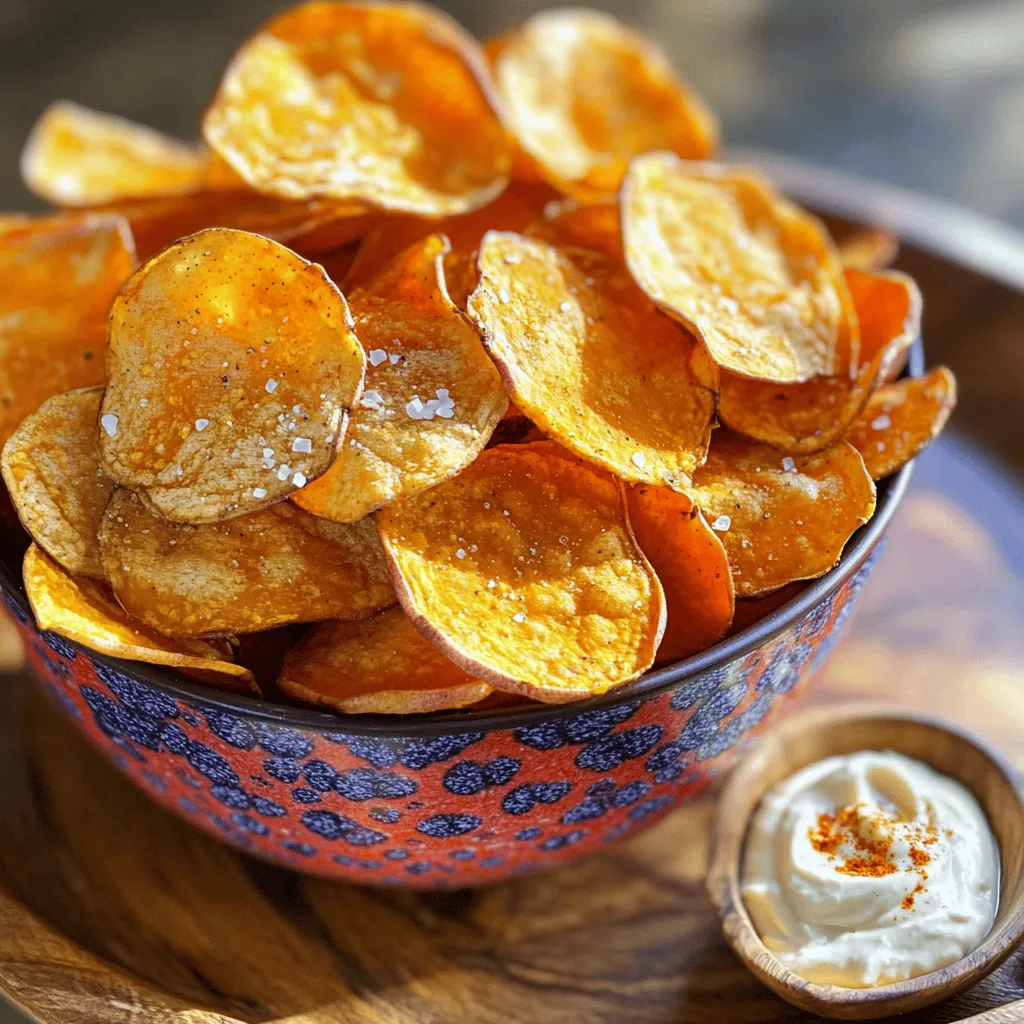
Add more flavor to your chips by trying different spices. Consider using herbs like rosemary or thyme. If you want heat, sprinkle some chili powder on top. For dips, serve them with garlic aioli or creamy guacamole. These pairings will elevate your snack and make it even more enjoyable.
Air Fryer Maintenance Tips
After cooking, clean your air fryer basket right away. This helps prevent food from sticking later. Use warm, soapy water and a soft sponge. Rinse it well and dry it before storing. To keep it in great shape, avoid using metal utensils that can scratch the surface. Regular care will ensure your air fryer lasts longer.

Variations
Different Seasoning Options
You can change the flavors of your sweet potato chips easily. For a sweet twist, try cinnamon sugar. Mix sugar with cinnamon and sprinkle it on the warm chips. This will give you a treat that feels like dessert.
For something savory, consider Italian seasoning or ranch powder. These spices add a nice touch to your chips. Just sprinkle them on before air frying. You can also mix and match these flavors for fun combinations.
Using Different Root Vegetables
Sweet potatoes are great, but you can try other root veggies too. Beets and parsnips work well. They each bring their own unique flavor. Just remember, cooking times may change. Beets may take a bit longer to crisp up. Keep an eye on them while cooking to avoid burning.
Alternate Cooking Methods
If you want to try something different, you can bake sweet potato chips in the oven. Preheat your oven to 400°F (200°C). Spread the slices on a baking sheet with some oil and seasoning. Bake for about 20 to 25 minutes.
While oven-baked chips can be good, air frying gives you a better crunch. Air fryers cook faster and use less oil. This makes them a healthier option. If you want the best results, I recommend sticking with the air fryer for these chips.
Storage Info
Best Practices for Storing Leftover Chips
To keep your sweet potato chips fresh, store them in an airtight container. This prevents moisture from making them soft. You can keep them at room temperature for about two days. If you want them to last longer, put them in the fridge. They stay fresh for about a week in the fridge.
Reheating Instructions
When you’re ready to enjoy your leftover chips, the best method is to use the air fryer again. Set it at 350°F (175°C) and heat them for about 3 to 5 minutes. This helps restore their crunch. Avoid using the microwave, as it can make them soggy. If you follow these tips, your chips will taste just as good as when they were fresh.
FAQs
Can I use other oils for air frying?
Yes, you can use other oils. Here are some great options for flavor and health:
- Coconut Oil: Adds a sweet, tropical flavor.
- Avocado Oil: High smoke point and mild taste.
- Grapeseed Oil: Light flavor and good for high heat.
- Sunflower Oil: Neutral taste, great for seasoning.
Each oil brings its unique taste to your sweet potato chips. Choose what you enjoy most!
How do I know when sweet potato chips are done?
Look for these signs to know your chips are perfect:
- Color: They should be a nice golden brown.
- Texture: Firm and crispy, not soft or chewy.
- Sound: When you tap them, they should make a crunchy sound.
These signs help you achieve that perfect crunch!
What if my chips are soggy?
Soggy chips can happen for a few reasons. Here are common causes and fixes:
- Too Much Oil: Use just enough oil to coat the slices lightly.
- Overcrowding the Basket: Arrange chips in a single layer for even cooking.
- Slice Thickness: Make sure your slices are uniform (about 1/8 inch).
Fix soggy chips by air frying them a bit longer. This will help them crisp up!
Can I make sweet potato chips without an air fryer?
Yes, you can! Here’s how to make crispy chips in a regular oven:
1. Preheat the Oven: Set it to 400°F (200°C).
2. Arrange Chips: Spread the sweet potato slices on a baking sheet.
3. Bake: Cook for 20-25 minutes, flipping halfway through.
Oven-baked chips may take a bit longer but will still be tasty!Enjoy making your air fryer sweet potato chips!
You now know how to make tasty sweet potato chips with an air fryer. We covered the needed ingredients, proper preparation, and seasoning. I shared tips for perfect crispiness and suggested flavor boosts. I also explored storage and reheating methods to keep your chips fresh.
Try different seasonings and root veggies for variety. Enjoy the fun of making your own snacks!
. Enjoy making your air fryer sweet potato chips! You now know how to make tasty sweet potato chips with an air fryer. We covered the needed ingredients, proper preparation, and seasoning. I shared tips for perfect crispiness and suggested flavor boosts. I also explored storage and reheating methods to keep your chips fresh. Try different seasonings and root veggies for variety. Enjoy the fun of making your own snacks!](https://dishtreats.com/wp-content/uploads/2025/06/63cc0e6b-da42-45de-be59-e2118d293653-300x300.webp)


![- 2 cups cooked chicken, shredded - 1 cup black beans, rinsed and drained - 1 cup corn kernels (fresh or frozen) - 2 cups shredded Mexican cheese blend - 1 cup salsa (mild or spicy) - 8 large flour tortillas - 1 teaspoon ground cumin - 1 teaspoon chili powder - 1/2 teaspoon garlic powder - 1/2 teaspoon onion powder - Salt and pepper, to taste - 1/4 cup fresh cilantro, chopped - Sour cream and diced avocado for serving When I prepare this Chicken and Cheese Quesadilla Casserole, I love the bold flavors in every bite. The main ingredients create a hearty meal that feels special. Shredded chicken adds protein, while black beans and corn give it a nice texture. The Mexican cheese blend brings everything together with its melty goodness. I often choose salsa based on my mood. A mild salsa suits those who prefer less heat, while a spicy option adds an exciting kick. The seasonings are key to making this dish flavorful. Ground cumin and chili powder add warmth and depth. Garlic and onion powders give it that savory touch. Don’t forget to season with salt and pepper to elevate the taste. For garnishes, fresh cilantro brightens the dish. I like to add a dollop of sour cream and diced avocado on the side. They balance the flavors and add a creamy texture. This meal is so satisfying, and you can find the full recipe to make it yourself! - Preheat the oven to 350°F (175°C). - In a large bowl, mix the chicken, black beans, corn, cheese, salsa, cumin, chili powder, garlic powder, onion powder, salt, and pepper. Stir well until all ingredients are combined. - Grease a 9x13 inch baking dish with cooking spray or olive oil. - Place one tortilla at the bottom of the dish. Spoon some of the chicken and cheese mixture on top. Add another tortilla and repeat this layering. Finish with a tortilla and sprinkle remaining cheese on top. - Cover the dish with foil. Bake for 20 minutes. - After 20 minutes, remove the foil. Bake again for 10-15 minutes, until the top is golden and bubbling. For the full recipe, check out the detailed ingredients and tips! To boost the taste, pick a salsa that fits your spice level. For a kick, go for spicy salsa. If you prefer mild, a smooth, mild salsa works well. You can also mix salsas for layered flavors. For cheese, try different blends. While a Mexican cheese blend is great, cheddar or pepper jack adds unique taste. Mixing cheeses can create a delightful texture and flavor. Letting your casserole rest is key. This step helps the layers set. Cutting too soon can cause a messy serving. Wait about 5 minutes for the best results. To get a perfectly melted cheese crust, cover with foil while baking. Remove the foil near the end to let the cheese brown. This creates a crunchy top that contrasts the soft filling. Serving on colorful plates makes a big difference. Bright colors enhance the meal's appeal. After cutting the casserole, place each piece on a vibrant dish. For garnishing, fresh cilantro adds a pop of green. Diced avocado gives a creamy touch. A dollop of sour cream on the side adds a lovely finish. Try these tips for a beautiful and tasty presentation! For the full recipe, refer to [Full Recipe]. {{image_4}} You can easily make this dish fit your taste. For a vegetarian twist, try adding more veggies. Bell peppers, zucchini, or spinach work great. They add color and nutrients. You still get a hearty meal without meat. If you want more protein, use ground beef or turkey instead of chicken. Cook the meat first, then mix it into the filling. This change adds a different flavor. It's a fun way to switch things up! Cheese makes this casserole even better. While I love using a Mexican cheese blend, feel free to change it. Cheddar adds a sharp taste. Pepper jack gives a spicy kick. You can even mix different types for a rich flavor. Try combining mozzarella for creaminess and a touch of parmesan for depth. These options create layers of taste. The cheese pulls are so satisfying! You can adapt this recipe to a slow cooker. Just layer the ingredients as you would in the oven. Set it on low for about 4 hours. This method yields a warm, hearty casserole with a different texture. If you own an Instant Pot, you're in luck! Use the sauté function to cook your meat and veggies. Then add the rest of the ingredients. Seal the lid and cook on high pressure for 10 minutes. Quick and easy, this method saves time without losing flavor. For more details, check out the Full Recipe! To keep your Chicken and Cheese Quesadilla Casserole fresh, store it properly. First, let it cool down to room temperature. Then, place the leftovers in an airtight container. This helps lock in moisture and flavor. Use shallow containers for quicker cooling. I recommend glass or sturdy plastic containers. These work well for storage and reheating. You can freeze this casserole before or after baking. For freezing before baking, assemble the casserole in a freezer-safe dish. Cover it tightly with plastic wrap and aluminum foil. When you're ready to bake it, remove the wrap, and bake from frozen. It may take longer to cook. For freezing after baking, let it cool, then slice it into portions. Wrap each slice in plastic wrap and place in a freezer bag. For the best results, consume it within three months. Leftovers can last in the fridge for about 3-4 days. Always check for signs of spoilage before eating. Look for changes in color or texture. If it smells off, it’s best to discard it. When stored properly, frozen portions can stay safe for about three months. Always label the containers with the date for easy tracking. This way, you can enjoy your delicious casserole without worries. You can use low-carb tortillas if you want fewer carbs. Corn tortillas are also a great option. They add a nice flavor and texture to the dish. Yes, you can prep this casserole in advance. Just assemble it and cover it tightly. Store it in the fridge for up to 24 hours. When you are ready to bake, just add extra time if it's cold from the fridge. Look for bubbling cheese and a golden crust on top. You can also insert a knife in the center. If it comes out hot, the casserole is ready to serve. This blog post guides you through making a delicious chicken casserole. We covered the main ingredients, seasonings, and the steps to prepare and bake your dish. I shared tips and tricks for perfect results and ideas for variations based on your taste. Remember, cooking is about creativity. Don't hesitate to make this recipe your own! Enjoy the process, and savor every bite. Happy cooking!](https://dishtreats.com/wp-content/uploads/2025/06/5fb0e458-6070-46a1-b713-1d8a90ab3212-768x768.webp)