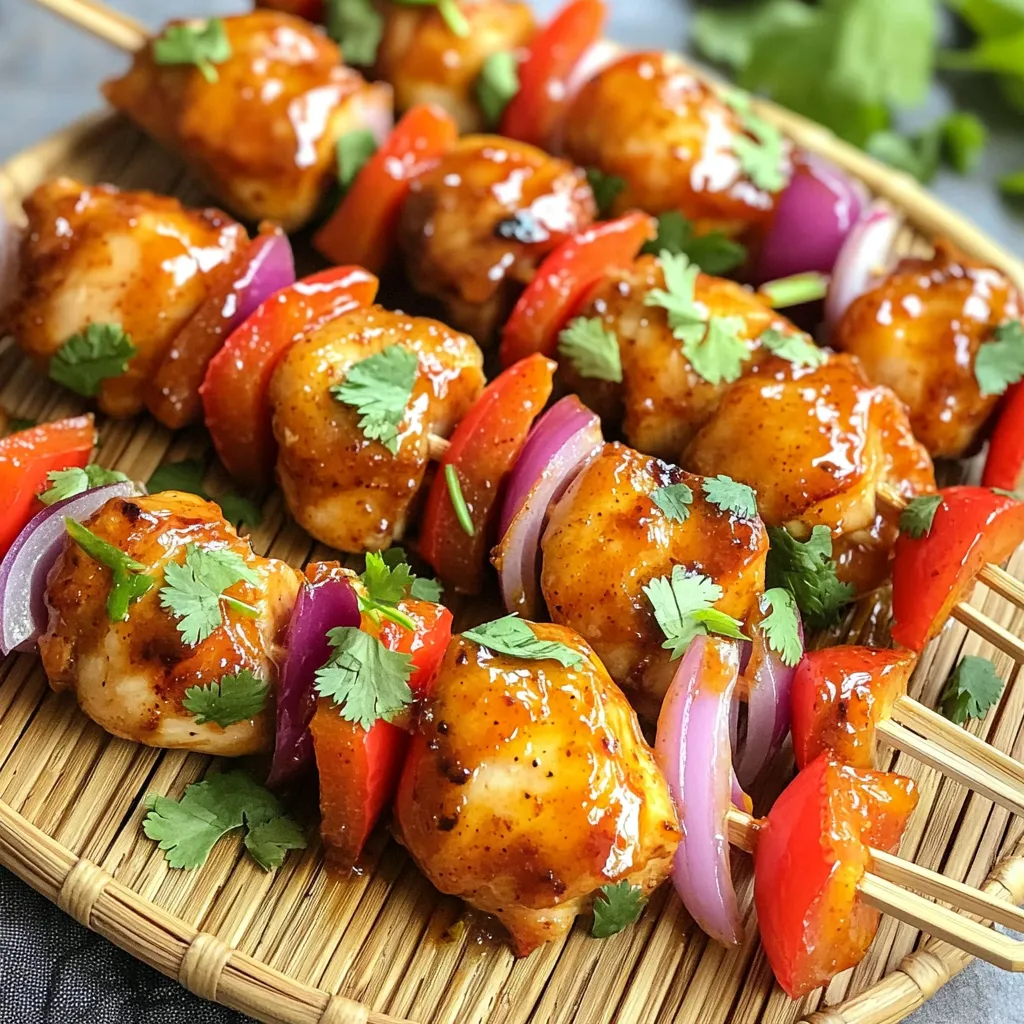
If you’re looking for a tasty and easy dinner option, you’ve found it! These Air Fryer Sweet Chili Chicken Skewers are packed with flavor and perfect for any occasion. With juicy chicken thighs coated in a delicious sweet chili marinade, they cook up crispy and savory. Ready to impress your family or guests? Let’s dive into the simple steps and tasty ingredients that make this dish a must-try!
Ingredients
Main Ingredients
– 1 pound boneless, skinless chicken thighs, cut into 1-inch pieces
– 1/4 cup sweet chili sauce
– 2 tablespoons soy sauce
– 1 tablespoon honey
– 1 tablespoon sesame oil
Additional Ingredients
– 2 cloves garlic, minced
– 1 teaspoon freshly grated ginger
– 1 bell pepper, cut into bite-sized chunks
– 1 red onion, sliced into wedges
– Skewers (use wooden or metal based on your preference)
Gather these ingredients for your Air Fryer Sweet Chili Chicken Skewers. The boneless chicken thighs make a tender base, soaking up the sweet chili sauce and soy sauce. Honey and sesame oil add depth to the flavor.
The garlic and ginger bring a lovely aroma to the dish. The bell pepper and red onion not only add color but also enhance the taste. If you choose wooden skewers, soak them in water. This step prevents burning during cooking.
With all these ingredients, you can create a delightful meal that is sure to impress!
Step-by-Step Instructions
Marinade Preparation
1. Grab a medium bowl and add the following ingredients:
– 1/4 cup sweet chili sauce
– 2 tablespoons soy sauce
– 1 tablespoon honey
– 1 tablespoon sesame oil
– 2 cloves garlic, minced
– 1 teaspoon freshly grated ginger
2. Whisk these together until smooth and blended well.
3. Now, add 1 pound of boneless, skinless chicken thighs, cut into 1-inch pieces. Make sure to coat each piece.
4. Cover the bowl and place it in the fridge for at least 30 minutes. This helps the chicken absorb all those tasty flavors.
Soaking and Prepping Skewers
1. If you use wooden skewers, soak them in water for 20-30 minutes. This step stops them from burning.
2. While the skewers soak, preheat your air fryer to 400°F (200°C). Let it warm up for about 5 minutes.
Assembling and Air Frying Skewers
1. After marinating, it’s time to thread the chicken onto the skewers. Alternate pieces with chunks of bell pepper and wedges of red onion. This adds color and taste.
2. Place the skewers in the air fryer basket. Make sure they are not overcrowded. If needed, cook in batches.
3. Air fry the skewers for 10-12 minutes. Flip them halfway for even cooking. They should be cooked through with a nice char.
4. Once done, carefully remove the skewers from the air fryer. Let them rest for a few minutes. This keeps the chicken juicy and delicious.
Tips & Tricks
Achieving Optimal Flavor
To get the best flavor, marinate your chicken for at least 30 minutes. This time allows the chicken to soak up all the tasty flavors. For a richer taste, use fresh ingredients. Fresh garlic and ginger give a bright kick. Choose vibrant bell peppers for color and flavor.
Ensuring Perfect Cooking
When you place the skewers in the air fryer, space them out. This helps them cook evenly. If they are too close, they won’t brown well. Flip the skewers halfway through cooking. This keeps every side crispy and golden.
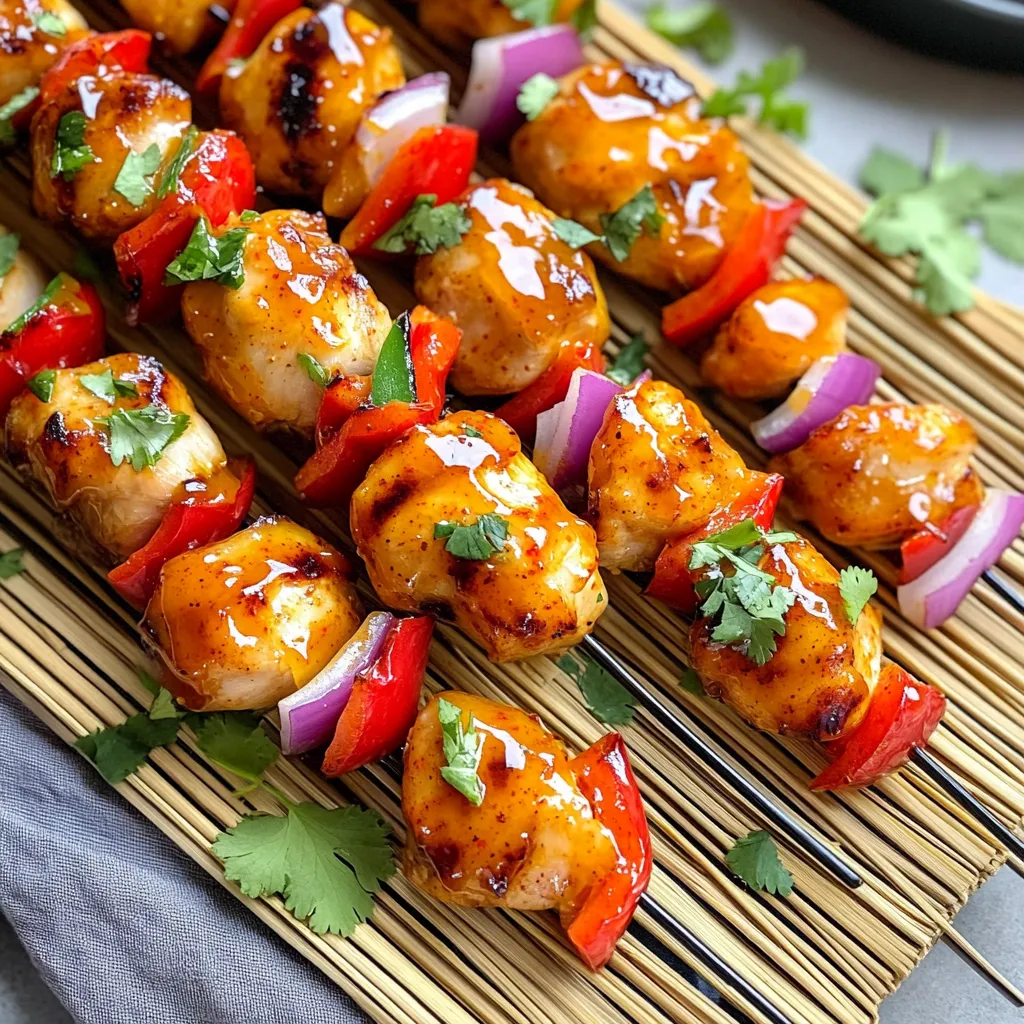
Presentation Tips
Serve the skewers on a bright plate or bamboo platter. This makes them pop! For added flair, sprinkle fresh cilantro or green onions on top. Drizzle a bit more sweet chili sauce over the skewers. This makes them look and taste even better!
Variations
Alternative Protein Choices
You can switch up the protein in your skewers. Chicken breast works well if you want leaner meat. It cooks quickly and still absorbs the flavors. If you prefer plant-based options, tofu is a great choice! Just make sure to use firm tofu and marinate it for extra flavor.
Want something different? Try adding shrimp or beef. Shrimp cooks fast and gives a nice contrast to the sweet chili sauce. Beef adds a rich taste. Just adjust the cooking time for these proteins to ensure they don’t overcook.
Vegetable Substitutions
Don’t feel stuck with just one type of bell pepper. You can use green, orange, or even purple bell peppers. Each color adds a unique taste and look. Zucchini is another great addition. It grills nicely and adds a fresh crunch. Mushrooms also work well, soaking up the marinade and offering a meaty texture.
Feel free to mix and match veggies for more variety. A mix of colors makes your dish pop visually!
Sauce Adjustments
You can easily tweak the sweetness or spice in your sauce. Want it sweeter? Just add more honey. If you like heat, mix in chili flakes. Lime juice can add a zesty twist.
Experiment with spices like garlic powder or cumin for a different flavor profile. Adjusting the sauce lets you make the skewers your own. The key is to taste as you go!
Storage Info
Storing Leftovers
To store your sweet chili chicken skewers, place them in an airtight container. This helps keep them fresh. Make sure they cool down before sealing. In the fridge, they last for up to three days. If you want to enjoy them longer, consider freezing.
Reheating Tips
When it’s time to eat leftovers, you have a few options. The best way is to reheat them in the air fryer. Set it to 350°F (175°C) for about 5-7 minutes. This method keeps them crispy. If you don’t have an air fryer, you can use a microwave. Just cover the skewers with a damp paper towel. This will help the chicken stay moist.
Freezing Options
To freeze your cooked skewers, first let them cool completely. Then, wrap each skewer in plastic wrap. Place them in a freezer bag, and remove as much air as possible. This keeps them tasty for up to three months. When you’re ready to eat, thaw them in the fridge overnight. Reheat them in your air fryer or oven for the best results.
FAQs
What is the best type of chicken for skewers?
The best chicken for skewers is boneless, skinless thighs. They stay juicy and tender. Chicken breasts can dry out, especially when cooked quickly. Thighs have more fat, which helps keep them moist. You can also use chicken tenders for easy preparation. Just cut them into bite-sized pieces.
Can I make these skewers ahead of time?
Yes, you can prep these skewers ahead of time. Marinate the chicken pieces in the sweet chili sauce mix. Cover the bowl and refrigerate for up to 24 hours. You can also assemble the skewers and store them in the fridge. Just cover them tightly to keep them fresh. When ready, simply air fry them as directed.
How can I make these skewers spicier?
To add heat, try these tips. Mix in red pepper flakes with the marinade. You can also add a dash of hot sauce for extra kick. If you like fresh heat, add sliced jalapeños to the skewers. For a smoky flavor, use chipotle powder in the marinade. Adjust the spice level based on your taste!
This blog post covered how to make tasty chicken skewers using simple ingredients and easy steps. You learned about the key items, from chicken thighs to sauces. I shared tips for marinating and cooking. Also, we explored variations to suit your tastes and storage methods for leftovers.
In closing, these skewers are a fun dish that you can enjoy anytime. Experiment with flavors and enjoy the process. Happy cooking!


