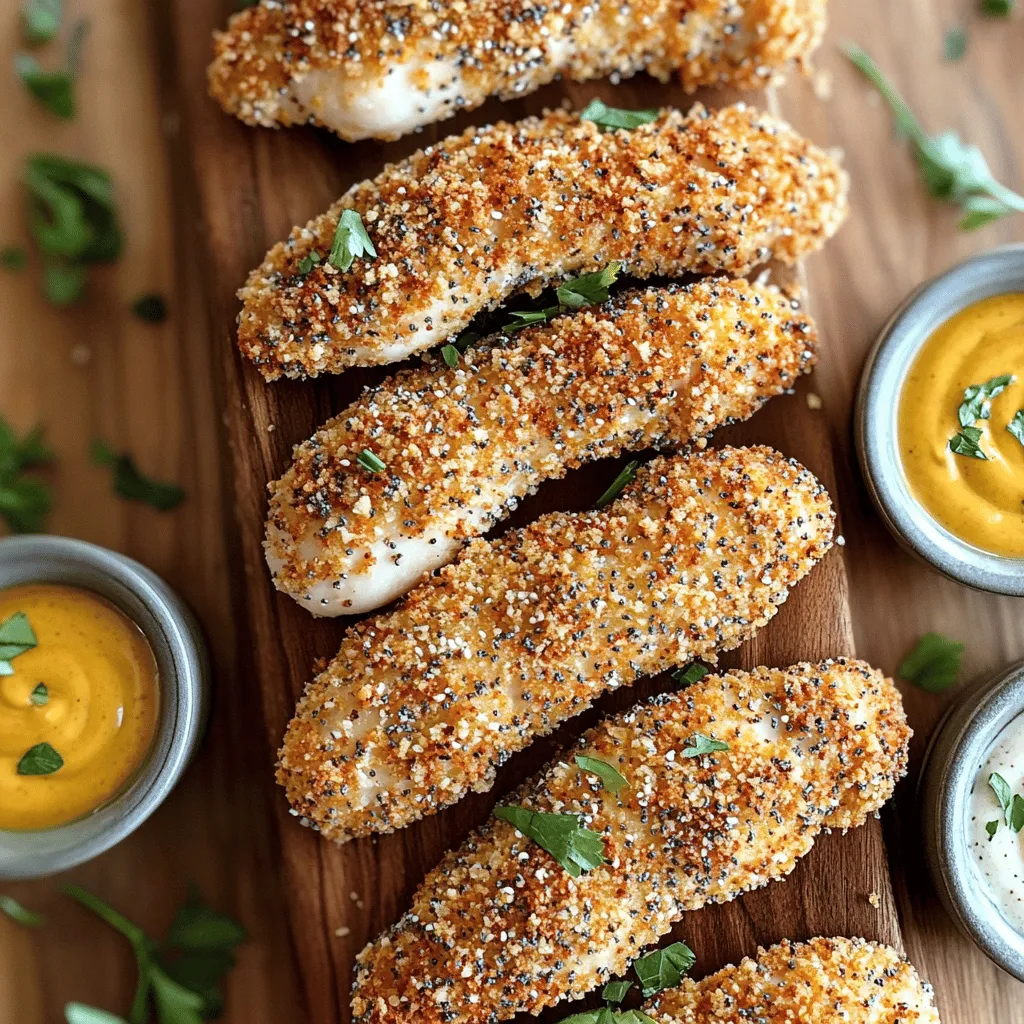
Looking for a fun twist on dinner? Let’s make Air Fryer Everything Bagel Chicken Tenders! These crispy, flavorful tenders combine the beloved everything bagel seasoning with juicy chicken. It’s easy, quick, and the perfect recipe for busy weeknights. In this article, I’ll guide you through every step, from marinating the chicken to achieving that perfect crunch. Ready to impress your taste buds? Let’s get cooking!
Ingredients
Main Ingredients
– 1 pound chicken tenders
– 1 cup buttermilk or plain yogurt
– 1 cup panko bread crumbs
– 1/2 cup all-purpose flour
Seasoning
– 2 tablespoons everything bagel seasoning
– 1/2 teaspoon garlic powder
– 1/2 teaspoon onion powder
– Salt and freshly ground black pepper
Cooking Essentials
– Cooking spray
Using fresh ingredients is key. Chicken tenders are tender and cook fast. Buttermilk adds moisture and flavor. If you want a tangy twist, use plain yogurt. Panko bread crumbs give a light and crispy crunch. They work better than regular bread crumbs. All-purpose flour helps the coating stick. The seasonings bring everything to life. Everything bagel seasoning has garlic, onion, and sesame flavors. Garlic powder and onion powder add more depth. Don’t forget to add salt and pepper to taste. Lastly, cooking spray helps the tenders brown and crisp in the air fryer.
Gather these ingredients, and you’re ready for a tasty meal!
Step-by-Step Instructions
Marinate the Chicken
– Combine chicken tenders with buttermilk.
– Cover and refrigerate for at least 30 minutes.
Marinating the chicken is key. Buttermilk tenderizes the meat. It adds moisture and flavor. You can use plain yogurt if you want a tangy twist. Just cover the bowl and let it chill.
Prepare the Breading Station
– Set up panko and seasoning mixture.
– Place flour in a separate shallow dish.
Next, set up your breading station. In one dish, mix panko with everything bagel seasoning, garlic powder, onion powder, salt, and pepper. In another dish, add plain flour. This setup makes it easy to coat the chicken.
Coat the Tenders
– Dredge in flour, dip in buttermilk, and coat with panko.
– Ensure even coating by pressing mixture onto chicken.
To coat the tenders, first, dredge them in flour. This helps the buttermilk stick. After that, dip the chicken back in the buttermilk. Finally, press each tender into the panko mix. Make sure every part is coated well for a crunchy finish.
Preheat the Air Fryer
– Preheat to 400°F (200°C) for 5 minutes.
Preheating the air fryer is important. It helps achieve that golden brown color. Set it to 400°F (200°C) and wait about 5 minutes. This step ensures the chicken cooks evenly.
Air Fry the Tenders
– Spray air fryer basket with cooking spray.
– Arrange tenders in a single layer and lightly spray tops.
Now, spray the air fryer basket with cooking spray. This prevents sticking. Place the chicken tenders in a single layer. Make sure they aren’t crowded. A light spray on top helps them brown beautifully.
Cooking Time
– Cook for 10-12 minutes, flipping halfway.
– Check for golden brown and internal temperature of 165°F (75°C).
Cook the tenders for 10-12 minutes. Flip them halfway through for even cooking. They should turn golden brown and reach an internal temperature of 165°F (75°C). Use a meat thermometer to check for doneness.
Tips & Tricks
Achieving the Perfect Crunch
Marinating the chicken is key. It helps keep the meat juicy. Use buttermilk for the best result. A marinating time of at least 30 minutes is ideal. This will allow the chicken to soak in the flavor.
For the coating, choose panko bread crumbs. They create a nice, crisp texture. Regular bread crumbs can work, but they won’t give you the same crunch. Panko is lighter and flakier, which makes the chicken tenders more appealing.
Cooking Spray Application
To achieve an even golden brown, use cooking spray. Lightly spray the basket before adding chicken. This helps avoid sticking. After placing the tenders, spray the tops again. This step promotes browning and crispiness.
Be sure not to overcrowd the basket. This allows hot air to move freely. More air means better cooking and crisping. If needed, cook in batches for the best crunch.
Serving Suggestions
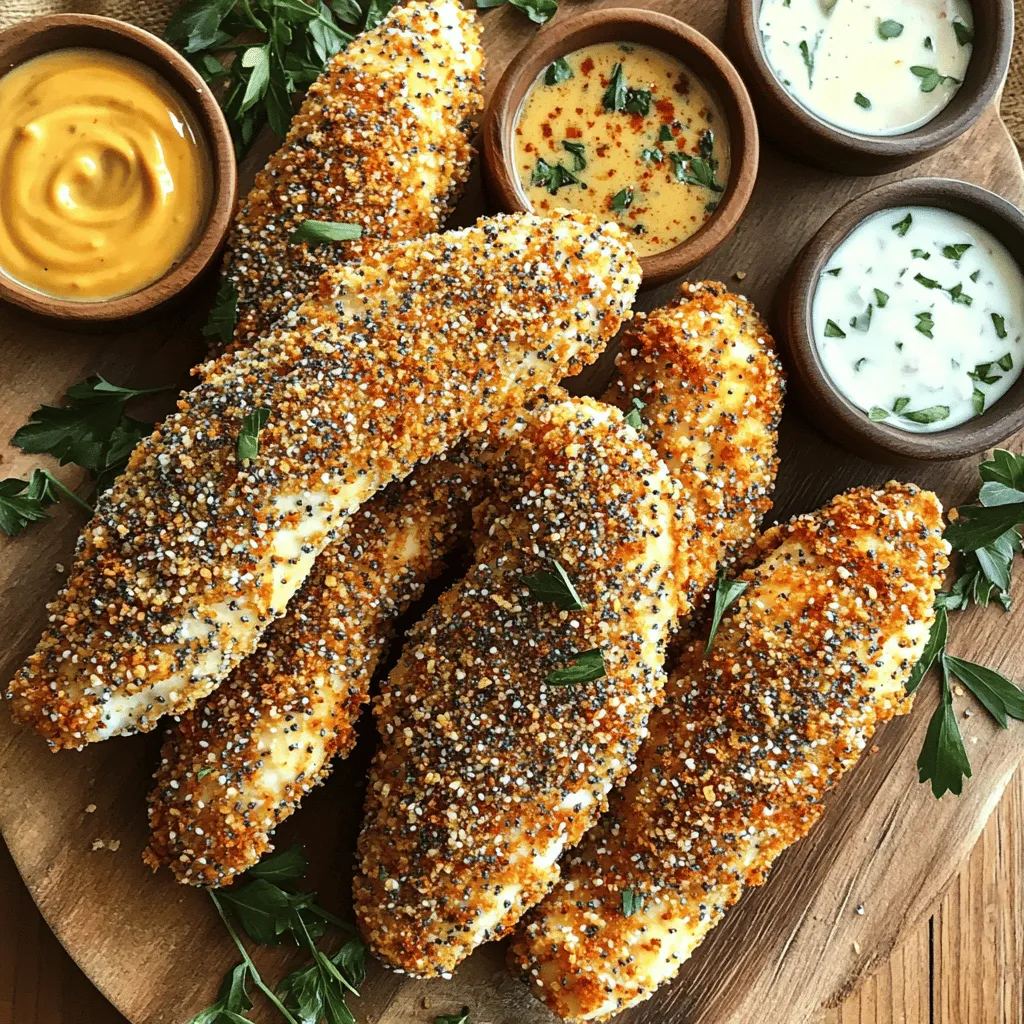
These chicken tenders shine with great dips. Try honey mustard or ranch dressing for a classic pairing. You can also serve them with a spicy aioli for a kick.
For a pop of color, garnish with fresh herbs. Chopped parsley or chives look great on the plate. This adds flavor and makes your dish more inviting. Enjoy your meal!
Variations
Flavor Variations
You can spice up your chicken tenders by adding herbs or spices. Mix in some paprika for a smoky kick or a pinch of cayenne for heat. Try fresh herbs like parsley or dill to bring freshness to the dish. You can also swap out the everything bagel seasoning for a different blend, like taco seasoning or Italian herbs, to create a unique flavor profile.
Chicken Alternatives
If you want to use chicken breasts instead of tenders, it works great. Just cut the breasts into strips. They will still cook evenly and taste fantastic. You can also use turkey tenders for a leaner option. For plant-based eaters, try using tofu or tempeh. Just marinate and coat them as you would with chicken.
Healthier Alternatives
If you’d like a lighter option, consider baking instead of air frying. Preheat your oven to 400°F (200°C) and bake on a lined sheet for about 15-20 minutes. Another option is to use low-fat yogurt instead of buttermilk. This swap keeps the chicken moist while cutting down on fat.
Storage Info
Refrigeration
To keep your chicken tenders fresh, store them in an airtight container. This prevents moisture loss and keeps them tasty. You should eat your leftover tenders within 3 days for the best flavor and safety.
Reheating
When reheating, you want to keep that crunch. The air fryer is best for this. Set it to 375°F (190°C) and heat for about 5 to 7 minutes. This helps revive the crispy texture. The microwave can make them soft and soggy, so avoid it if you can.
Freezing
To freeze your cooked tenders, let them cool completely first. Place them in a freezer-safe bag, removing as much air as possible. They can last up to 3 months in the freezer. When you’re ready to eat, thaw them in the fridge overnight. This keeps them juicy and tasty.
FAQs
Can I use regular chicken breasts?
Yes, you can use regular chicken breasts. Just cut them into strips. This will help them cook evenly. Tenders are smaller, which means they cook faster. Chicken breasts take a bit longer. Make sure to check their doneness.
How do I know when the chicken is fully cooked?
Check the chicken’s internal temperature. It should reach 165°F (75°C). You can use a meat thermometer for this. Also, look for a golden brown color on the outside. The juices should run clear when you cut into it.
What can I serve with these chicken tenders?
These chicken tenders pair well with many sides. Try serving them with a fresh salad. You can also add baked potatoes or sweet potato fries. They go great with coleslaw too. Don’t forget a side of veggies for balance!
Can I make these tenders ahead of time?
Yes, you can prep these tenders in advance. Marinate the chicken and coat it in the breading. Store them in the fridge until you’re ready to cook. This helps save time on busy days. Just cook them when you’re ready for a tasty meal.
What are some dipping sauces that go well with them?
There are many tasty dips to try! Honey mustard is a favorite choice. Ranch dressing also works well. You might like barbecue sauce or spicy ketchup. For a twist, try a yogurt dip with herbs. Each option adds a fun flavor!
This blog post offers a simple way to make crispy chicken tenders. We covered the key ingredients, from marinating in buttermilk to using panko for crunch. I shared tips for perfecting the cook and even gave you variations to try. Whether you stick to the classic or explore alternatives, you can enjoy a tasty meal. Remember, the key lies in the details—cook with focus, and you’ll serve up something great every time. Enjoy your cooking adventure!


