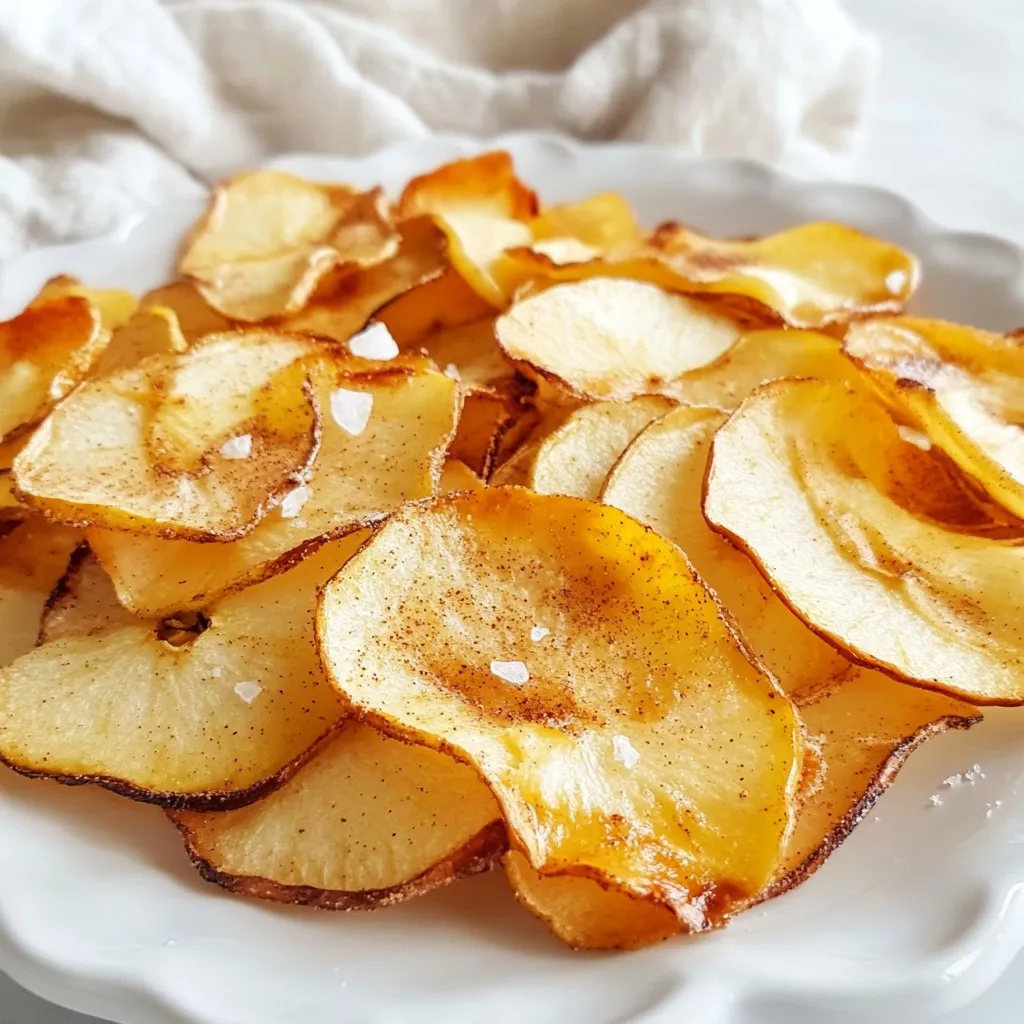
Craving a crunchy, healthy snack? Look no further! Air fryer apple chips are simple to make and bursting with flavor. In this post, I’ll guide you step-by-step to create crispy chips, using just a few ingredients. Whether you want a delightful treat for movie night or something sweet for lunch, these apple chips will hit the spot. Let’s dive into this tasty recipe that will satisfy your snack cravings!
Why I Love This Recipe
- Healthy Snack Option: These apple chips are a guilt-free treat that can satisfy your sweet tooth without the added sugars and preservatives found in store-bought snacks.
- Easy to Make: With minimal ingredients and simple steps, this recipe is perfect for both novice cooks and seasoned chefs looking for a quick and tasty snack.
- Customizable Flavors: Feel free to experiment with different spices or sweeteners to create your own unique flavor combinations that suit your taste preferences.
- Perfect for Meal Prep: These apple chips store well in an airtight container, making them a convenient snack option that can be prepared ahead of time for busy days.
Ingredients
List of Ingredients
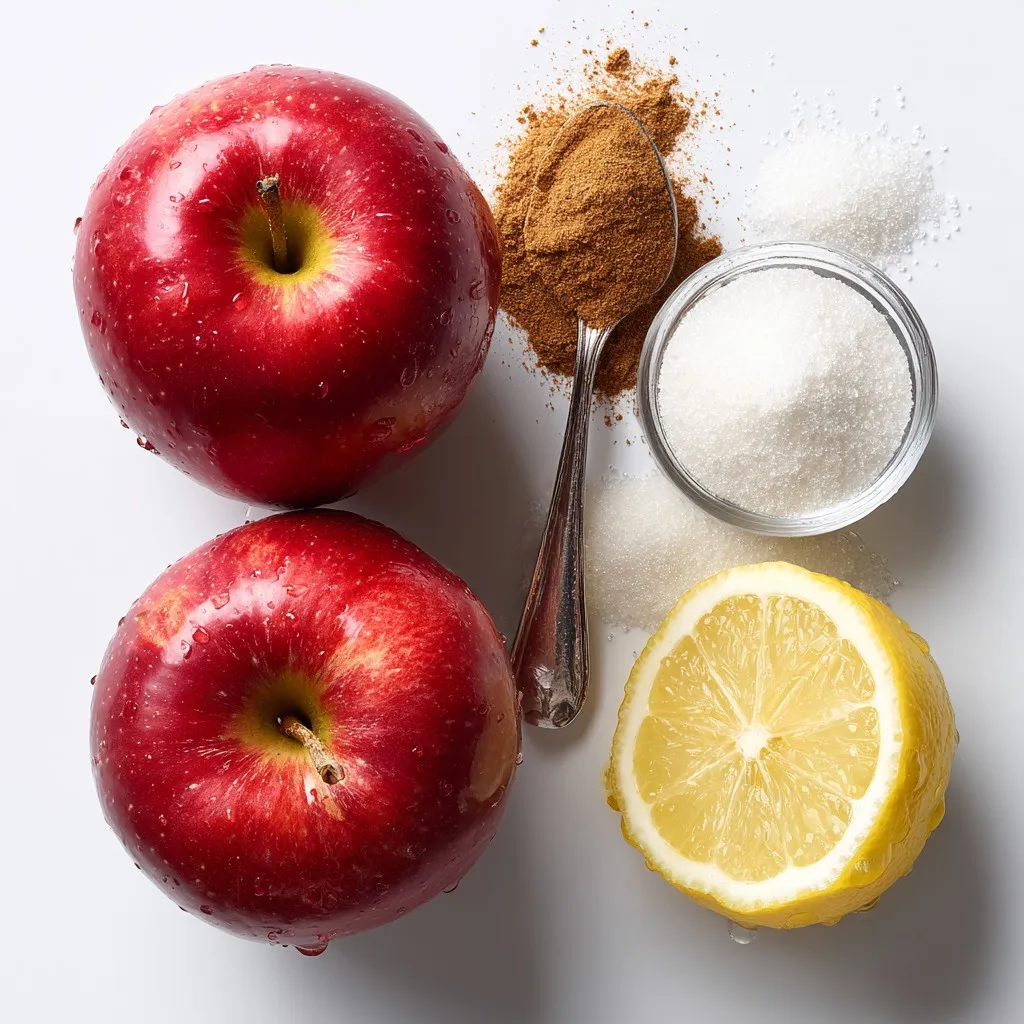
– 2 large apples (favorite variety)
– 1 teaspoon ground cinnamon
– 1 tablespoon granulated sugar (optional)
– A pinch of salt
– 1 teaspoon fresh lemon juice
To make air fryer apple chips, you need simple ingredients. I recommend using your favorite apples. Sweet varieties work great. The apples give natural sweetness, while the spices enhance the flavor.
Ground cinnamon adds warmth and depth to the chips. You can add sugar, but it is not necessary. The lemon juice prevents browning and brightens the taste. A small pinch of salt balances the sweetness.
Gather these ingredients before you start. This way, you can make the process smooth and fun. Enjoy the health benefits of this tasty snack!
Step-by-Step Instructions
Preheating the Air Fryer
Set your air fryer to 160°F (70°C). This step ensures the apple chips cook evenly. Preheating takes about 5 minutes.
Preparing the Apples
Wash your apples under running water. Dry them with a clean towel. Next, core the apples to remove the seeds. Slice them thinly, about 1/8 inch thick. A mandoline slicer works best for even slices, but a sharp knife is fine too.
Mixing the Ingredients
In a bowl, mix the apple slices with 1 teaspoon of fresh lemon juice. Add 1 teaspoon of ground cinnamon, a pinch of salt, and sugar if you like. Toss gently to coat all the apple slices. This helps enhance flavor and prevent browning.
Air Frying the Apple Slices
Carefully place the apple slices in a single layer in the air fryer basket. Avoid overlapping the slices. You may need to fry them in batches. Set the air fryer to 160°F (70°C) and cook for 10 to 15 minutes. Check for crispness and flip the slices halfway through. Thicker slices may need extra time. Aim for a golden, crisp texture without burning.
Once done, remove the apple chips and let them cool on a wire rack. Cooling helps them get even crispier. After cooling, store them in an airtight container to keep them fresh.
Tips & Tricks
Achieving the Perfect Crisp
To get crispy apple chips, slice apples thinly. Aim for 1/8 inch thick slices. Thicker slices will take longer to cook and may not crisp up well. After air frying, let the chips cool on a wire rack. This cooling step helps them become crispier.
Flavor Enhancements
You can make your apple chips more delicious by adding spices. Nutmeg or allspice can enhance the flavor. If you like sweetness, adjust the granulated sugar. You can use less or skip it altogether for a healthier snack.
Air Fryer Best Practices
When using your air fryer, avoid overlapping apple slices. This allows hot air to circulate and cook them evenly. Set your air fryer to 160°F (70°C) for best results. Cooking time should be around 10 to 15 minutes. Flip the slices halfway through to avoid burning.
Pro Tips
- Choose the Right Apples: Different apple varieties yield different textures and flavors. For the crispiest chips, opt for firm apples like Fuji or Granny Smith.
- Use a Mandoline Slicer: For uniform thickness, a mandoline slicer is your best friend. This ensures even cooking and perfect crispness.
- Experiment with Spices: Feel free to add other spices like nutmeg or allspice to customize the flavor of your apple chips.
- Store Properly: To maintain crispness, store your apple chips in an airtight container in a cool, dry place. Avoid exposure to moisture.
Variations
Different Apple Varieties
Not all apples are the same. Some work better for air frying than others. My top picks are Fuji, Honeycrisp, and Granny Smith. These apples give great flavor and crispness. You can also mix different types for a unique taste. Try combining a sweet apple with a tart one for balance.
Flavor Experimentation
Want to spice things up? Adding a splash of vanilla extract can enhance the sweetness. You can also combine apple chips with other fruits. Slices of pear or even banana add a new twist. Just make sure the slices are thin for even cooking.
Alternative Seasonings
Get creative with your seasonings! Maple syrup or honey can add natural sweetness. Drizzle a little before air frying. If you prefer savory chips, sprinkle some herbs like rosemary or thyme. These options give your apple chips a fun, new flair.
Storage Info
Best Practices for Storing Apple Chips
To keep your apple chips fresh, use an airtight container. Glass jars or plastic containers work well. Make sure the container seals tightly. Store your chips in a cool, dry place. This helps maintain their crunch. Avoid storing them in the fridge, as moisture can make them soggy.
Shelf Life
Apple chips can last about two weeks when stored correctly. After two weeks, they may lose some crispness. Signs of spoilage include a soft texture or a change in smell. If they smell off or feel chewy, it’s best to toss them.
Recrisping Tips
If your apple chips soften, don’t worry! You can restore their crispness. Simply place them in the air fryer at 160°F for about 5 minutes. Check them often to avoid burning. You can also use an oven set to low heat. Spread them on a baking sheet and bake for 5 to 10 minutes. This will bring back the delightful crunch you love.
FAQs
Can I make apple chips without sugar?
Yes, you can make apple chips without sugar. To adjust the recipe, simply leave out the granulated sugar. The natural sweetness of the apples shines through. You can add a sprinkle of extra cinnamon for more flavor. This makes your apple chips even healthier.
Are air-fried apple chips healthy?
Yes, air-fried apple chips are healthy. They have less fat than chips made in oil. Regular frying adds extra calories and fat. Air frying uses hot air to cook, which makes them crispy without all that oil. Plus, apples are full of vitamins and fiber.
How do I know when apple chips are done?
Apple chips are done when they are golden and crisp. Look for a light brown color with a crunchy texture. If they feel soft, they need more time. Flip them halfway through cooking for even crispness. When they cool, they will get even crunchier.
You learned how to make crispy air-fried apple chips. We covered ingredients, steps, and helpful tips. Remember to tweak flavors by trying different spices and apples. Store your chips in a container to keep them fresh. They last a while, but check for spoilage signs. If they get soft, use your air fryer to crisp them up again. Enjoy your tasty snack, and feel free to experiment with new flavors. Happy cookin


