
Are you ready to dive into a dish that’s both tasty and easy to make? My Eggplant and Chickpea Curry combines wholesome ingredients with rich spices, creating a meal that’s perfect for any night. In this recipe, you’ll discover how simple cooking techniques can bring bold flavors to your table. Let’s get started on making this delicious meal that everyone will love!
Ingredients
Essential Ingredients for Eggplant and Chickpea Curry
For a great eggplant and chickpea curry, you need some key ingredients. Here’s what you’ll need:
– 1 large eggplant, diced into bite-sized cubes
– 1 (15 oz) can of chickpeas, thoroughly drained and rinsed
– 1 medium onion, finely chopped
– 2 cloves garlic, minced
– 1-inch piece of fresh ginger, grated
These ingredients bring out the best flavors. The eggplant adds a rich texture. Chickpeas give protein and heartiness. Onions, garlic, and ginger provide a wonderful base.
Spices and Seasonings
Spices make this dish pop with flavor. Here are the key spices you should have:
– 2 tablespoons curry powder
– 1 teaspoon turmeric powder
– Salt and freshly cracked pepper, to taste
Curry powder gives the dish its main flavor. Turmeric adds a warm color and depth. Always adjust salt and pepper based on your taste.
Liquid Components
Every curry needs a creamy base to bring it all together. Use these liquids:
– 1 (14 oz) can of coconut milk
– 1 cup diced tomatoes (can be fresh or canned)
Coconut milk creates a rich and creamy sauce. Diced tomatoes add freshness and balance the spices. Together, they make the dish comforting and enjoyable.
Step-by-Step Instructions
Cooking the Base
Start by heating olive oil in a large skillet over medium heat. Add the chopped onion. Sauté it until it turns soft and clear, about five minutes. Stir occasionally to prevent it from burning. Next, add the minced garlic and grated ginger. Cook this mix for one minute. You want it to smell good.
Now, sprinkle in the curry powder and turmeric. Stir this for about 30 seconds. This toasts the spices and brings out their flavors.
Adding Main Ingredients
Time to add the star of the dish! Toss in the diced eggplant. Stir well to coat it with the spices. Let it cook for about five to seven minutes. Stir occasionally until it starts to soften.
Next, add the diced tomatoes and coconut milk to the skillet. Gently mix in the chickpeas. Season with salt and pepper to your taste.
Simmering and Finishing Touches
Bring the curry to a gentle simmer. Cover the skillet and let it cook for 15 to 20 minutes. Stir it occasionally. This helps the eggplant become tender and the flavors meld together.
Before serving, taste the curry. Adjust the seasoning as needed. You may want to add more salt, pepper, or spices. Let it rest for a few minutes after cooking. This helps the flavors develop more. Enjoy your flavorful and simple eggplant and chickpea curry!
Tips & Tricks
Achieving the Best Flavor
To make your eggplant and chickpea curry stand out, focus on toasting spices. Toasting spices brings out their oils and deepens their flavor. Heat the spices for just a short time in the oil before adding other ingredients. This step is easy and makes a big difference.
Cooking eggplant to perfection is also key. Eggplant can absorb a lot of oil, so don’t add too much at first. Cook it until it’s tender but not mushy. This keeps the texture nice and adds depth to your dish.
Serving Suggestions
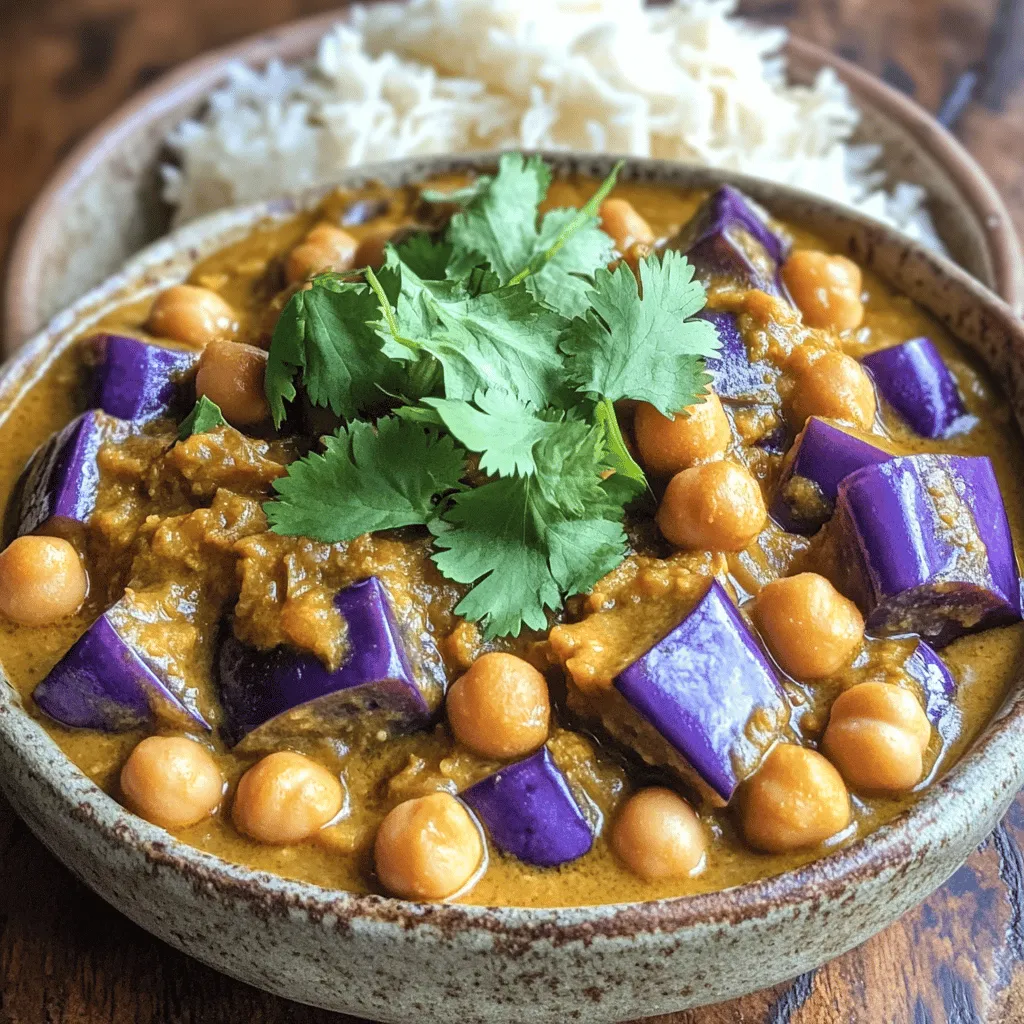
Pair this curry with rice or naan. Both options soak up the rich sauce well. Basmati rice adds a fluffy texture that contrasts nicely with the creamy curry. Warm naan bread is perfect for scooping up the curry.
Garnish your dish with fresh cilantro. It adds a burst of color and brightness. Just sprinkle some on top before serving. This small step can elevate your dish’s look and taste.
Common Mistakes to Avoid
One common mistake is overcooking the eggplant. It can turn mushy, losing its shape and texture. Keep an eye on it while it cooks, stirring occasionally.
Another mistake is ignoring seasoning adjustments. Always taste your curry before serving. You might need to add more salt, pepper, or spices to get the flavor just right. Each ingredient plays a role, so this step is vital.
Variations
Ingredient Swaps
You can easily change the recipe by swapping legumes. Instead of chickpeas, try lentils or black beans. They bring unique textures and flavors. You can also mix them for a hearty dish.
For vegetables, feel free to use zucchini, bell peppers, or spinach. Each adds a different taste and nutrition. Remember to adjust cooking times for firmer veggies like carrots.
Adjusting Heat Levels
To change the spice level, add chili powder or fresh chilies. If you want it spicy, use one or two chopped green chilies. For a mild version, skip the heat or add a touch of sugar. This balances the spices and keeps it tasty.
Dietary Modifications
This dish is naturally vegan. You can enjoy rich flavors without any animal products. If you want a creamier texture, try a vegan yogurt option on top.
For gluten-free diets, ensure your curry powder is free of gluten. Always check labels to be safe. Pair it with gluten-free rice or bread for a complete meal.
Storage Info
Storing Leftovers
To keep your eggplant and chickpea curry fresh, let it cool. Place it in an airtight container. Refrigerate it within two hours of cooking. It stays good for about three to four days. If you want to enjoy it later, be sure to label the container with the date.
Freezing Guidance
You can freeze this curry for longer storage. Use a freezer-safe container or a heavy-duty freezer bag. Leave some space at the top, as it will expand when frozen. It’s best to freeze it within a day or two of cooking. The curry can last for up to three months in the freezer. When ready to enjoy, thaw it overnight in the fridge.
Reheating Instructions
Reheat your curry using the stovetop or microwave. For the stovetop, pour the curry into a pot on medium heat. Stir it often to avoid sticking. Heat until it is hot throughout, about 5-10 minutes. If using a microwave, place it in a microwave-safe bowl. Cover it loosely and heat in 1-minute bursts, stirring in between, until hot. Enjoy your meal quickly after reheating for the best taste.
FAQs
How long does it take to make eggplant and chickpea curry?
Making eggplant and chickpea curry takes about 35 minutes. You will need 10 minutes to prep and 25 minutes to cook. This makes it a great dish for a quick weeknight meal.
Can I use frozen eggplant for this recipe?
You can use frozen eggplant, but fresh is best. Frozen eggplant may lose some texture. If using frozen, thaw it first and drain any excess moisture. This helps maintain the dish’s taste and consistency.
What can I serve with eggplant and chickpea curry?
Serve this curry with cooked basmati rice or warm naan bread. Both options soak up the sauce well. You can also add a side of yogurt or a simple salad for freshness.
Is this a healthy recipe?
Yes, this recipe is healthy. Eggplant is low in calories and high in fiber. Chickpeas provide protein and essential nutrients. Coconut milk adds healthy fats, making this dish both nutritious and satisfying.
Can I make this curry in a slow cooker?
Yes, you can make this curry in a slow cooker. Start by sautéing the onion, garlic, and ginger in a pan. Then add all the ingredients to the slow cooker. Cook on low for 6-8 hours or high for 3-4 hours. Enjoy the rich flavors that develop over time.
This blog post shared a simple recipe for eggplant and chickpea curry. You learned about key ingredients like eggplant, chickpeas, and spices. We walked through easy steps to cook and finish the dish. I offered tips for best flavor and common mistakes to avoid. You also found variations, storage tips, and answers to frequently asked questions.
Enjoy your curry adventure, and feel free to tweak the recipe. Happy cooking!


