Welcome to the savory world of Indian-Spiced Chickpea Stew! I’m excited to share a dish that combines cozy warmth with rich flavors. This stew is packed with protein, colorful veggies, and fragrant spices. It’s perfect for a hearty weeknight meal or a comforting weekend delight. Follow my easy steps, and soon you’ll serve up a bowl of pure happiness. Let’s dive into the ingredients and make some magic happen!
Ingredients
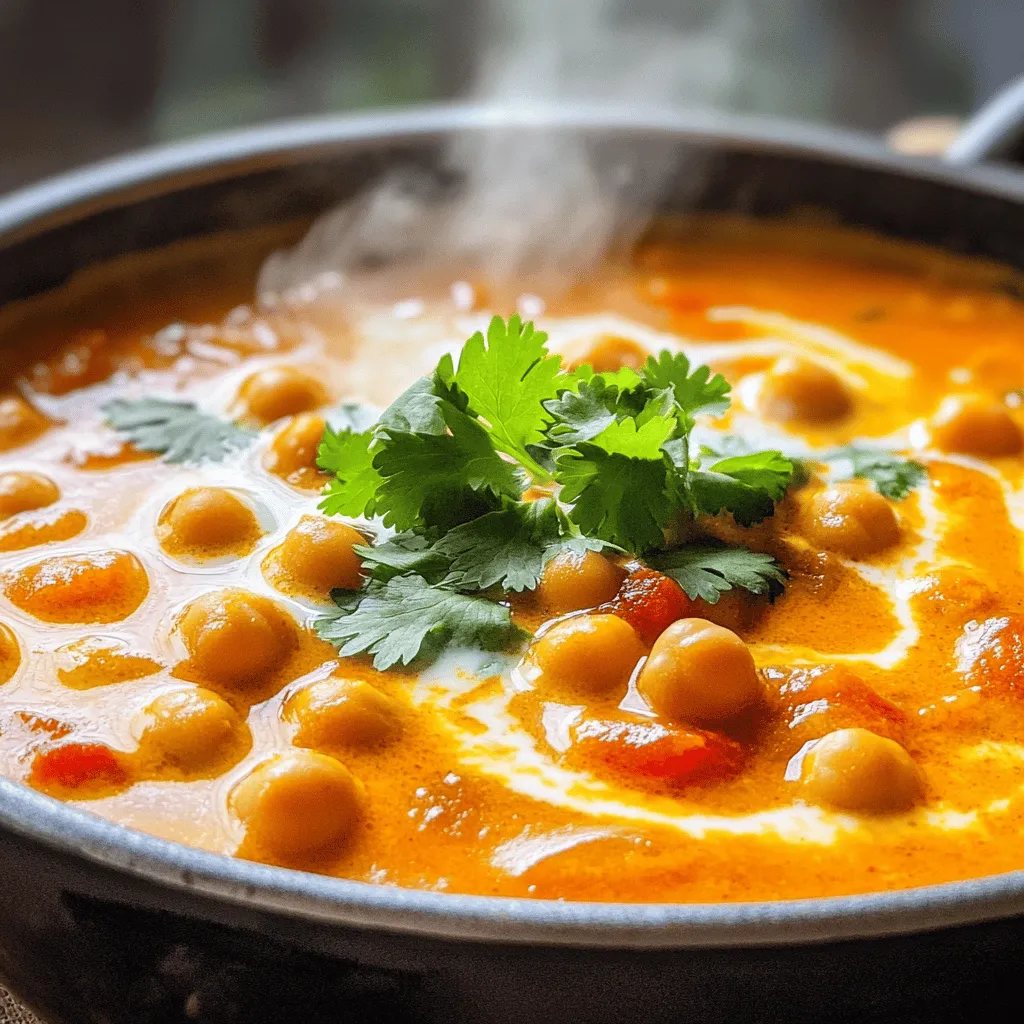
To make Indian-spiced chickpea stew, you need fresh and flavorful ingredients. This stew brings warmth and comfort to your table. Here’s what you’ll need:
– Canned chickpeas: 2 cups, thoroughly drained and rinsed
– Vegetables and aromatics:
– 1 medium onion, finely chopped
– 2 cloves garlic, minced
– 1 tablespoon fresh ginger, grated
– Spices and liquids:
– 1 can (14 oz) diced tomatoes with juice
– 1 can (14 oz) coconut milk
– 2 cups vegetable broth
– 1 tablespoon curry powder
– 1 teaspoon ground cumin
– 1 teaspoon turmeric powder
– 1/2 teaspoon red chili powder (adjust according to your heat preference)
– 1 tablespoon olive oil
– Salt and freshly ground black pepper, to taste
– Fresh cilantro, chopped (for garnishing)
These ingredients create a rich base for your stew. The chickpeas provide protein and texture. The diced tomatoes add acidity and sweetness. Coconut milk gives a creamy touch. Each spice brings its own unique flavor.Enjoy cooking!
Step-by-Step Instructions
Preparation Steps
1. Sautéing the aromatics
Start by heating olive oil in a large pot over medium heat. Add the chopped onion and cook until it turns soft and golden. This should take around five minutes. Then, mix in minced garlic and grated ginger. Cook for one more minute, stirring often. You want to smell the lovely aroma from the garlic and ginger.
2. Adding spices and liquids
Next, sprinkle in the curry powder, ground cumin, turmeric powder, and red chili powder. Stir until the onion is coated with these spices. Let them cook for two minutes. This step makes the flavors pop! Now, pour in the diced tomatoes with their juice, followed by the creamy coconut milk and vegetable broth. Mix everything well to combine.
3. Simmering the stew
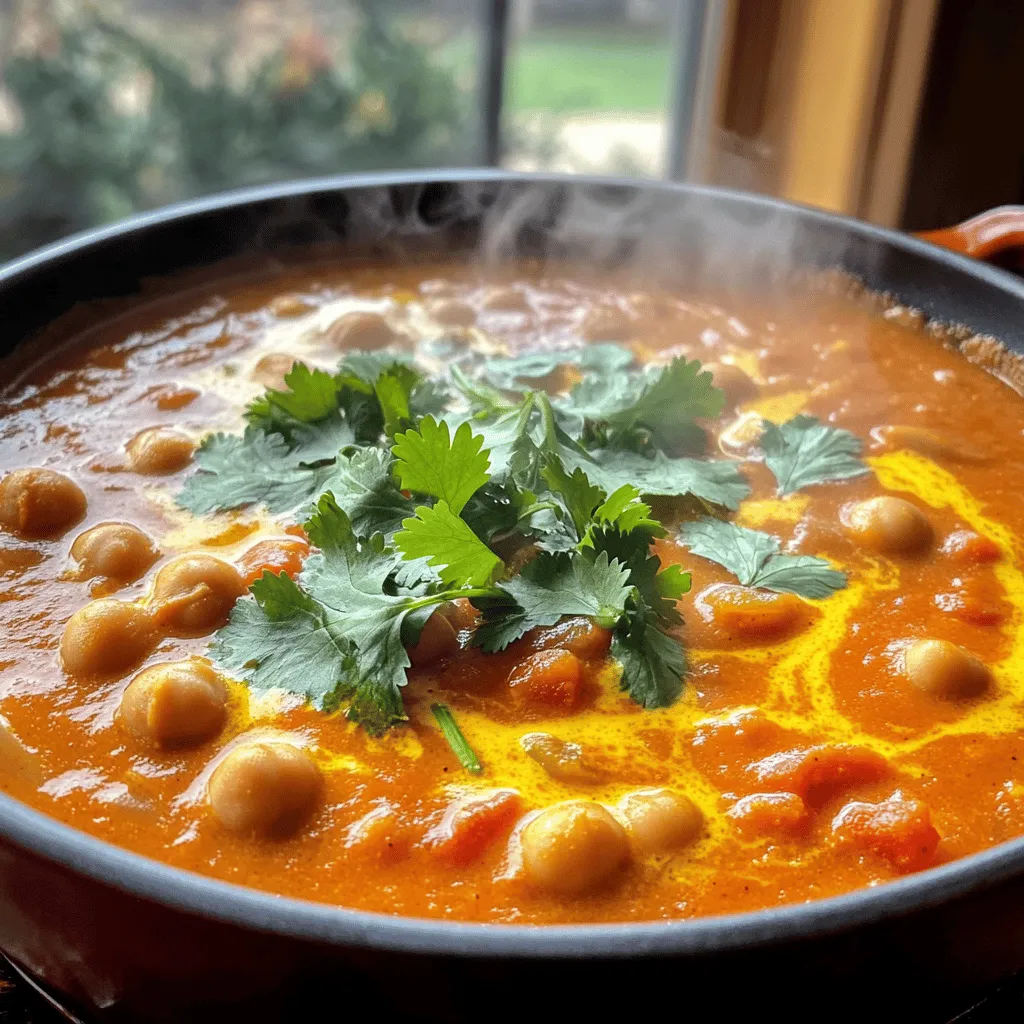
Gently fold in the rinsed chickpeas. Add salt and black pepper to taste. Bring the stew to a gentle simmer. Once simmering, lower the heat, cover the pot, and let it cook for 20 to 25 minutes. Stir occasionally to keep it from sticking. After cooking, taste and tweak the seasoning. If you want it thicker, mash a few chickpeas against the pot. Garnish with fresh cilantro before serving. Enjoy your delicious Indian-spiced chickpea stew!
Tips & Tricks
Cooking Tips
– Ensuring the perfect texture: To get that creamy and thick stew, you should mash some chickpeas. This adds a nice body. Stir gently while mashing to keep some whole.
– Adjusting spice levels: If you want more heat, add more red chili powder. Start with a little, then taste and add more if needed. For less spice, cut the chili powder in half.
– Enhancing flavor with garnishes: Fresh cilantro adds color and brightness to the stew. Just chop it up and sprinkle it on top before serving. You can also add a squeeze of lime for extra zing.
These tips will help you craft a comforting dish.
Variations
Ingredient Substitutions
You can easily change this stew to fit your taste.
– Using different legumes or vegetables: If you don’t have chickpeas, try black beans or lentils. You can also add sweet potatoes, carrots, or spinach for more nutrients.
– Dairy-free options: The coconut milk gives a rich taste, but you can swap it with almond or soy milk. This keeps the stew creamy without dairy.
– Additional spices to suit taste: If you want more heat, add cayenne pepper or fresh chili. For a different flavor, try garam masala or coriander. Play around with spices to find your perfect blend.
Feel free to explore these options! Every change can make your stew unique and delicious. Want to try the original?
Storage Info
Storing Leftovers
To keep your Indian-spiced chickpea stew fresh, let it cool first. This step is key. Place the pot on a cool surface. Give it about 30 minutes to reach room temperature.
Use airtight containers for storage. Glass containers work well. They keep the flavors locked in. You can also use plastic containers, but make sure they are BPA-free.
When ready to reheat, take the stew from the fridge. Pour it into a pot. Heat it on medium-low. Stir often to stop it from sticking. If it seems thick, add a splash of vegetable broth or water. Heat until it’s warm, about 5 to 10 minutes.
For safe eating, ensure it reaches at least 165°F. This way, you’ll enjoy the stew’s warmth and flavor again!
FAQs
Can I freeze Indian-spiced chickpea stew?
Yes, you can freeze this stew. Let it cool first. Then, put it in a safe container. Leave some space at the top for expansion. It stays good for about three months.
How do I thicken the stew?
To thicken your stew, mash some chickpeas. Use the back of a spoon against the pot. You can also simmer it longer. This helps reduce the liquid and makes it thicker.
What can I serve with this stew?
You can serve this stew with rice or naan. Both soak up the flavors well. A side salad or yogurt adds a nice touch too. Enjoy experimenting with different pairings!
This blog post covered how to make a tasty Indian-spiced chickpea stew. We explored key ingredients like canned chickpeas, various vegetables, and spices. I shared step-by-step instructions for cooking, along with helpful tips for texture and flavor. You learned about fun ingredient variations and how to store leftovers properly.
In conclusion, this stew is simple to make and packed with flavor. Feel free to get creative with your ingredients. Enjoy your cooking!


