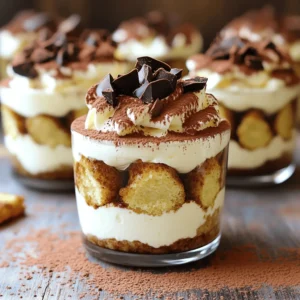
No-Bake Tiramisu Cups
Indulge in the creamy delight of No-Bake Tiramisu Cups with this easy recipe! Perfect for dessert lovers, these cups feature layers of coffee-soaked ladyfingers and a light mascarpone cream, all topped with a cocoa dusting. In just 20 minutes of prep time, you can create a decadent treat that's sure to impress. Click through to explore this delicious recipe and bring a taste of Italy to your table!