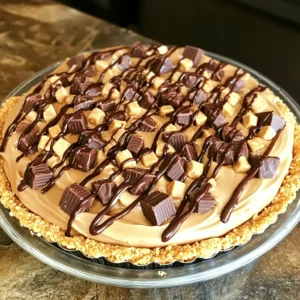
No-Bake Peanut Butter Cup Pie
Indulge in the ultimate dessert with this No-Bake Peanut Butter Cup Pie! Perfect for any occasion, this easy recipe combines a crumbly graham cracker crust with a creamy peanut butter filling and topped with chocolate sauce and mini peanut butter cups. In just 20 minutes of prep time, you’ll have a stunning pie that everyone will love. Click through to explore the full recipe and treat yourself today!