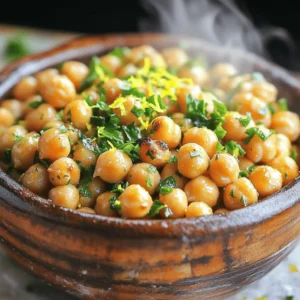
Lemon Garlic Roasted Chickpeas
Indulge in the perfect snack with these zesty lemon garlic roasted chickpeas! This simple recipe transforms everyday ingredients into a crunchy, flavorful delight that's sure to impress. With a blend of lemon, garlic, and spices, each bite is packed with taste. Ready in just 40 minutes, these chickpeas are not only great as a snack but also a fabulous topping for salads.