Mango Lime Sorbet Refreshing and Simple Recipe

Get ready for a flavor explosion with my Mango Lime Sorbet recipe! It’s simple, refreshing, and perfect for those warm days. You only need a few key ingredients and minimal steps to create a dessert that will impress your friends and family. Plus, I’ll share tips to customize your sorbet to make it uniquely yours. Let’s dive into this easy and fun treat that everyone will love!
Ingredients
Main Ingredients for Mango Lime Sorbet
To make the best mango lime sorbet, you need fresh and ripe ingredients. Here’s what you’ll need:
- 3 ripe mangoes, carefully peeled and diced
- 1/2 cup fresh lime juice (about 4-5 limes)
- 1/3 cup honey or agave syrup
- 1 cup coconut water (or regular water)
- Zest of 2 limes, finely grated
- A pinch of sea salt
These main ingredients blend to create a tropical flavor that is sweet and tangy. The mangoes give it a smooth texture, while lime juice adds a refreshing zing.
Sweetener Options: Honey vs. Agave Syrup
When making sorbet, choosing the right sweetener is key. Honey offers a floral note that pairs well with mango. It’s a natural sweetener that adds depth. Agave syrup is milder and has a lower glycemic index. If you want a sweeter taste without a strong flavor, go for agave. Both options work well, so you can choose based on your preference.
Alternative Ingredients for Customization
Feel free to customize your sorbet to suit your taste. Want a creamier texture? Add a splash of coconut milk. For a berry twist, toss in some frozen strawberries or raspberries. You could also use lemon juice instead of lime for a different tartness. Get creative and make this recipe your own!
Step-by-Step Instructions
Preparation of Ingredients
Start by washing your mangoes. Choose three ripe mangoes that smell sweet. Peel them and cut them into small pieces. This makes blending easier. Next, juice four to five limes until you have half a cup of juice. Zest two limes to add more flavor. Gather all your ingredients before blending.
Blending and Freezing Process
Place the diced mangoes, lime juice, honey, coconut water, lime zest, and sea salt in a blender. Blend on high until the mix is smooth. Taste it. If you want it sweeter, add more honey or agave syrup. Blend again to mix well. Pour the mixture into a shallow dish or a freezer-safe container. Freeze for about 30 minutes. After this time, take it out and stir with a fork. This breaks up ice crystals. Do this every 30 minutes for two to four hours. This helps your sorbet become light and fluffy.
Tips for Achieving the Perfect Texture
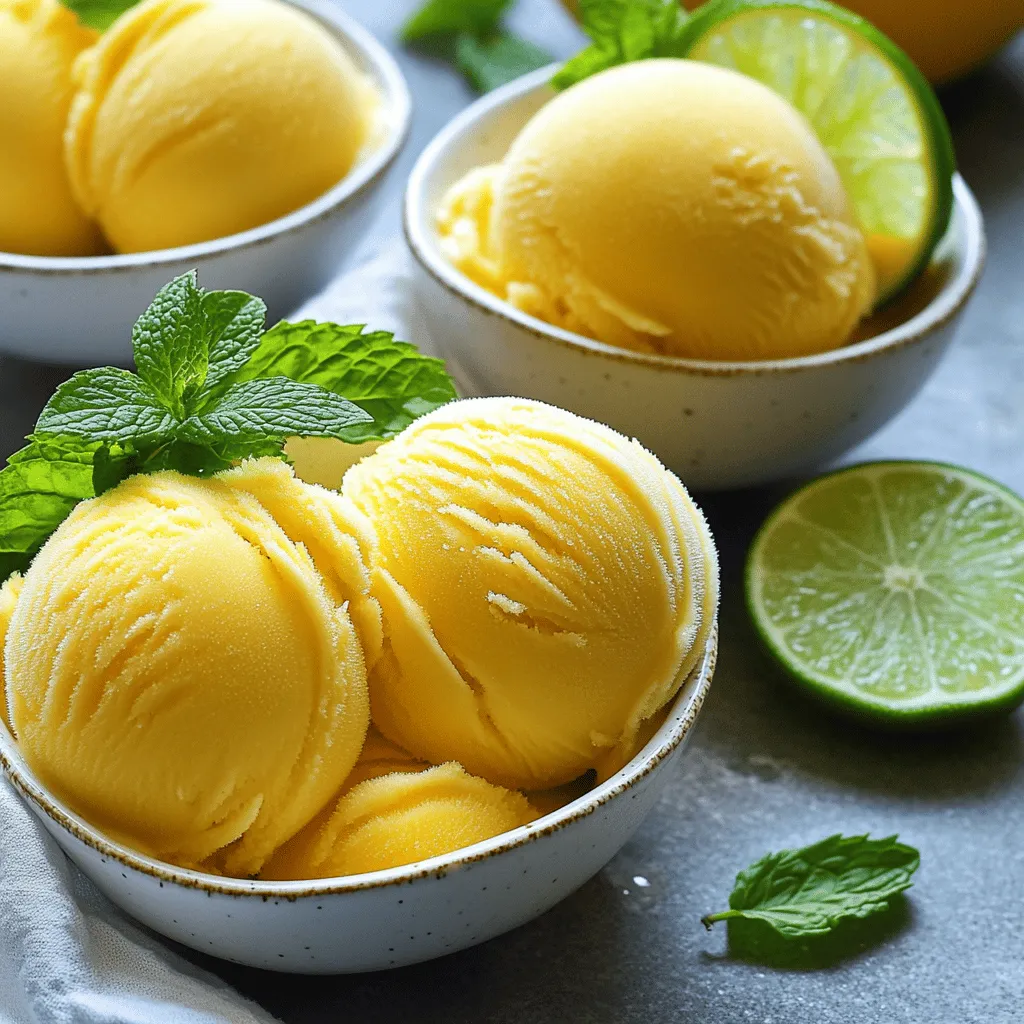
To get the best texture, stir often while freezing. If the sorbet feels too hard, let it sit at room temperature for a few minutes. This will help when you scoop it. Serve the sorbet in chilled bowls. A sprig of mint and a slice of lime on top make it look great. Enjoy your refreshing treat!
Tips & Tricks
Best Practices for Ripening Mangoes
To ripen mangoes, place them in a bowl at room temperature. You can speed up ripening by adding an apple or banana. These fruits release ethylene gas, which helps mangoes ripen faster. Check the mangoes daily. They should feel slightly soft when ready. A ripe mango has a sweet smell and deep color.
Ways to Adjust Sorbet Sweetness
You can change the sweetness of your sorbet easily. After blending the ingredients, taste the mixture. If it’s not sweet enough, add more honey or agave syrup. Blend again to mix it well. For a less sweet sorbet, reduce the honey. Always use fresh lime juice for the best flavor balance.
Tools for Smooth Blending and Freezing
A good blender is key for a smooth sorbet. Look for a high-speed blender that can handle frozen fruit. If you don’t have one, you can use a food processor. For freezing, a shallow dish helps the sorbet freeze evenly. Remember to scrape the mixture every 30 minutes. This keeps it smooth and creamy.

Variations
Adding Different Fruits for Flavor
You can make mango lime sorbet even more fun by adding other fruits. Pineapple adds a tropical twist. Strawberries give a sweet touch. Peaches add a nice, juicy flavor. Just replace part of the mango with your chosen fruit. Blend it in for a new taste. This way, you can create your own fruity mix.
Incorporating Herbs for a Unique Twist
Herbs can change your sorbet game. Mint adds freshness, while basil gives a sweet note. Just chop the herbs finely and mix them in before blending. You can also use cilantro for a daring flavor. These herbs will make your sorbet stand out. It’s a simple way to impress guests at your next gathering.
Dairy-Free Options and Add-Ins
If you want a creamier sorbet, try adding coconut milk. This keeps it dairy-free and rich. You can also use almond milk for a nutty flavor. Another option is using a ripe banana. It makes the sorbet smooth and creamy without dairy. For extra texture, add chopped nuts or dark chocolate chips. Just fold them in after blending for added crunch.
Storage Info
Best Practices for Freezing Mango Lime Sorbet
To keep your mango lime sorbet fresh, store it in an airtight container. This prevents ice crystals from forming and keeps the texture smooth. Make sure the container is shallow. A shallow dish helps the sorbet freeze faster and more evenly. Before sealing, press a piece of plastic wrap against the surface. This adds an extra layer of protection against freezer burn.
How Long Does Sorbet Last in the Freezer?
Mango lime sorbet can last up to two weeks in the freezer. After this time, it may lose flavor and texture. To enjoy the best taste, try to eat it within the first week. If you notice any changes in color or smell, it is best to throw it away.
Signs Your Sorbet Has Gone Bad
You can tell if your sorbet has gone bad by looking for a few signs. First, check for ice crystals on the surface. Ice crystals mean it has started to lose its creaminess. Next, sniff the sorbet. If it has a sour smell, do not eat it. Lastly, if the color changes to a dull shade, it is time to discard it. Always trust your senses when it comes to food safety.
FAQs
How to Make Mango Lime Sorbet Vegan?
To make mango lime sorbet vegan, simply use agave syrup instead of honey. This swap keeps the recipe plant-based. You can also check that your coconut water has no added sugars or dairy.
Can I Use Frozen Mangoes?
Yes, you can use frozen mangoes. They work well and save time. Just let them thaw slightly before blending. This helps create a smooth texture.
Where Can I Buy Mango Lime Sorbet?
You can find mango lime sorbet at most grocery stores. Look in the frozen dessert aisle. Some specialty stores may have homemade versions. Always check for fresh ingredients on the label.You’ll need ripe mangoes, fresh lime juice, honey or agave, coconut water, lime zest, and a pinch of sea salt. Blend everything until smooth, then freeze. Stir every thirty minutes to get a light texture. Enjoy your homemade treat!
You’ve learned how to make delicious mango lime sorbet. We covered the main ingredients, sweeteners, and customization options. I shared step-by-step instructions and tips to get the perfect texture. You can also try variations with other fruits or herbs.
To keep your sorbet fresh, follow the storage guidelines. Remember, homemade sorbet is simple and fun. Enjoy trying new combinations, and you’ll impress everyone with your tasty treats. Happy blending!


![- 2 medium zucchinis - 1 cup cherry tomatoes - 1 cup fresh mozzarella balls - 1/4 cup fresh basil leaves - 2 tablespoons balsamic vinegar - 1 tablespoon extra virgin olive oil - Sea salt and freshly cracked black pepper - 1 tablespoon basil pesto (optional) When making Zucchini Noodle Caprese Salad, you want the freshest ingredients. Start with the zucchinis. I like using medium-sized ones, as they spiralize well. Spiralizing turns them into fun noodles. Next, grab a cup of cherry tomatoes. Halve them to release their juicy flavor. Fresh mozzarella balls add creamy texture. Halve these too for easy bites. You can't forget the fresh basil! I suggest tearing the leaves for a fragrant touch. Now, for the dressing, grab balsamic vinegar and extra virgin olive oil. These will bring brightness to your salad. Don't skip on sea salt and cracked black pepper. They enhance the flavors. If you're feeling adventurous, add basil pesto for an extra kick. For the full recipe, check out the details in the complete guide. Enjoy the fresh taste and vibrant colors of this simple dish! To start, you need to spiralize the zucchinis. Use a spiralizer or a vegetable peeler. Aim for long, noodle-like strands. This will give your salad a fun texture. After spiralizing, transfer the noodles to a large mixing bowl. Make sure they are separate from the other ingredients. Next, it's time to add the other ingredients. Toss in the halved cherry tomatoes and fresh mozzarella balls. Be careful not to crush the mozzarella. It adds creaminess to the salad. Now, take the fresh basil leaves. Tear them by hand and scatter them over the salad. This adds a bright aroma. In a small bowl, whisk together balsamic vinegar and extra virgin olive oil. Add a pinch of sea salt and freshly cracked black pepper. Whisk until the mixture is smooth. This vinaigrette will bring all the flavors together. Now it’s time to combine everything. Drizzle the vinaigrette over the salad. Use tongs to gently mix the ingredients. Aim to coat every strand of zucchini without breaking them. If you want extra flavor, you can add basil pesto on top before serving. Enjoy your salad right away for the best taste. For a deeper flavor, let it sit for 10-15 minutes. You can find the Full Recipe above for detailed instructions. To make great zucchini noodles, use a good spiralizer. A handheld spiralizer works well, but a countertop version is even better. This tool gives you long, even noodles. After spiralizing, place the noodles in a colander. This helps drain excess water. Zucchini holds a lot of moisture, so this step is key. If your noodles are too wet, they can make your salad soggy. Adjusting seasoning is easy. Start with sea salt and black pepper. Taste the salad as you mix. If you want more flavor, add a bit more salt or pepper. Fresh herbs bring your salad to life. I love using torn basil leaves. They add a lovely aroma and taste. You can also try parsley or mint for a twist. Serve your salad in wide, shallow bowls. This makes it look beautiful and inviting. For a gourmet touch, drizzle balsamic reduction on top. It adds a nice shine and flavor. Finally, garnish with extra torn basil. This not only looks good but adds freshness too. Enjoy your meal that is as pretty as it is tasty. For the full recipe, be sure to follow my detailed steps! {{image_4}} You can easily swap out the zucchini for other vegetables. Carrots, cucumber, or even sweet potatoes can add crunch and color. Each veggie brings its own taste and texture. If you want to change the cheese, try feta or goat cheese. These options add a tangy twist to your salad. You can explore different vinaigrettes to change the flavor. A lemon vinaigrette can give a bright, fresh taste. You can also try a garlic-infused dressing. This adds depth and makes each bite exciting. Don't be afraid to mix and match! Pair this salad with proteins to make it a full meal. Grilled chicken or shrimp works well. You can also enjoy it as a side dish with steak or fish. Add some crusty bread, and you have a lovely dinner. Enjoy it at a picnic or a barbecue for a fun twist! To keep your Zucchini Noodle Caprese Salad fresh, store it in an airtight container. This helps keep moisture out. If possible, separate the dressing from the salad. This keeps the zucchini from getting soggy. You can mix it just before serving. For the best taste, use the salad within two days. If you plan to enjoy leftovers, consider adding fresh basil and mozzarella right before eating. This keeps the flavors bright and vibrant. In the fridge, this salad lasts about two days. After that, the zucchini may lose its crunch. Check for any off smells or slimy textures. These are signs that the salad has gone bad. If you notice them, it’s time to toss it out. Enjoy your fresh salad while it’s at its best! For the full recipe, click here: [Full Recipe]. Yes, you can prepare parts of the salad ahead of time. Spiralize the zucchinis and store them in an airtight container. Keep them in the fridge. You can also chop the tomatoes and mozzarella and store them separately. Assemble the salad just before serving. This keeps the flavors fresh and bright. Zucchini noodles are very healthy. They are low in calories and high in water content. This makes them great for hydration. Zucchini is full of vitamins A and C, which boost your immune system. They are also a good source of fiber, which promotes good digestion. If you don’t like mozzarella, try using feta cheese or goat cheese. Both options add a nice tangy flavor. You can also use avocado for creaminess if you want a dairy-free choice. Each option adds its own twist to the salad. Yes, you can use many herbs instead of basil. Fresh parsley, cilantro, or mint can add unique flavors. Oregano is another great option. Feel free to mix and match to create your own version. This keeps the salad exciting and fresh. To avoid soggy noodles, salt the zucchini first. Let them sit for about 10 minutes. This draws out excess moisture. After that, pat them dry with a paper towel. This helps keep your salad crisp and enjoyable. This salad combines fresh zucchini noodles, tomatoes, and mozzarella for a tasty dish. You learned how to prepare the ingredients, mix flavors, and present it beautifully. Customizing the salad with unique flavors or proteins can make it your own. Always store leftovers properly to keep them fresh. With these tips, you can enjoy a delicious and healthy meal anytime. Embrace creativity and have fun in the kitchen!](https://dishtreats.com/wp-content/uploads/2025/06/9c06bc60-1dc6-4324-8b6b-f347b8231277-768x768.webp)


. Start by peeling your sweet potatoes. Use a vegetable peeler for nice, even strips. Next, dice them into 1-inch cubes. This size helps them cook well. In a large bowl, toss the diced sweet potatoes with olive oil. Add smoked paprika, garlic powder, salt, and black pepper. Mix until every piece is coated. This step brings out the flavor. Preheat your oven to 400°F (200°C). This hot oven ensures crispy edges. Spread the seasoned sweet potatoes on a baking sheet. Make sure they are in a single layer for even cooking. Roast for 20-25 minutes. Stir halfway through to help with browning. The sweet potatoes should be tender and slightly caramelized when done. In a large skillet, combine the roasted sweet potatoes with black beans, corn, and diced tomatoes. Gently stir until everything is heated through. This mix creates a hearty base. Now, sprinkle the shredded cheddar cheese on top. Allow it to melt for about 3-5 minutes. Cover the skillet with a lid to speed up melting if needed. Once the cheese is melted, remove the skillet from heat. Top with jalapeños, green onions, and diced avocado. These additions add color and flavor. Finally, garnish with fresh cilantro. If you like, add a dollop of sour cream or Greek yogurt for creaminess. Serve your loaded sweet potato nacho skillet hot and enjoy the burst of flavors! For the complete cooking process, check the Full Recipe. To boost the flavor, consider adding different spices. You can use cumin or chili powder for a warm kick. A dash of cayenne pepper can also add heat. If you love fresh herbs, cilantro is perfect here. It adds a bright taste that pairs well with sweet potatoes. You can also try fresh parsley or green onions for a twist. Using a cast iron skillet can give your dish a nice crisp. It heats evenly and retains warmth well. If you prefer a non-stick pan, that works too. Just make sure your sweet potatoes do not stick. For even cooking, keep the heat steady. Stir often to prevent burning and ensure all ingredients meld nicely. For a great look, serve the skillet right at the table. This gives a rustic feel and makes sharing easy. You can add some colorful toppings, like diced avocado and sliced jalapeños. A sprinkle of cilantro adds fresh green color. For an extra crunch, serve with tortilla chips on the side. This adds texture and makes it even more fun to eat. Check out the Full Recipe for more serving ideas. {{image_4}} For a vegetarian or vegan touch, you can swap out the cheese. Try cashew cheese or nutritional yeast for a cheesy flavor without dairy. You can also pile on more plant-based toppings. Consider adding sautéed mushrooms, bell peppers, or even spinach. These ingredients add texture and boost nutrition. If you need gluten-free options, this dish is already a great choice. Sweet potatoes, beans, and veggies are naturally gluten-free. Just ensure any toppings or sauces are gluten-free too. For those who want high-protein variations, add cooked quinoa or lentils. You can also use a plant-based protein like tempeh or tofu. This way, you’ll keep the meal filling and nutritious. You can change the flavor profile by adding sweet or savory twists. Try mixing in some cinnamon or maple syrup for a sweet kick. This creates a unique balance with the savory ingredients. For international twists, consider adding spices from around the world. A sprinkle of taco seasoning gives a Mexican flair. Or, use curry powder for an Indian vibe. These simple changes can transform your loaded sweet potato nacho skillet. For the complete recipe, see [Full Recipe]. When storing your loaded sweet potato nacho skillet, let it cool first. This step helps avoid moisture buildup, which can make your dish soggy. Use an airtight container to keep it fresh. If stored properly, it lasts in the fridge for up to four days. To reheat leftovers, use a skillet for the best results. Heat on medium-low to keep the texture. Stir gently as you warm it up to avoid burning. Avoid the microwave if you can; it can make the dish soggy. If you must use it, heat in short bursts and stir often. You can freeze your loaded sweet potato nacho skillet for later use. Portion it into freezer-safe containers, leaving some space for expansion. It stays good for up to three months in the freezer. When ready to eat, thaw it in the fridge overnight before reheating. This keeps the flavors intact and the texture nice. You can use butternut squash or pumpkin. They have a similar texture and taste. Both options provide a nice sweetness. You can also try regular potatoes if you want a different flavor. Yes, you can prep some of the ingredients before. Roast the sweet potatoes a day ahead. Store them in the fridge. You can also mix the black beans, corn, and tomatoes in advance. Just heat everything up when ready to serve. To melt cheese evenly, use freshly shredded cheese. It melts better than pre-shredded cheese. Spread the cheese in an even layer on top of the skillet. Cover the skillet for a couple of minutes. This traps heat and helps the cheese melt smoothly. You can use many toppings for loaded nachos. Some popular choices include jalapeños, green onions, and diced avocado. For a twist, add pickled red onions or fresh salsa. Don't forget sour cream or Greek yogurt for creaminess. You can get creative and mix your favorite toppings! In this blog post, we explored how to create a delicious dish with sweet potatoes, black beans, and cheese. You learned about ingredient choices, measurements, and smart substitutions. I shared tips on roasting sweet potatoes and combining ingredients perfectly. We looked at variations for different diets and how to store leftovers. Remember, making this dish fun and flavorful is easy. Use the ideas provided to customize your meal, ensuring it fits your taste. Enjoy your cooking and make it a family favorite!](https://dishtreats.com/wp-content/uploads/2025/07/3c3c8a5c-337a-4892-8590-75b37c5e13f0-768x768.webp)

