Fresh Watermelon Feta Salad Delightful and Easy Recipe

Looking for a light and tasty dish? My Fresh Watermelon Feta Salad recipe is perfect for you! This salad bursts with flavor and uses simple, fresh ingredients. It’s the ideal mix of sweet watermelon and salty feta, making it a delightful treat for warm days. Plus, it’s easy to make and even easier to enjoy. Let’s dive into the ingredients and get started on this refreshing dish!
Ingredients
Key Ingredients for Fresh Watermelon Feta Salad
For this salad, you need a few key ingredients. Here is what you’ll need:
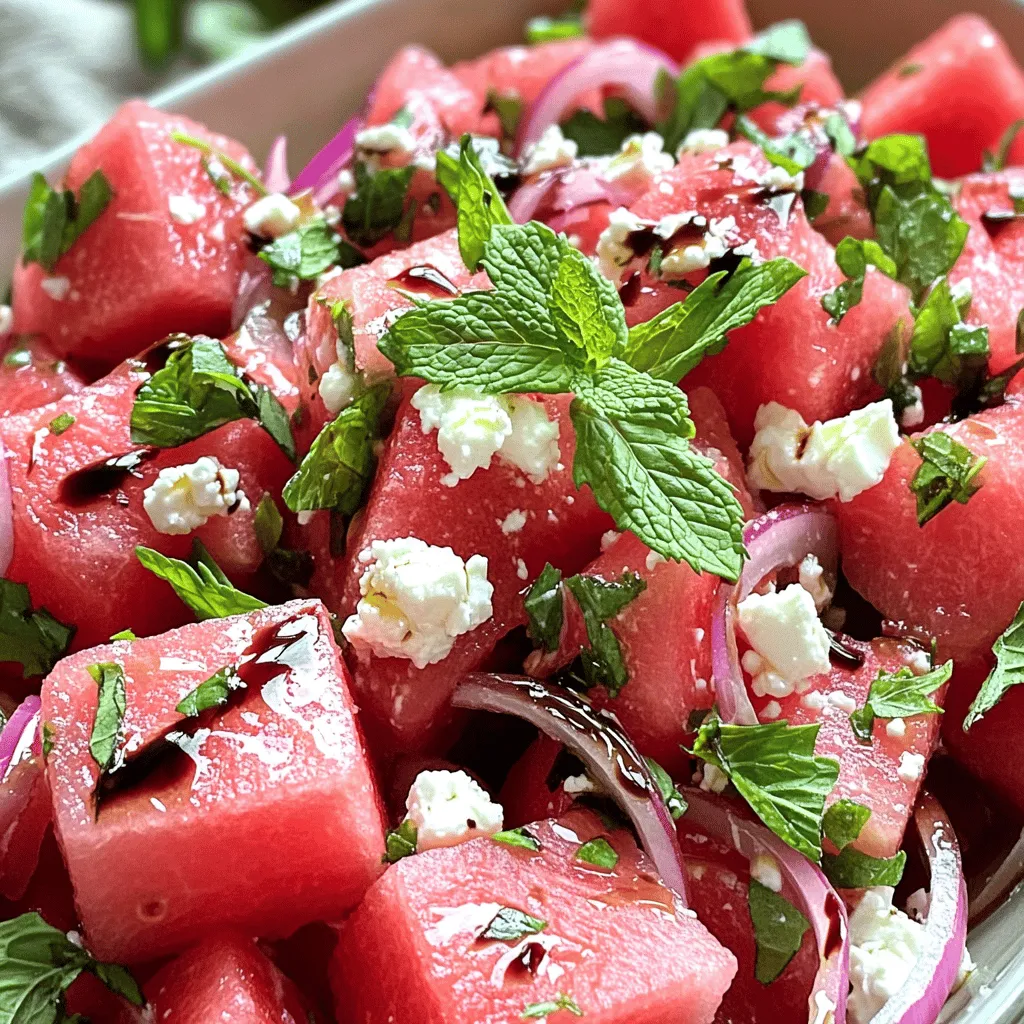
- 4 cups fresh watermelon, cut into bite-sized cubes
- 1 cup feta cheese, crumbled
- 1/4 cup fresh mint leaves, finely chopped
- 1/4 cup red onion, delicately thinly sliced
- 2 tablespoons high-quality extra virgin olive oil
- 2 tablespoons rich balsamic glaze
- Sea salt and cracked black pepper, to taste
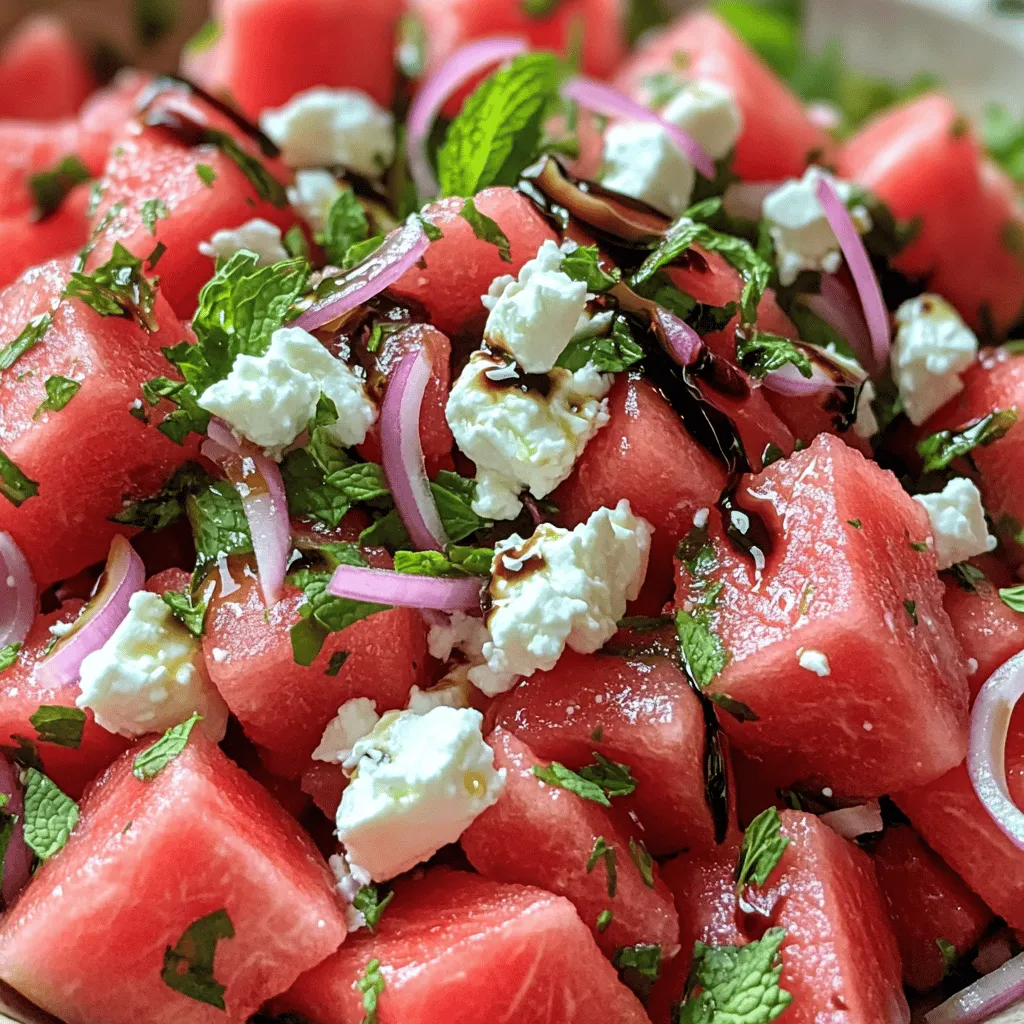
Each ingredient plays a role. The watermelon gives a sweet, juicy base. Feta adds a creamy, salty touch. Mint brings freshness, while red onion adds a sharp bite. Olive oil and balsamic glaze tie everything together with richness and flavor.
Optional Ingredients for Enhanced Flavor
You can make this salad even better with some optional ingredients. Here are a few ideas:
- Cucumber, for added crunch
- Lime juice, for a zesty kick
- Arugula, for a peppery twist
- Avocado, for creaminess
These extras can change the taste and texture. Feel free to be creative!
Why Fresh Ingredients Matter
Using fresh ingredients makes a big difference. Fresh watermelon is sweet and hydrating. Quality feta cheese has better taste and texture. Fresh herbs like mint enhance the aroma and flavor.
When you use fresh items, the salad will taste bright and lively. It will look vibrant and inviting, too. This makes your dish not just a meal, but a delightful experience. Always choose the best ingredients for maximum flavor.
Step-by-Step Instructions
Preparation of Watermelon and Feta
Start by cutting the fresh watermelon into cubes. Aim for bite-sized pieces. This helps each piece fit nicely in your mouth. Use about 4 cups of watermelon for a good balance. Next, grab your feta cheese. Crumble the cheese into small bits. You need about 1 cup of feta to add that creamy flavor to the salad.
Mixing Ingredients in a Bowl
Now, take a big mixing bowl. Add the watermelon cubes first. Then, sprinkle the crumbled feta on top. Next, chop up 1/4 cup of fresh mint leaves. Toss the mint into the bowl for a fresh taste. Slice 1/4 cup of red onion thinly and add it as well. This gives a nice crunch and flavor.
Final Seasoning and Serving Recommendations
Drizzle 2 tablespoons of extra virgin olive oil over the mix. Follow this with 2 tablespoons of balsamic glaze for sweetness. Gently use a large spoon to mix everything together. Be careful not to mash the watermelon. Add sea salt and cracked black pepper to taste. Let the salad sit for about 10 minutes. This helps the flavors blend well. Serve it in a chilled bowl for a refreshing touch.Enjoy your salad!
Tips & Tricks
How to Choose Ripe Watermelon
When selecting a watermelon, look for one that feels heavy for its size. A ripe watermelon has a smooth skin with a uniform color. Check for a yellow spot on one side; this spot shows where the fruit rested on the ground. It should be creamy, not white. Give it a gentle tap; a deep sound means it is ripe. Avoid watermelons with soft spots or dents.
Storing Leftovers Properly
If you have leftover salad, store it in an airtight container. Keep it in the fridge for up to three days. To keep the watermelon fresh, avoid mixing it with feta until serving. Store them separately to prevent sogginess. If you notice any extra moisture, drain it before serving again.
Enhancing Flavor Combinations
You can boost the flavor of your salad in many ways. Try adding a splash of lime juice for brightness. A sprinkle of chili powder can add a fun kick. If you like crunch, consider adding nuts like walnuts or pistachios. You can even swap fresh herbs, like basil, for mint. These little changes can make your salad even more delightful.

Variations
Tropical Twist: Adding Pineapple
You can easily add pineapple to this salad. Pineapple brings a sweet and tangy flavor. Just cut it into small cubes like the watermelon. Mix it in with the watermelon and feta. This twist gives a fresh tropical feel to the dish. You can use fresh or canned pineapple, but fresh is best. This variation is perfect for summer barbecues or picnics.
Hearty Additions: Grains and Proteins
If you want to make your salad more filling, add grains or proteins. Quinoa or farro work well here. They add texture and keep you full longer. You can also add grilled chicken or chickpeas. These ingredients make the salad heartier. Just toss them in with the watermelon and feta. This way, you create a balanced meal that is both tasty and healthy.
Vegan Alternatives to Feta Cheese
For a vegan option, try using plant-based feta cheese. There are many great brands available now. You can also make your own using tofu, lemon juice, and herbs. This keeps the creamy texture without dairy. Mix in the tofu like you would with feta. It adds flavor while keeping the dish fresh and light. This option is great for those who are lactose intolerant or vegan.
Storage Info
Best Ways to Store Fresh Watermelon Feta Salad
To keep your Fresh Watermelon Feta Salad fresh, store it in an airtight container. This helps prevent the salad from drying out. Place the container in your fridge. Keep it away from foods with strong odors to maintain its fresh taste. If you need to store the salad longer, consider separating the feta and dressing. This keeps the flavors bright until you’re ready to serve.
How Long Does the Salad Last?
When stored correctly, the salad lasts about three days in the fridge. After that, the watermelon may start to lose its crunch. The feta can also become soggy over time. Always check for any signs of spoilage before eating leftovers. If it smells off or looks different, it’s best not to eat it.
Freezing Options and Considerations
Freezing Fresh Watermelon Feta Salad is not recommended. Watermelon has high water content. When frozen, it turns mushy when thawed. The feta cheese also changes texture, making it less appealing. If you want a refreshing treat, consider freezing watermelon cubes separately. You can then blend them into smoothies or use them in other recipes later.
FAQs
Can I make Fresh Watermelon Feta Salad ahead of time?
Yes, you can make this salad ahead of time. However, it is best to wait to add the dressing until you are ready to serve. This keeps the watermelon fresh and crisp. If you mix it too early, the watermelon might release water and become soggy. I suggest preparing the watermelon and feta the day before, then adding the dressing just before serving.
What can I serve with Watermelon Feta Salad?
This salad pairs well with many dishes. Serve it alongside grilled chicken or fish for a light meal. It also goes great with burgers or sandwiches. If you want a complete feast, add some crusty bread or a simple pasta salad. The fresh flavors of the salad balance rich main dishes nicely.
Is Fresh Watermelon Feta Salad healthy?
Absolutely! This salad is healthy and refreshing. Watermelon is low in calories and high in water content, making it great for hydration. Feta adds protein and calcium, while mint gives a fresh taste. Olive oil provides healthy fats, too. Overall, it is a nutritious choice that is also delicious. Enjoy it guilt-free!
In this blog post, we explored how to make a Fresh Watermelon Feta Salad. We covered key ingredients, step-by-step instructions, and useful tips to enhance flavor. Choosing fresh, ripe ingredients keeps your salad tasty and healthy. You also learned how to store leftovers and even create tasty variations. Enjoy this simple, refreshing dish that adds fun to your meals. It’s easy to prepare and always a hit at gatherings. Remember, fresh is best, so grab the ingredients and get started today!


![- Rice paper wrappers - 1 ripe mango, peeled and cut into thin julienne strips - 2 ripe avocados, halved, pitted, and sliced into thin wedges - 1/2 cucumber, peeled and julienned - 1 cup shredded carrots - 1/4 cup fresh mint leaves, torn if large - 1/4 cup fresh cilantro leaves - 1 tablespoon sesame seeds (optional) - 3 tablespoons soy sauce - 1 tablespoon freshly squeezed lime juice - 1 teaspoon honey or agave syrup - 1/2 teaspoon freshly grated ginger Mango avocado summer rolls shine with fresh ingredients. You need rice paper wrappers to hold all this goodness. The key fresh items are ripe mango and creamy avocado. Their flavors blend perfectly. Crunchy cucumber and colorful carrots add texture and fun. Fresh herbs like mint and cilantro brighten the rolls. For a twist, sprinkle sesame seeds for extra crunch. Now, let's talk about the dipping sauce. It's easy to make and enhances the taste. Just mix soy sauce, lime juice, honey, and ginger. This sauce adds a tangy, sweet kick that pairs well with the rolls. You can find the full recipe with all these details. Enjoy creating your mango avocado summer rolls today! To start, you need to make the dipping sauce. In a small mixing bowl, add the soy sauce, lime juice, honey or agave syrup, and grated ginger. Whisk these ingredients together well. This sauce adds a bright, tangy flavor that pairs nicely with the fresh summer rolls. Set it aside for the flavors to blend. Next, grab a shallow dish or a large plate. Fill it with warm water. Take one rice paper wrapper and dip it in the warm water for about 10 seconds. You want it to be soft but not too mushy. Carefully lift it out and lay it flat on a damp kitchen towel or a clean surface. This makes it easier to work with. Now it’s time to layer your ingredients. In the center of the rice paper wrapper, place a few strips of mango, a couple of avocado slices, sticks of cucumber, and a handful of shredded carrots. Don’t forget the fresh mint and cilantro leaves! They add a burst of flavor. You can also sprinkle sesame seeds on top for extra crunch if you like. To roll up the summer rolls, fold the sides of the wrapper over the filling. Then, gently roll the wrapper away from you while tucking in the filling tightly. This helps keep everything secure inside. Repeat this for the rest of the wrappers and filling. You’ll soon have a beautiful platter of summer rolls! After rolling, place the summer rolls on a serving plate. Cover them with a damp cloth. This keeps them fresh and prevents them from drying out while you finish the rest. Make sure they stay moist for the best taste. When you are ready to serve, present the summer rolls with the dipping sauce on the side. This makes it fun for everyone to dip their rolls as they wish. Enjoy the fresh flavors and the crisp textures of your homemade Mango Avocado Summer Rolls! For the full recipe, check out the complete instructions above. To avoid tearing the rice paper wrappers, keep these tips in mind: - Soak each wrapper just until soft, about 10 seconds in warm water. - Work on a damp surface to prevent sticking. - Don't overfill the wrapper; less is more! - When rolling, tuck in the sides gently, but firmly. Choosing ripe ingredients makes a big difference. Here are my best practices: - Look for mangoes that yield slightly to gentle pressure. - Choose avocados that are firm but not hard. - Select cucumbers that are crisp and have a smooth skin. - Fresh herbs should be vibrant and fragrant; avoid wilting. Want to make your rolls even better? Try these ideas: - Add cooked shrimp or chicken for extra protein. - Include bell peppers or radishes for a crunchier bite. - Swap in different herbs like basil or parsley for a unique flavor. - Use quinoa or rice noodles for a heartier filling. For the complete recipe, check out the [Full Recipe]. Enjoy making your summer rolls! {{image_4}} If you want a fully plant-based dish, there are many fun swaps. You can use tofu instead of fish or shrimp. Try adding bean sprouts for a nice crunch. You can also toss in sliced bell peppers for a splash of color. These swaps keep the rolls fresh and tasty. To give your summer rolls an Asian twist, add fresh herbs like basil or dill. You can also use hoisin sauce or peanut sauce instead of the soy sauce. A drizzle of sriracha can bring some heat. These changes will make your rolls pop with flavor. For easy assembly, prep your ingredients ahead of time. Cut your mango, avocado, and cucumber in advance. Store them in airtight containers in the fridge. This way, you can whip up these rolls in just a few minutes. It makes summer roll night so much easier! For the full recipe, check out the detailed instructions provided. To keep your summer rolls fresh, wrap them in a damp cloth. Place them on a plate and cover with plastic wrap. This method helps prevent the rice paper from drying out. Store the rolls in the fridge if you plan to eat them later. Try to consume them within 24 hours for the best taste and texture. If you want to freeze unassembled summer rolls, first prepare the ingredients. Gather your mango, avocados, and veggies. Then, make the rolls but do not roll them up yet. Lay each rice paper wrapper flat on a parchment-lined tray. Fill the wrappers but leave them open. Freeze the tray for about one hour. Once frozen, place the rolls in a freezer bag. This helps you save space and keeps them fresh. When you’re ready to enjoy your summer rolls, take them out of the freezer. Place them in the fridge for a few hours or overnight to thaw. For a faster option, you can run them under warm water for a few seconds. Never use a microwave, as it can make the rice paper tough. After thawing, assemble the rolls with your favorite sauce, and enjoy a fresh and tasty meal! To make Mango Avocado Summer Rolls, follow these steps: 1. First, prepare the dipping sauce by mixing soy sauce, lime juice, honey, and ginger. 2. Next, soak rice paper wrappers in warm water for about 10 seconds. 3. Lay the softened wrapper on a damp surface. 4. Place mango strips, avocado slices, cucumber sticks, shredded carrots, and herbs in the center. 5. Optionally, add sesame seeds for crunch. 6. Fold the sides over the filling and roll tightly. 7. Repeat until all ingredients are used. Serve with dipping sauce. This process is easy and fun, perfect for summer gatherings. Yes, you can add meat or seafood to your summer rolls. Here are some great options: - Grilled chicken or shrimp adds protein and flavor. - Thinly sliced beef or pork works well too. - For a tasty twist, try crab or lobster. These additions make your rolls even more filling and delicious. You can try different dipping sauces beyond the suggested one. Here are some ideas: - Peanut sauce for a creamy texture and nutty flavor. - Sweet chili sauce adds a spicy kick. - A simple vinegar and soy sauce mix is also tasty. Feel free to experiment with flavors you love! You now know how to make delicious summer rolls with fresh ingredients and tasty dipping sauce. We covered the necessary components, step-by-step instructions, and tips for success. Remember, you can customize these rolls to fit your tastes. With the right care, you can store or even freeze them for later. Enjoy the fun of making and sharing these tasty treats. Trust me, they’re worth the effort!](https://dishtreats.com/wp-content/uploads/2025/07/e9c41e61-bd63-46cf-9640-b605cd161798-768x768.webp)
![- 1 large zucchini, sliced into thick rounds - 1 red bell pepper, cut into 1-inch squares - 1 yellow bell pepper, cut into 1-inch squares - 1 red onion, cut into large chunks - 8 cherry tomatoes, whole - 1 cup mushrooms, halved - 3 tablespoons extra virgin olive oil - 2 teaspoons dried oregano - 1 teaspoon garlic powder - Salt and black pepper to taste - Fresh parsley, finely chopped (for garnish) - 8 skewers (if using wooden skewers, soak in water for 30 minutes prior to use) Choosing the right ingredients is key to making these grilled Mediterranean veggie skewers shine. Fresh, colorful vegetables not only taste better but also look great on the plate. I love using seasonal veggies for the best flavor. You can mix and match as you like. The extra virgin olive oil adds richness and helps the spices stick. Dried oregano gives that classic Mediterranean taste. Garlic powder adds depth without the hassle of fresh garlic. Don't forget to season with salt and black pepper. This simple step makes a big difference in flavor. Fresh parsley as a garnish not only adds color but also a fresh taste that brightens up the dish. When preparing the skewers, remember to soak wooden skewers in water first. This prevents them from burning on the grill. If you use metal skewers, you can skip this step. For the full recipe, check out the details above. Enjoy preparing these delicious veggie skewers! - Preheat grill to medium-high heat. - In a bowl, combine the vegetables: zucchini, bell peppers, onion, tomatoes, and mushrooms. - In a small bowl, mix olive oil, oregano, garlic powder, salt, and pepper. - Drizzle the marinade over the veggies. Toss until all pieces are coated. - Thread the marinated vegetables onto skewers. Alternate colors for a bright look. - Place the skewers on the hot grill. Grill for 10-12 minutes. - Turn the skewers occasionally. This helps them cook evenly. - Remove skewers from the grill and let them cool slightly. - Just before serving, sprinkle fresh parsley on top for a nice finish. For the complete details, check the [Full Recipe]. For the best grilled Mediterranean veggie skewers, pick seasonal vegetables. Fresh veggies taste better and add more flavor. Look for zucchini, bell peppers, and red onions. They offer great colors and textures. When you shop, choose firm, bright vegetables. Avoid any that feel soft or look dull. You can spice up your marinade. Try adding fresh herbs like basil or thyme. They add a nice touch. You can also use lemon juice for a zesty flavor. For oils, consider using avocado or sesame oil. Each type brings a unique taste to the skewers. To get those perfect grill marks, heat your grill well. A hot grill helps sear the veggies. Place the skewers at an angle for better marks. Turn them every few minutes. This promotes even cooking and prevents burning. To stop veggies from sticking, oil the grill grates lightly. You can also brush oil on the skewers before grilling. For the full recipe, check the details above! {{image_4}} You can mix up your veggie skewers with many different vegetables. Try adding eggplant, asparagus, or zucchini for a tasty twist. Each vegetable brings its unique flavor and texture. Think about color too! Using red, yellow, green, and purple veggies makes your skewers look bright and fun. This also helps to attract kids and picky eaters. More colors usually mean more vitamins and minerals, too! Want to add protein? Try tofu or tempeh for a plant-based option. Marinate them just like the veggies for great flavor. If you prefer meat, chicken or shrimp works well. Marinate your choice of meat in olive oil, herbs, and spices. This adds depth to your skewers. It’s an easy way to make a filling meal. Don’t be afraid to play with flavors! Try different marinades. A simple lemon juice and herb mix can brighten the dish. You can also use spicy sauces for a kick. Before serving, drizzle some fresh dressing on top. This adds a burst of flavor and makes the dish even more appealing. For the full recipe, check out the complete guide. To store leftover skewers, let them cool down first. Place them in an airtight container. You can use glass or plastic containers. Make sure the lid seals well to keep the flavors fresh. For freezing skewers safely, wrap each skewer in plastic wrap. Then, place them in a freezer bag. This keeps them from getting freezer burn. When you reheat, take them out and thaw in the fridge overnight. To warm them up, place them on a grill or in the oven. Heat them until they are hot, about 5 to 10 minutes. These skewers can last up to 4 days in the refrigerator. After that, they may start to lose flavor and texture. Watch for signs that the skewers have gone bad. If they smell off or look slimy, it’s best to toss them. Always trust your senses when it comes to food safety. For the full recipe, check the section above. Yes, you can prep these skewers in advance. Start by cutting the vegetables. Place them in a bowl. Drizzle with olive oil and spices. Toss until coated. Cover the bowl and refrigerate. This keeps them fresh and ready to grill. I recommend marinating for at least 30 minutes. This allows the flavors to soak in well. Grill these skewers on medium-high heat. This ensures even cooking. Aim for a temperature of about 400°F (200°C). Grill for 10-12 minutes. Turn the skewers every few minutes. This will give you nice grill marks. Check the veggies for tenderness. They should be soft but still slightly firm. You can use wooden, metal, or bamboo skewers. Each has its benefits. Wooden skewers need soaking in water for 30 minutes. This prevents burning on the grill. Metal skewers are reusable and sturdy. They can handle heavy vegetables well. Bamboo skewers are lightweight and easy to find. Choose what works best for you! For the full recipe, refer to the earlier section. In this blog post, I shared a simple way to make tasty vegetable skewers. We covered the ingredients, preparation steps, and grilling techniques. You learned tips to choose fresh veggies, add flavors, and create fun variations. Remember, you can customize skewers to suit your taste. Enjoy the grilling process and share your creations with friends and family. Happy grilling!](https://dishtreats.com/wp-content/uploads/2025/07/4b70700e-9f85-4317-b9e4-a855a04e592b-768x768.webp)