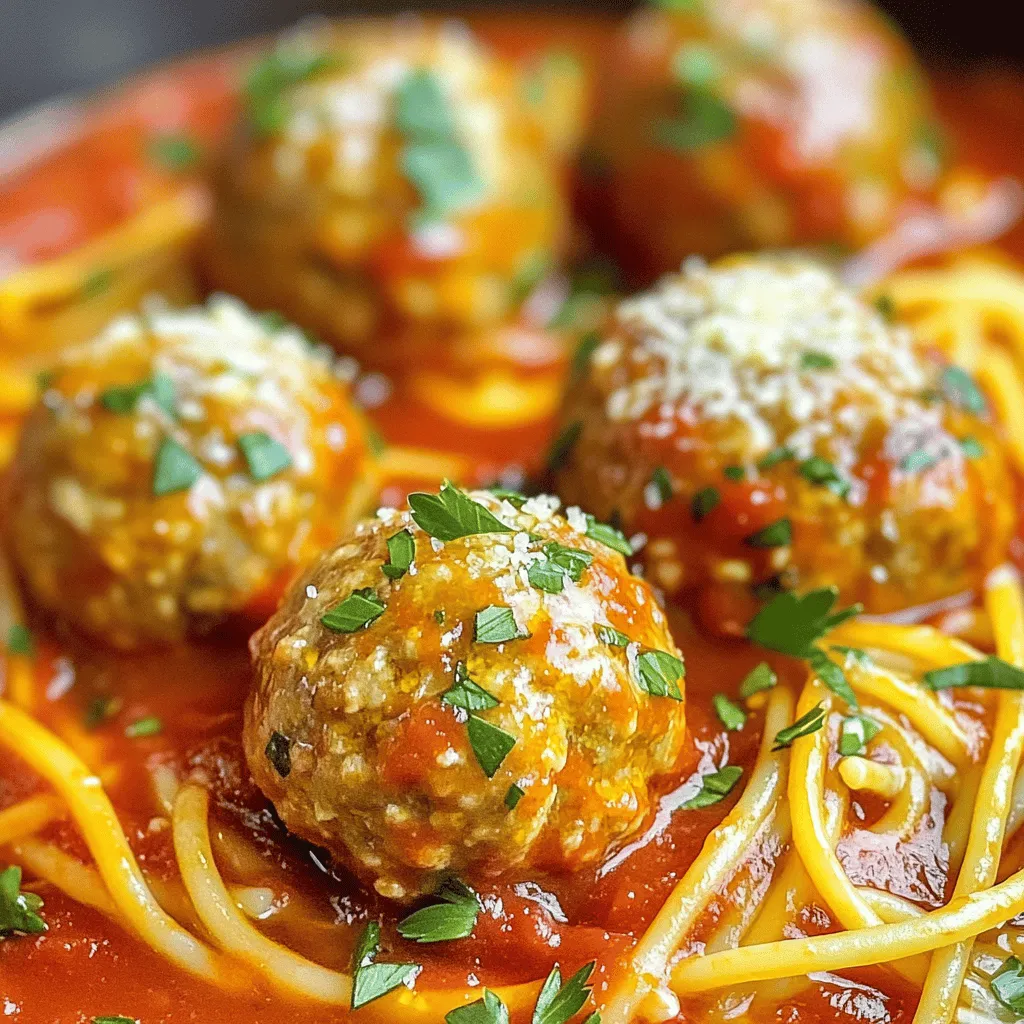
Welcome to the ultimate guide for making Classic Italian Meatballs that burst with flavor! I’m excited to share my favorite recipe, packed with simple ingredients and easy steps. Whether you’re hosting a dinner party or craving comfort food, these meatballs will impress everyone at the table. Let’s dive into the heart of Italian cooking and create a dish that warms both the belly and the soul!
Ingredients
Essential Ingredients for Classic Italian Meatballs
To make classic Italian meatballs, you need these key ingredients:
– 1 lb ground beef
– 1/2 lb ground pork
– 1 cup breadcrumbs, preferably Italian seasoned
– 1/4 cup grated Parmesan cheese, plus extra for garnish
– 1/4 cup fresh parsley, finely chopped
– 2 cloves garlic, finely minced
– 1 large egg, beaten
– 1 teaspoon salt
– 1/2 teaspoon black pepper
– 1/2 teaspoon dried oregano
– 1/2 teaspoon dried basil
– 1/4 teaspoon red pepper flakes (optional for heat)
– Olive oil for frying
These ingredients blend perfectly to create rich flavors. The beef and pork add depth. The breadcrumbs help bind the meat together. Parmesan cheese gives a nutty taste. Fresh parsley and garlic add brightness.
Optional Ingredients for Customization
You can adjust the flavor of your meatballs. Here are a few ideas:
– 1/4 cup chopped onion for sweetness
– 1/4 cup grated mozzarella for extra creaminess
– 1 teaspoon Worcestershire sauce for a savory kick
– Fresh herbs like thyme or rosemary for added aroma
These ingredients can elevate your meatballs. Feel free to mix and match based on your taste.
Suggested Marinara Sauce Options
A good sauce makes the meatballs shine. Here are some great options for marinara sauce:
– Homemade marinara sauce, made with fresh tomatoes
– Store-bought marinara for convenience
– Spicy arrabbiata sauce if you like heat
– A creamy tomato basil sauce for a twist
These sauces will complement your meatballs. Choose one that fits your mood.Enjoy your cooking adventure!
Step-by-Step Instructions
Preparation of the Meat Mixture
Start by gathering your ingredients. You need ground beef and pork. These meats give the meatballs great flavor. In a large bowl, mix both types of meat. Add in the breadcrumbs and Parmesan cheese next. Make sure the breadcrumbs are Italian seasoned for extra taste. Then, toss in the chopped parsley and minced garlic. These add freshness and depth. Beat the egg and add it to the bowl. Now, sprinkle in salt, black pepper, oregano, basil, and red pepper flakes if you want some heat. Mix everything gently but thoroughly. Be careful not to overmix, or your meatballs will be tough.
Forming the Meatballs
Once the mixture is ready, it’s time to shape the meatballs. Wet your hands a bit to help with sticking. Grab about a handful of the mixture and roll it into a ball. Aim for about 1.5 inches in diameter. You should get around 16-18 meatballs. Place them on a platter or baking sheet. This will make it easier to transport them to the skillet later.
Cooking Techniques: Frying and Simmering
Heat olive oil in a large skillet over medium heat. You want the oil to shimmer before adding the meatballs. Fry the meatballs in batches. Don’t overcrowd the pan, as this can lead to steaming instead of frying. Cook them for 8-10 minutes, turning them occasionally. You want them nicely browned on all sides. Once browned, transfer the meatballs to a paper towel-lined plate to absorb extra oil. After frying, pour marinara sauce into the skillet and bring it to a gentle simmer. Carefully add the meatballs back into the sauce. Cover with a lid and let them simmer for 15-20 minutes. This step allows the meatballs to soak up the delicious sauce flavors. Enjoy your flavorful Italian meatballs, ready to serve!
Tips & Tricks
Achieving the Perfect Meatball Texture
To get the best meatball texture, mix gently. Too much mixing makes them tough. Use your hands to combine the meat and other ingredients. This keeps the meatballs soft. Make them about 1.5 inches wide. This size cooks well and stays juicy.
Spice Adjustments for Flavor Enhancement
For more flavor, adjust your spices. You can add more garlic or herbs. Try fresh parsley instead of dried for a bright taste. Red pepper flakes add heat but are optional. Always taste your mixture before cooking. This lets you adjust seasoning to your liking.
Serving Suggestions and Pairings
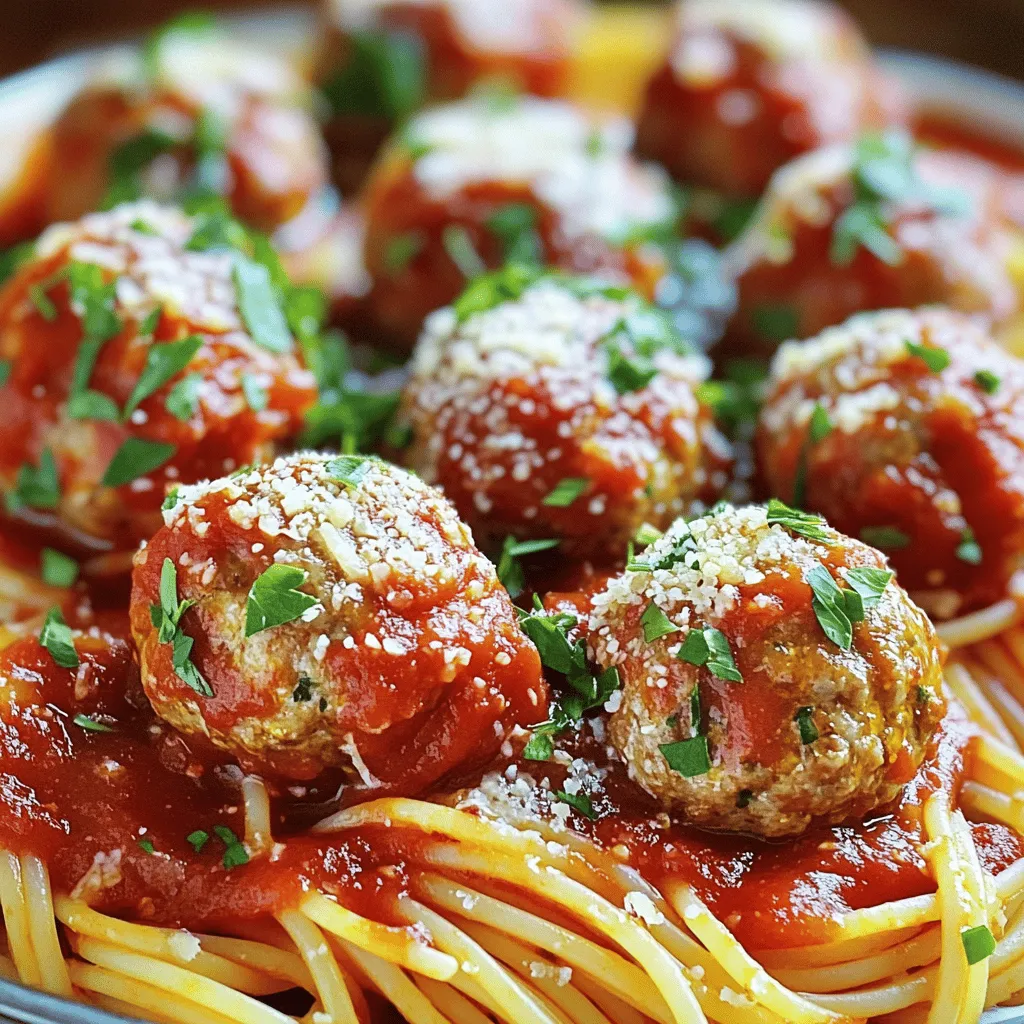
Serve your meatballs over spaghetti for a classic meal. They pair well with garlic bread and a fresh salad. You can also serve them as an appetizer with toothpicks. Drizzle with marinara sauce and sprinkle with Parmesan cheese for a nice touch.
Variations
Different Meat Combinations
You can mix different meats for your Italian meatballs. Ground beef and pork work well together. This mix offers rich flavor and juicy texture. You can also try ground turkey or chicken for a leaner option. Combining these meats can add new tastes and make your meatballs special. Feel free to experiment until you find your favorite mix!
Vegetarian Alternatives for Meatballs
If you want a meat-free option, there are great choices. You can use lentils or black beans as the base. These ingredients are high in protein and add nice texture. For a heartier bite, mix in cooked quinoa or rice. You can also add grated veggies like zucchini or carrots for more flavor. Use the same spices and herbs from the original recipe to keep that Italian flair!
Popular Sauces Unlike Marinara
While marinara is classic, many other sauces work well with meatballs. You can try a rich Alfredo sauce for a creamy twist. Or, opt for a sweet and tangy barbecue sauce. A spicy arrabbiata sauce adds heat and zest. Each of these sauces brings its own charm to the dish. Don’t be afraid to play with flavors and find what you love!
Storage Info
How to Properly Store Leftover Meatballs
To store leftover meatballs, first allow them to cool. Place the meatballs in an airtight container. If you have sauce, keep it separate. This helps maintain their texture. Store in the fridge for up to three days. If you want to keep them longer, freezing is a great option.
Freezing Tips for Long-term Storage
To freeze meatballs, first let them cool completely. Arrange them in a single layer on a baking sheet. Freeze until solid. Then transfer them to a freezer-safe bag. Remove as much air as possible to prevent freezer burn. They can last for about three months in the freezer. When ready to use, just pull out the number you need.
Reheating Methods to Preserve Flavor
To reheat meatballs, the oven works well. Preheat it to 350°F (175°C). Place meatballs in a baking dish. Cover with foil to keep them moist. Heat for about 20 minutes or until hot. You can also reheat them in the microwave. Use a microwave-safe dish and cover with a damp paper towel. Heat in short bursts, checking often. Enjoy your flavorful meatballs!
FAQs
What is the origin of Italian meatballs?
Italian meatballs have roots in Italy, but they grew in America too. In Italy, meatballs often pair with pasta. They use local meats, herbs, and spices. When Italian immigrants came to America, they adapted their recipes. They made larger meatballs to satisfy American tastes. Now, meatballs are a staple in Italian-American cuisine.
Can I make meatballs ahead of time?
Yes, you can make meatballs ahead of time. Preparing them a day before helps the flavors blend. Shape the meatballs and store them in the fridge. You can also freeze them for later use. Just cook them straight from the freezer when you need them. This saves time on busy nights.
How can I tell when meatballs are fully cooked?
To check if meatballs are fully cooked, use a meat thermometer. The internal temperature should reach 160°F (70°C). If you don’t have a thermometer, cut one in half. The meat should be gray or brown inside, with no pink. Cooking them in marinara sauce also helps keep them moist and flavorful.
In this post, we explored how to make classic Italian meatballs. We covered the key ingredients, from essential spices to your favorite marinara sauce. You learned step-by-step instructions for preparation, forming, and cooking the meatballs. Plus, we shared tips for perfect texture and tasty variations.
As you try these recipes, remember to have fun and be creative. Cooking should be enjoyable, so don’t hesitate to experiment with flavors. Perfecting your meatballs will impress friends and family at any meal. Happy cooking!


