Parmesan Crusted Zucchini Chips Crispy and Flavorful
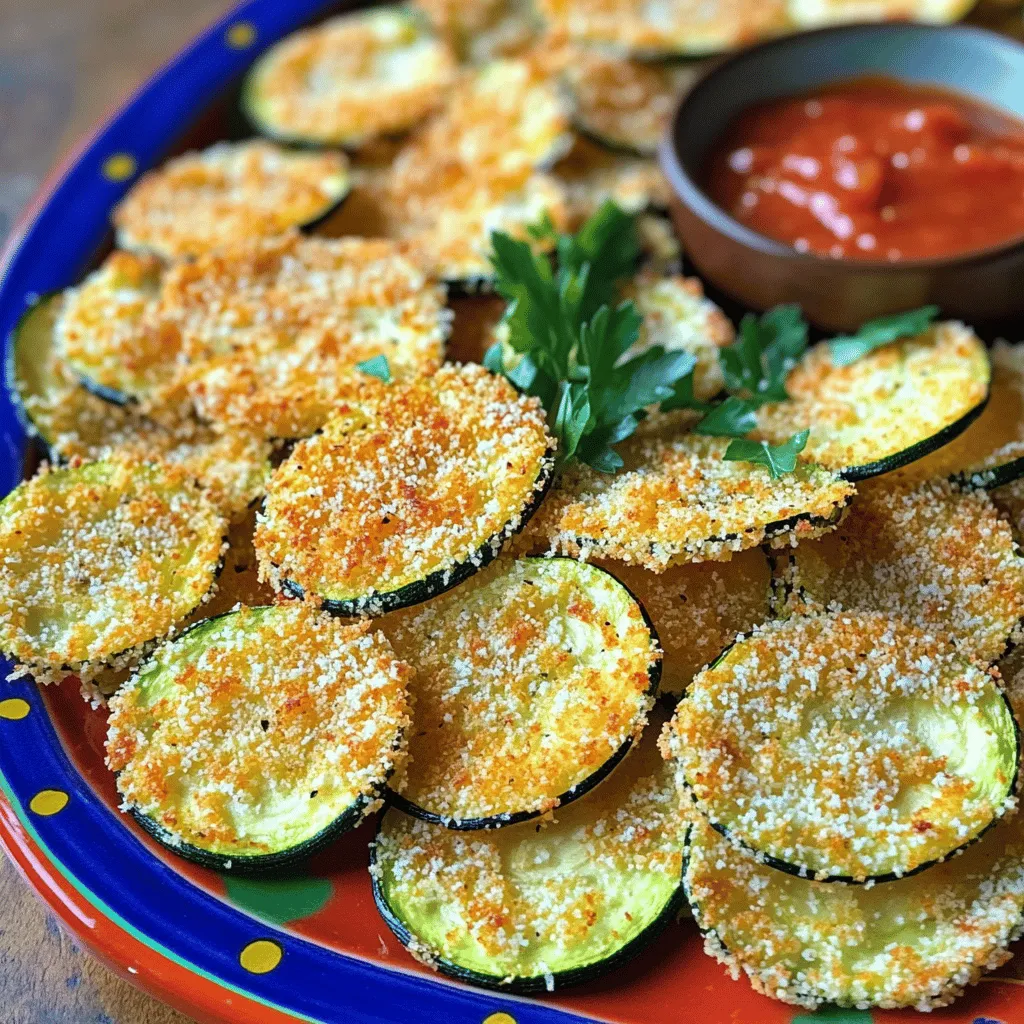
If you’re ready for a snack that’s both crispy and packed with flavor, you’ll love these Parmesan Crusted Zucchini Chips! With just a few simple ingredients and easy steps, you can whip up a delicious treat that everyone will enjoy. Perfect as a side dish or a standalone snack, these chips are a guilt-free way to satisfy your cravings. Let’s dive into the ingredients you need to get started!
Ingredients
List of Ingredients
- 2 medium zucchinis, sliced into thin rounds
- 1 cup grated Parmesan cheese
- 1 cup breadcrumbs (preferably panko)
- 1 teaspoon garlic powder
- 1 teaspoon onion powder
- 1 teaspoon dried oregano
- 1 teaspoon dried basil
- Salt and freshly ground black pepper to taste
- 2 large eggs
- Cooking spray or olive oil for greasing
Prep Time, Cook Time, and Servings
- Prep Time: 15 minutes
- Cook Time: 20 minutes
- Servings: 4
Gathering the right ingredients is key to making great Parmesan crusted zucchini chips. Start with two medium zucchinis. Slice them into thin rounds, around a quarter-inch thick. This thickness helps them become crispy while cooking. Next, you need one cup of grated Parmesan cheese. Use fresh cheese for the best flavor and texture.
For the crunch, grab one cup of breadcrumbs. Panko breadcrumbs work best, as they give a light and airy crunch. You will also need a few spices: one teaspoon each of garlic powder, onion powder, dried oregano, and dried basil. These spices add depth and flavor to the chips. Don’t forget salt and freshly ground black pepper to taste.
You will need two large eggs to help the coating stick. Lastly, get cooking spray or olive oil for greasing the baking sheet. This step is important to ensure your chips do not stick while baking.
Now that you have all the ingredients, you are ready to start cooking! The prep time is only 15 minutes, and cooking takes about 20 minutes. In just over half an hour, you will have a delicious snack that serves four.
Step-by-Step Instructions
Preparing the Baking Sheet
First, preheat your oven to 425°F (220°C). This step is key for crispy chips. Next, line your baking sheet with parchment paper. This keeps the chips from sticking and makes cleanup a breeze.
Mixing the Coating
In a shallow bowl, mix together the grated Parmesan cheese and breadcrumbs. Add garlic powder, onion powder, dried oregano, and dried basil. Season with salt and pepper. Stir the mixture until all the spices blend well. This will give the chips a tasty flavor.
Preparing the Zucchini
Crack the two large eggs into a separate bowl. Beat the eggs until the yolks and whites mix well. Take each zucchini slice and dip it into the beaten eggs. Let any extra egg drip off. Then, coat the slice in the breadcrumb mixture. Press gently to help it stick. This double coating gives the chips a nice crunch.
Baking the Chips
Arrange the coated zucchini chips on the baking sheet in a single layer. Make sure they don’t overlap. This is important for achieving maximum crispiness. Lightly spray the chips with cooking spray or drizzle olive oil over them. This helps them brown nicely. Bake in the preheated oven for 15-20 minutes. Flip the chips halfway through to ensure they cook evenly. Look for a golden brown color to know they’re done. Once baked, let them cool for a few minutes before serving. This helps them crisp up even more.
Tips & Tricks
Ensuring Maximum Crispiness
To get the best crunch from your zucchini chips, avoid overlapping the slices. Each piece needs its space to crisp up. Lay them in a single layer on the baking sheet. Lightly spray the chips with cooking oil. This step helps them brown nicely.
Flavor Enhancements
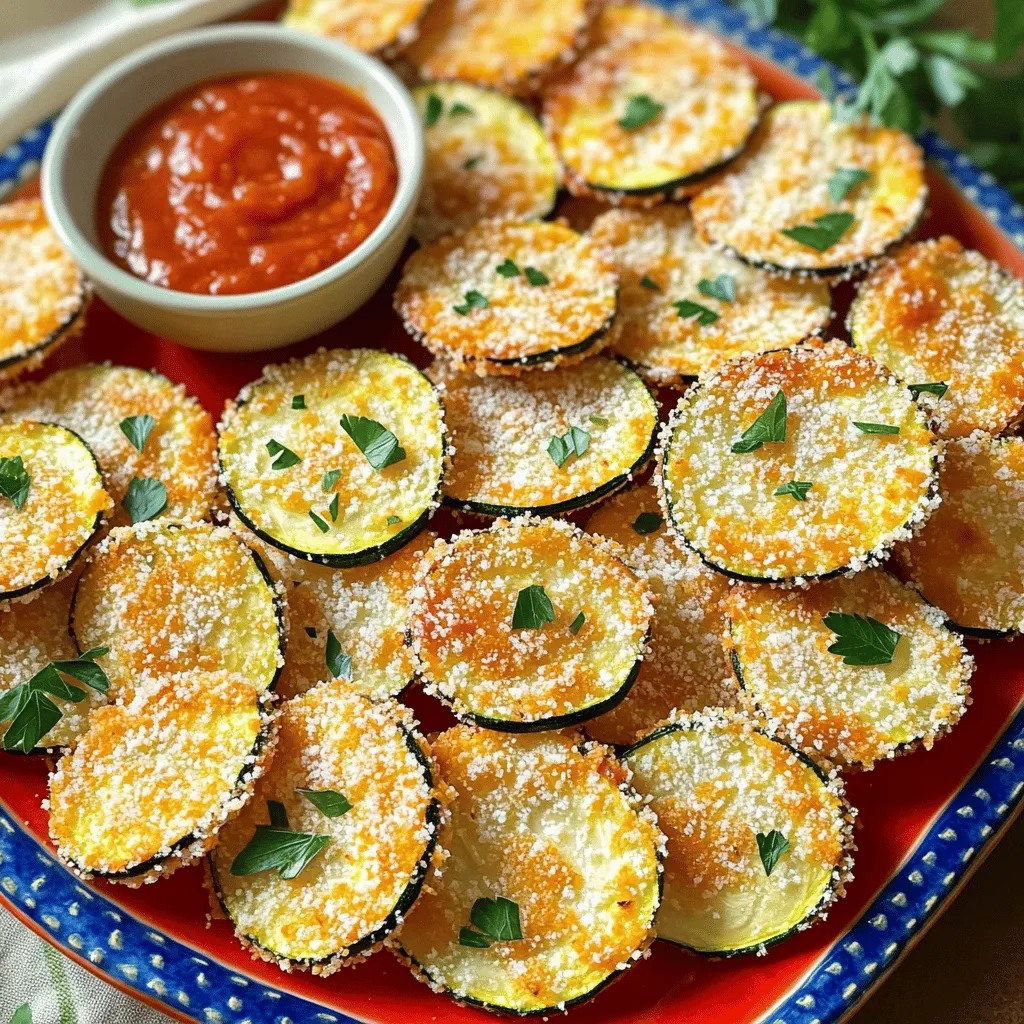
You can elevate the taste by adding extra spices or herbs. Try some chili powder for heat or fresh herbs for brightness. These tweaks make each bite exciting. When serving, think about dips. A cool yogurt dip or classic marinara sauce pairs well. These options add more flavor and fun to your meal.
Perfecting the Cooking Time
To know when your chips are ready, look for a golden brown color. This shows they are crispy and cooked just right. If your oven runs hot or cold, you may need to adjust the cooking time. Keep an eye on them. Flipping the chips halfway through helps them cook evenly.
Variations
Alternative Cheeses
You can switch up the cheese in this recipe. Cheddar adds a sharp flavor. Mozzarella gives a gooey texture. Vegan cheese works well for a dairy-free option. Each cheese brings its own taste. Experiment to find your favorite.
Flavor Variations
Want to spice things up? Add cayenne pepper for a kick. Smoked paprika gives a nice depth. You can also try herbs like thyme or rosemary. These herbs add fresh notes that elevate the dish. Mix and match to create your own flavor profile.
Different Breadings
If you’re gluten-free, use almond flour or crushed cornflakes. These options still give you crunch. Crushed nuts can also add a fun texture. They offer a nutty flavor that pairs well with zucchini. Don’t be afraid to be creative with your breading!
Storage Info
How to Store Leftovers
To keep your zucchini chips fresh, place them in an airtight container. A glass container works well, but a plastic one is fine too. Before sealing, let the chips cool completely. This helps avoid moisture buildup. Store them in the fridge for up to three days.
Reheating Instructions
To restore the crispiness, use your oven. Preheat it to 350°F (175°C). Spread the chips in a single layer on a baking sheet. Heat them for about 10 minutes. Check to make sure they are warm but not burnt. You can also use an air fryer if you have one. Set it to 350°F (175°C) and heat for about 5 minutes.
Freezing Tips
You can freeze zucchini chips for later. First, let them cool completely. Then, place them in a single layer on a baking sheet. Freeze them for about one hour. Once frozen, transfer the chips to a freezer bag. Squeeze out any air. They can last for up to three months.
When you want to eat them, thaw the chips in the fridge overnight. Reheat them in the oven or air fryer as described above. This way, they stay crispy and tasty.
FAQs
Can I use other vegetables instead of zucchini?
Yes, you can! Some good options are:
- Eggplant
- Sweet potatoes
- Carrots
- Bell peppers
These vegetables also crisp up well when coated and baked. You may need to adjust cooking times based on thickness.
How do I make these zucchini chips healthier?
To make these chips healthier, try these tips:
- Use less cheese or switch to a low-fat cheese.
- Use whole grain breadcrumbs for added fiber.
- Bake without oil or use a light spray.
- Skip the egg and use a flax egg for a vegan option.
These changes help cut calories while keeping the flavor.
What can I serve with Parmesan crusted zucchini chips?
These chips pair well with:
- Marinara sauce
- Yogurt dip
- Hummus
- Ranch dressing
Each dip adds a new layer of flavor and makes for a fun snack.
Can I make these chips in an air fryer?
Absolutely! Here’s how to air fry them:
1. Preheat your air fryer to 400°F (200°C).
2. Coat the zucchini slices as you would for baking.
3. Place them in a single layer in the air fryer basket.
4. Cook for about 10-12 minutes, flipping halfway through.
Check for crispiness and adjust time as needed. Enjoy the crunch!
This blog covered making crispy Parmesan zucchini chips. You learned the ingredients and steps, plus tips for best results. Remember to play with flavors and coatings to suit your taste. Storing leftovers properly keeps them fresh and tasty. Whether you’re making these chips for snacks or meals, they are simple and fun. Enjoy your cooking and the delicious results. Happy munching!