Skip to content
About
Contact
Cookie Policy
Copyright Policy
Disclaimer
Search
Home
Dinner
Appetizer
Desserts
Drinks
About
Contact
Privacy Policy
Toggle Menu
Home
/
NO-ING-IMG
- Page 9
NO-ING-IMG
Slow Cooker Creamy Tuscan Chickpea Soup Recipe
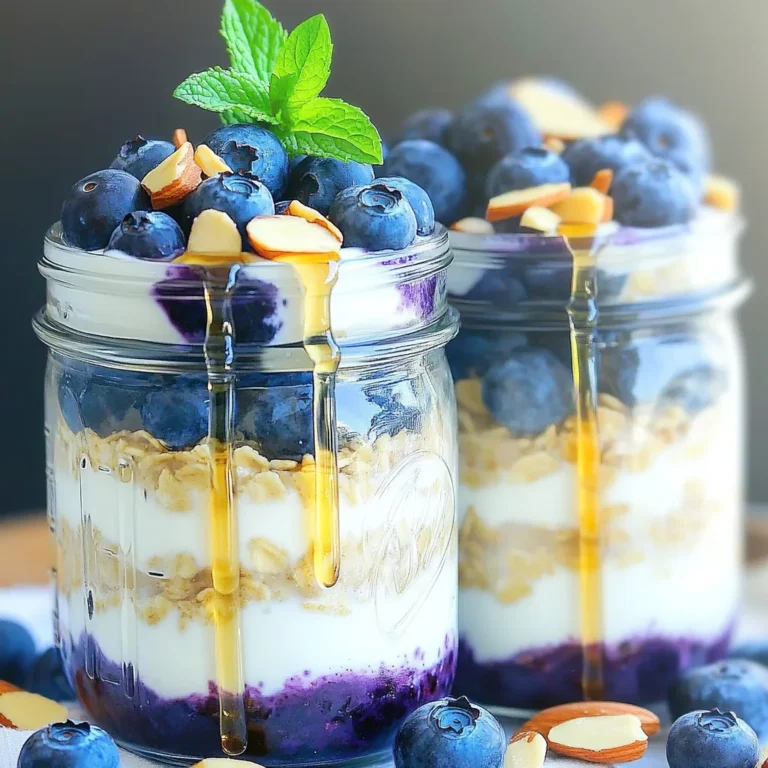
Blueberry Almond Overnight Oats Healthy and Simple
Spicy Cajun Chicken Tacos Flavorful and Simple Meal
Caprese Stuffed Avocados Fresh and Flavorful Meal
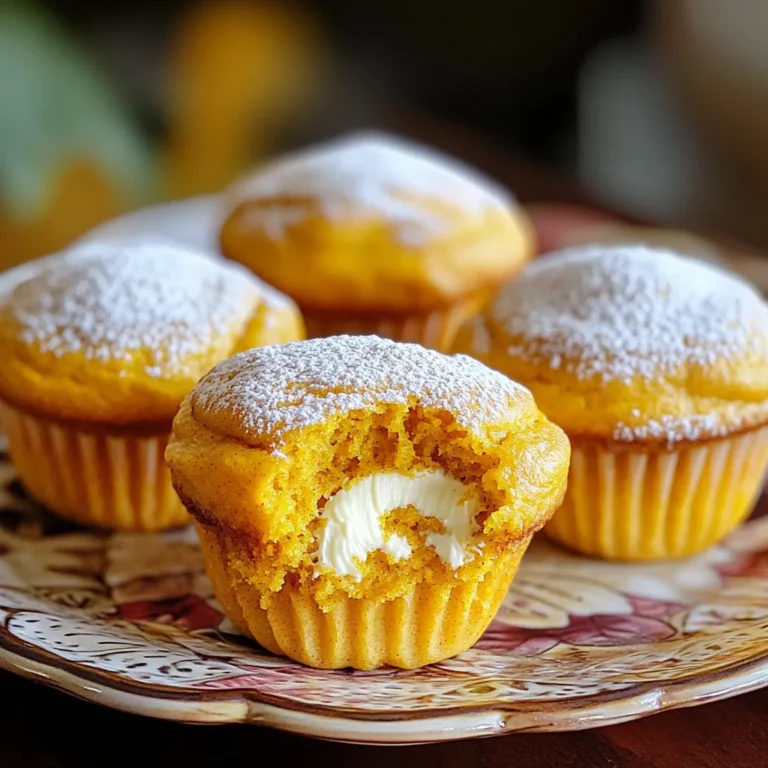
Pumpkin Cream Cheese Filled Muffins Delightful Recipe
Honey Mustard Glazed Salmon Flavorful and Simple Dish
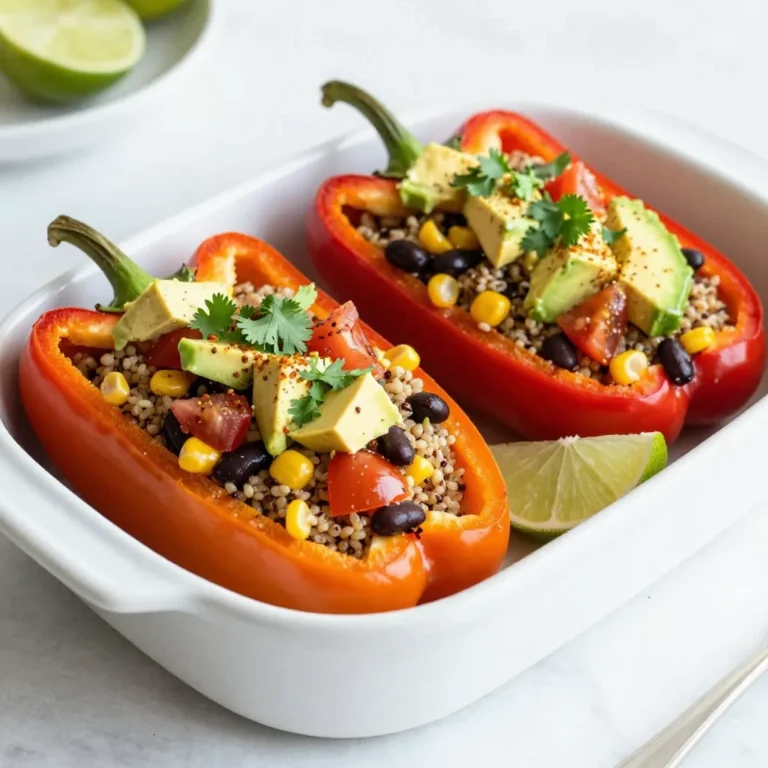
Southwest Quinoa Stuffed Peppers Flavorful Dish
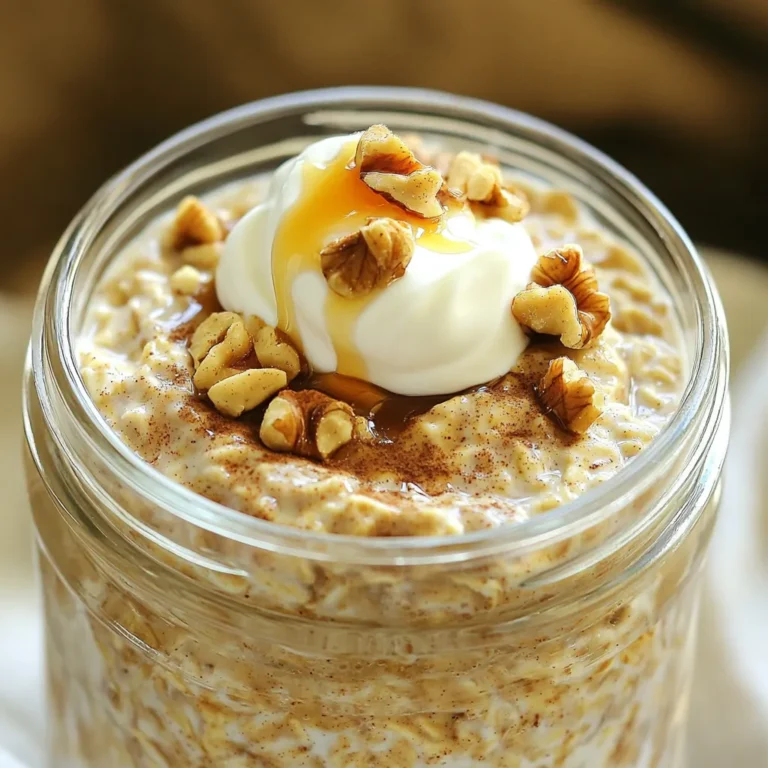
High-Protein Cinnamon Roll Overnight Oats Delight
Salted Caramel Apple Cheesecake Dip Delightful Treat
Air Fryer Garlic Butter Mushrooms Irresistible Treat
Page navigation
Previous Page
Previous
1
…
7
8
9
10
11
…
81
Next Page
Next
Home
Dinner
Appetizer
Desserts
Drinks
About
Contact
Privacy Policy
Toggle Menu Close
Search for:
Search