Skip to content
About
Contact
Cookie Policy
Copyright Policy
Disclaimer
Search
Home
Dinner
Appetizer
Desserts
Drinks
About
Contact
Privacy Policy
Toggle Menu
Home
/
NO-ING-IMG
- Page 81
NO-ING-IMG
Honey Lime Chicken Enchiladas Flavorful Dinner Idea
Apple Pie Crescent Bites Simple and Tasty Treat
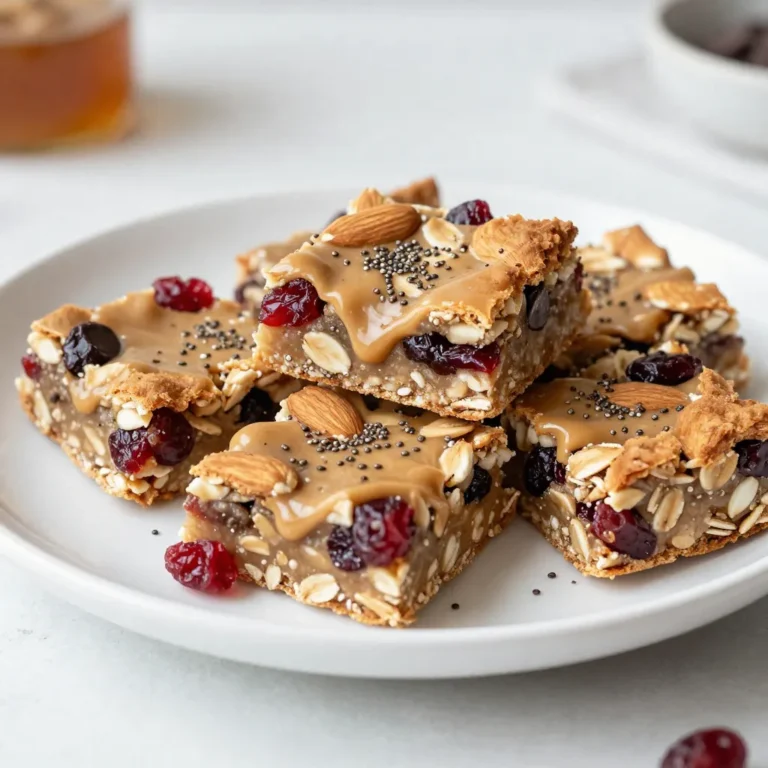
Almond Cranberry Energy Bars Healthy and Tasty Snack
Greek Orzo Pasta Salad Fresh and Flavorful Recipe
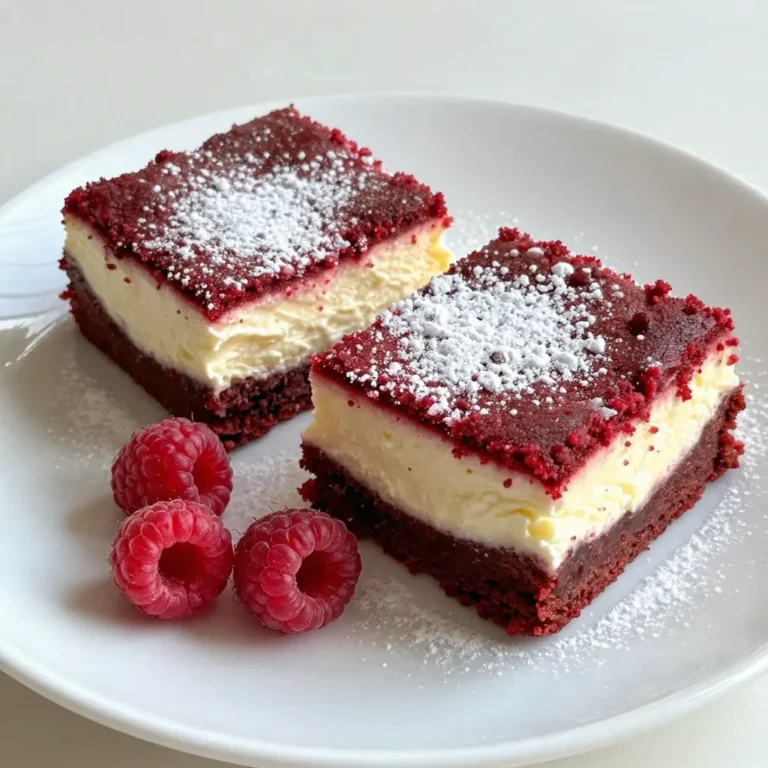
Irresistible Red Velvet Cheesecake Brownies Recipe
Page navigation
Previous Page
Previous
1
…
79
80
81
Home
Dinner
Appetizer
Desserts
Drinks
About
Contact
Privacy Policy
Toggle Menu Close
Search for:
Search