Skip to content
About
Contact
Cookie Policy
Copyright Policy
Disclaimer
Search
Home
Dinner
Appetizer
Desserts
Drinks
About
Contact
Privacy Policy
Toggle Menu
Home
/
NO-ING-IMG
- Page 8
NO-ING-IMG
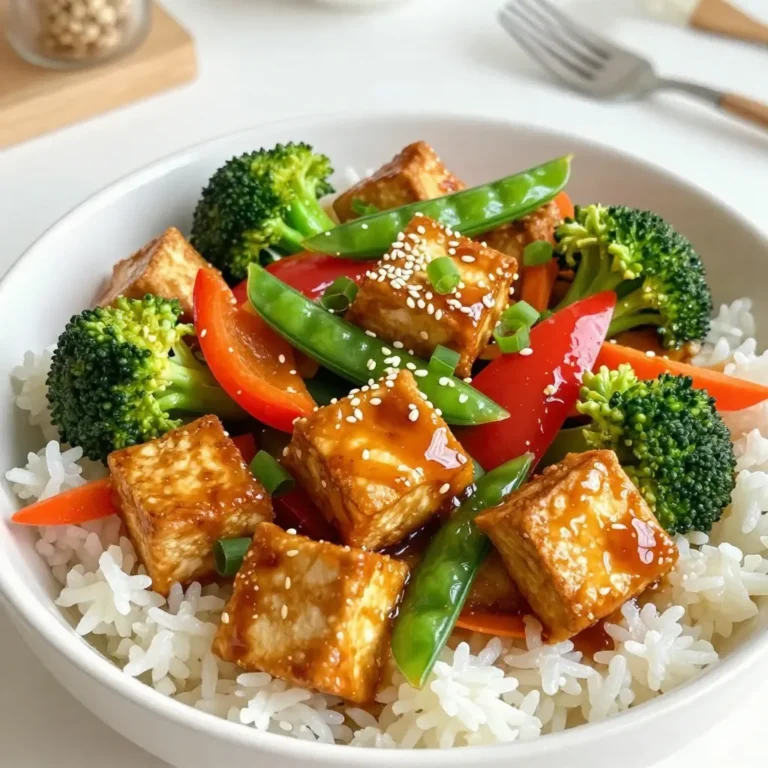
Teriyaki Tofu Stir Fry Quick and Simple Recipe
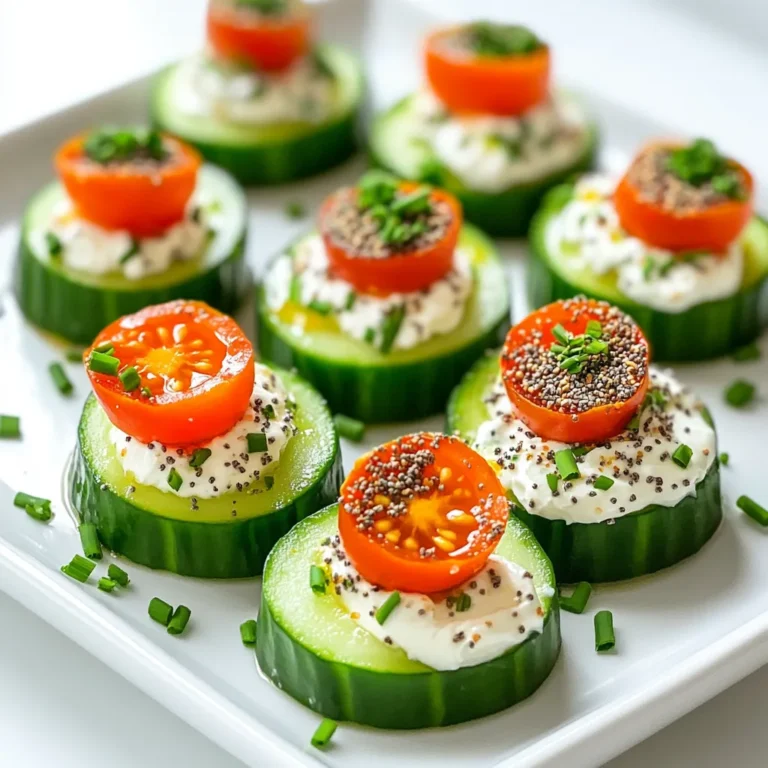
Everything Bagel Cucumber Bites Refreshing Snack Idea
TikTok Baked Feta Pasta Simple and Delicious Recipe
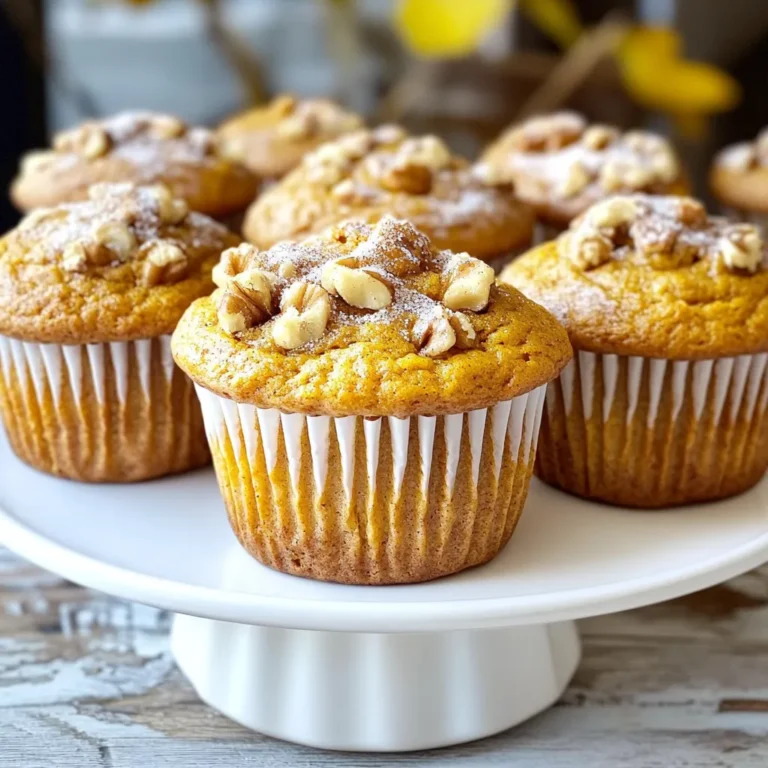
Cinnamon Pumpkin Muffins Perfect for Fall Baking
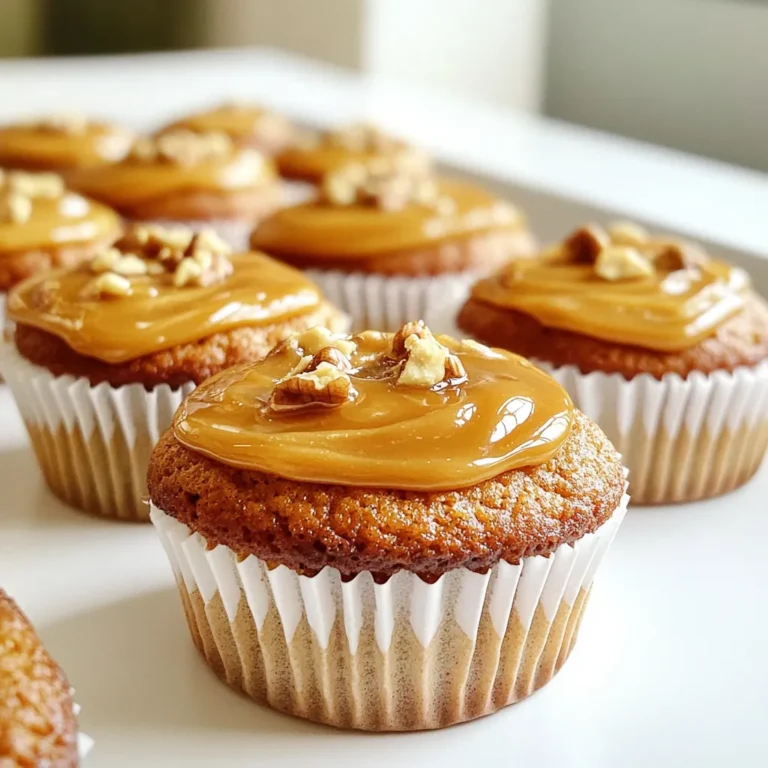
Pumpkin Cupcakes Caramel Drizzle Delightful Treat
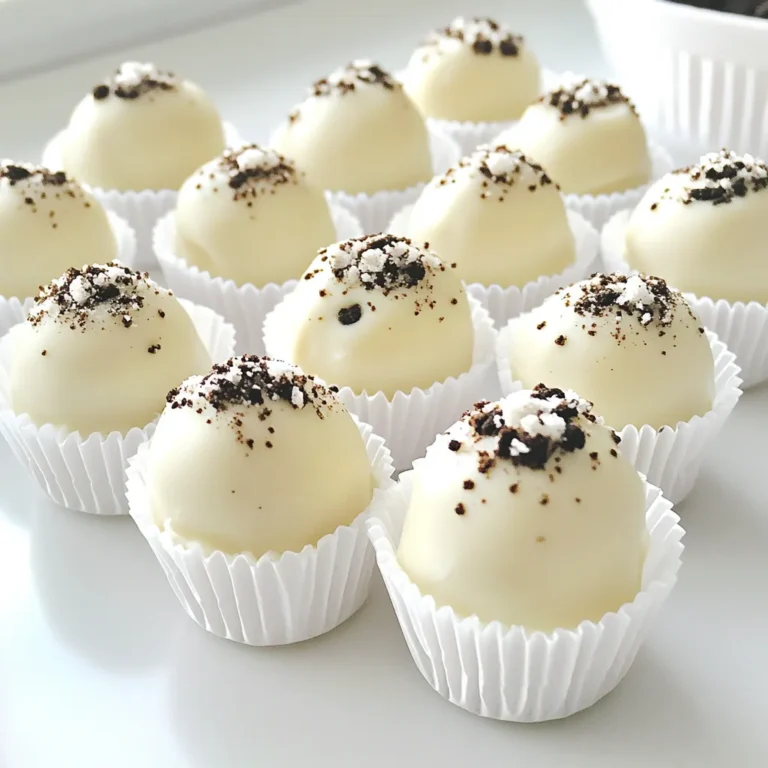
Oreo Cheesecake Truffles No Bake Easy Dessert Treat
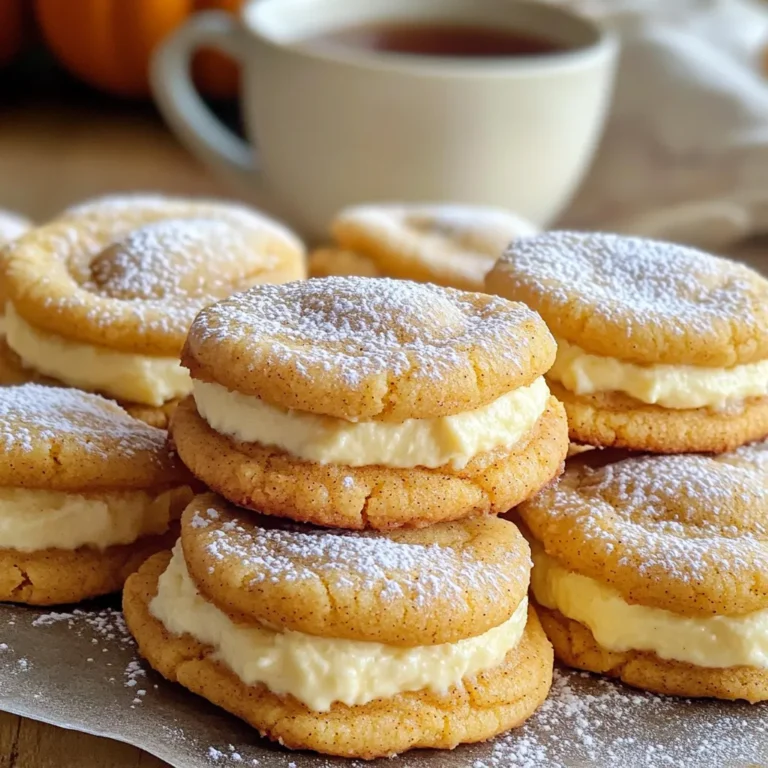
Pumpkin Spice Cheesecake Stuffed Cookies Delight
Instant Pot Buffalo Chicken Mac and Cheese Delight
No-Bake Peanut Butter Cup Pie Delightful and Easy Treat
One-Pan Lemon Rosemary Chicken Gnocchi Recipe Delight
Page navigation
Previous Page
Previous
1
…
6
7
8
9
10
…
81
Next Page
Next
Home
Dinner
Appetizer
Desserts
Drinks
About
Contact
Privacy Policy
Toggle Menu Close
Search for:
Search