Skip to content
About
Contact
Cookie Policy
Copyright Policy
Disclaimer
Search
Home
Dinner
Appetizer
Desserts
Drinks
About
Contact
Privacy Policy
Toggle Menu
Home
/
NO-ING-IMG
- Page 7
NO-ING-IMG
Honey Garlic Salmon Bowls Quick and Tasty Meal
Cinnamon Apple Scones with Glaze Simple and Tasty
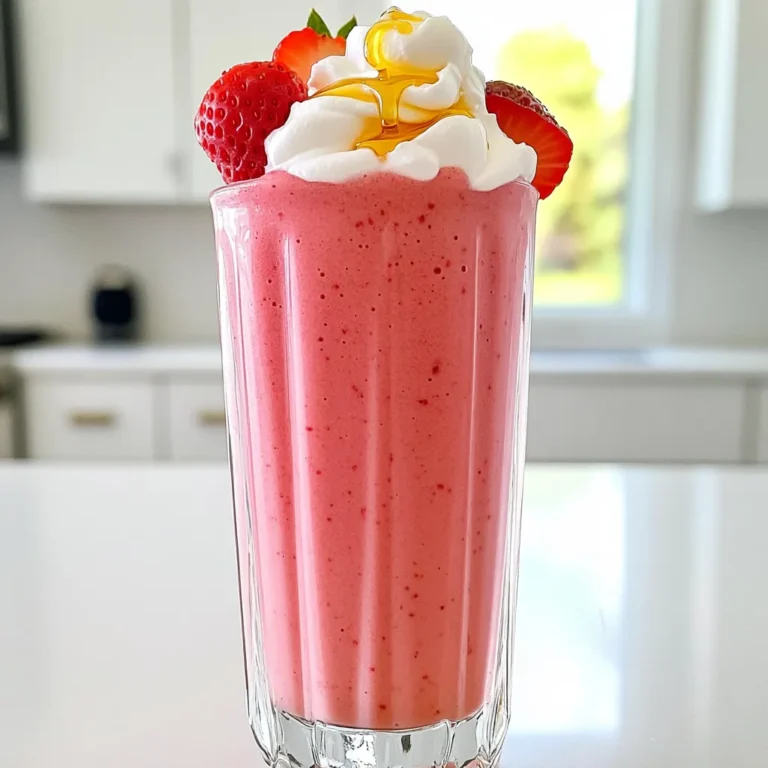
Strawberry Cheesecake Smoothie Protein Delightful Blend
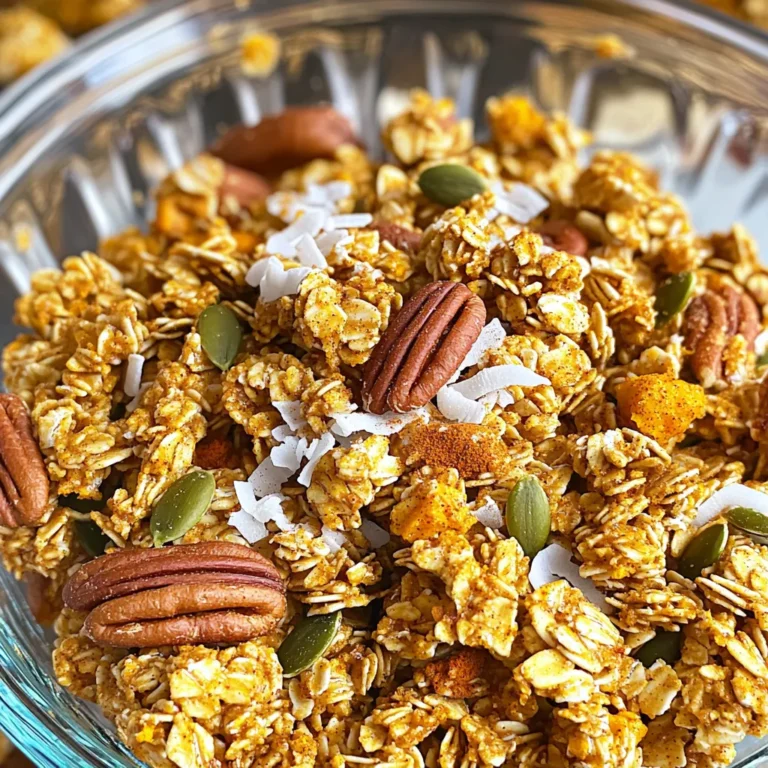
Pumpkin Spice Granola with Pecans Tasty and Crunchy
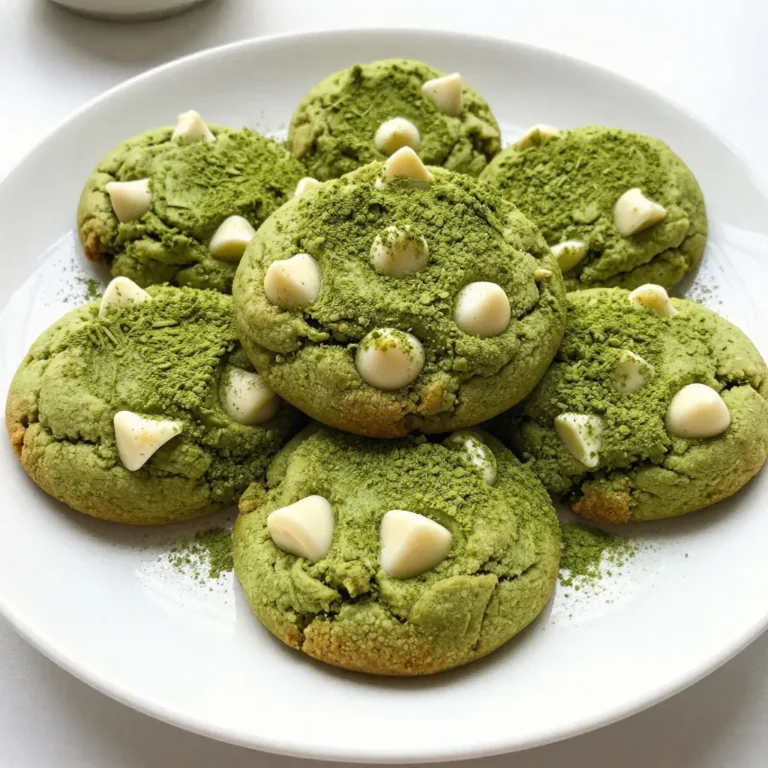
Matcha White Chocolate Cookies Delightful Cookie Recipe
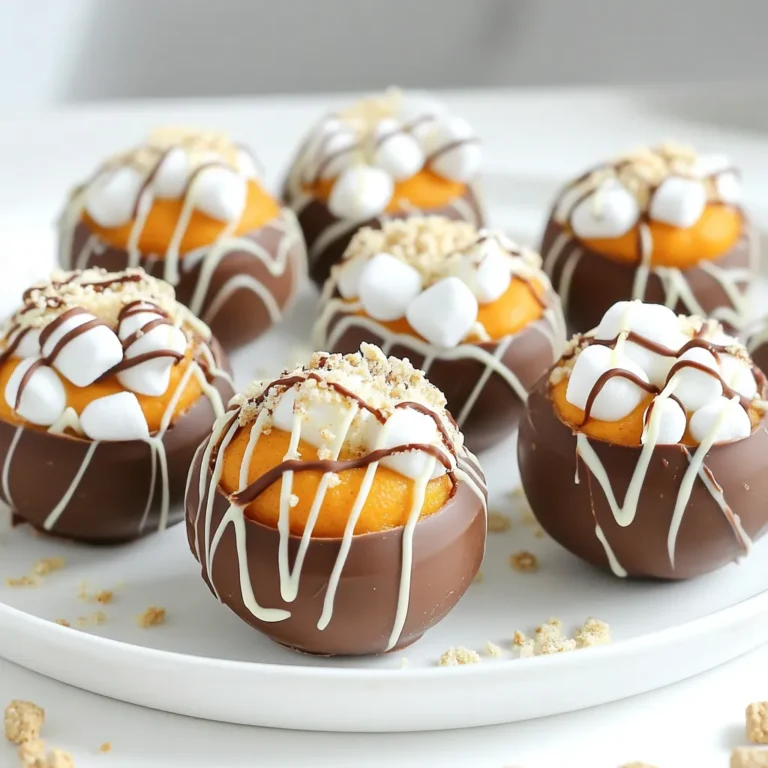
Cozy Pumpkin Spice Hot Cocoa Bombs for Fall Enjoyment
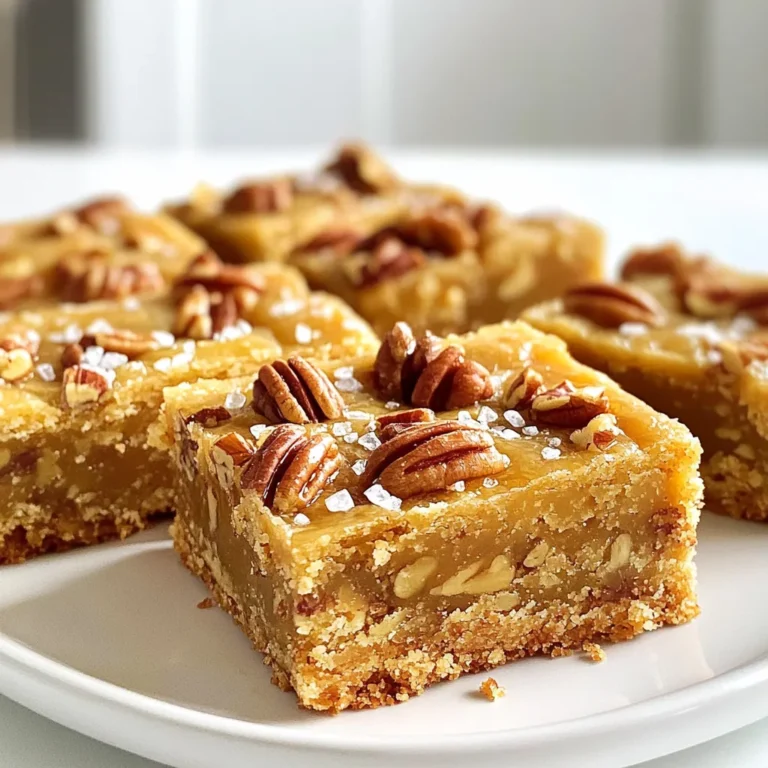
Brown Butter Maple Pecan Shortbread Bars Delight
Sheet-Pan Sweet Chili Glazed Chicken Thighs Delight
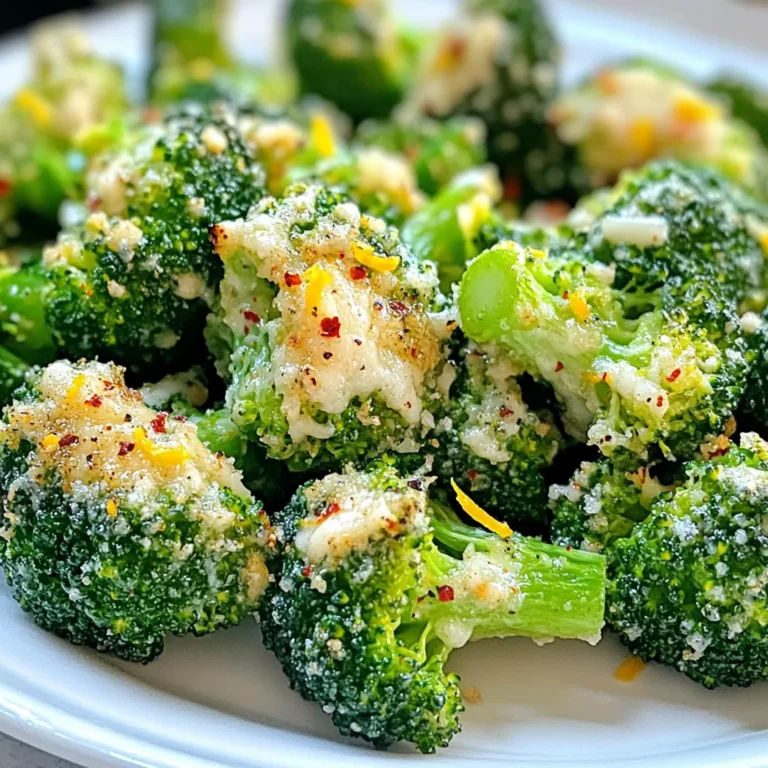
Savory Air Fryer Garlic Parmesan Broccoli Bites Recipe
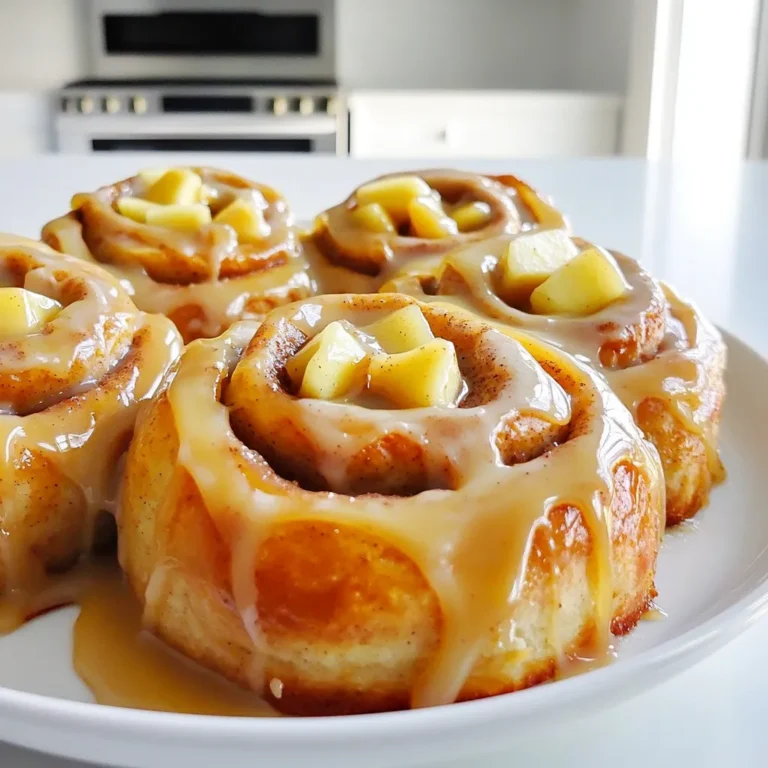
Caramel Apple Cinnamon Rolls with Cream Cheese Glaze
Page navigation
Previous Page
Previous
1
…
5
6
7
8
9
…
81
Next Page
Next
Home
Dinner
Appetizer
Desserts
Drinks
About
Contact
Privacy Policy
Toggle Menu Close
Search for:
Search