Skip to content
About
Contact
Cookie Policy
Copyright Policy
Disclaimer
Search
Home
Dinner
Appetizer
Desserts
Drinks
About
Contact
Privacy Policy
Toggle Menu
Home
/
NO-ING-IMG
- Page 5
NO-ING-IMG
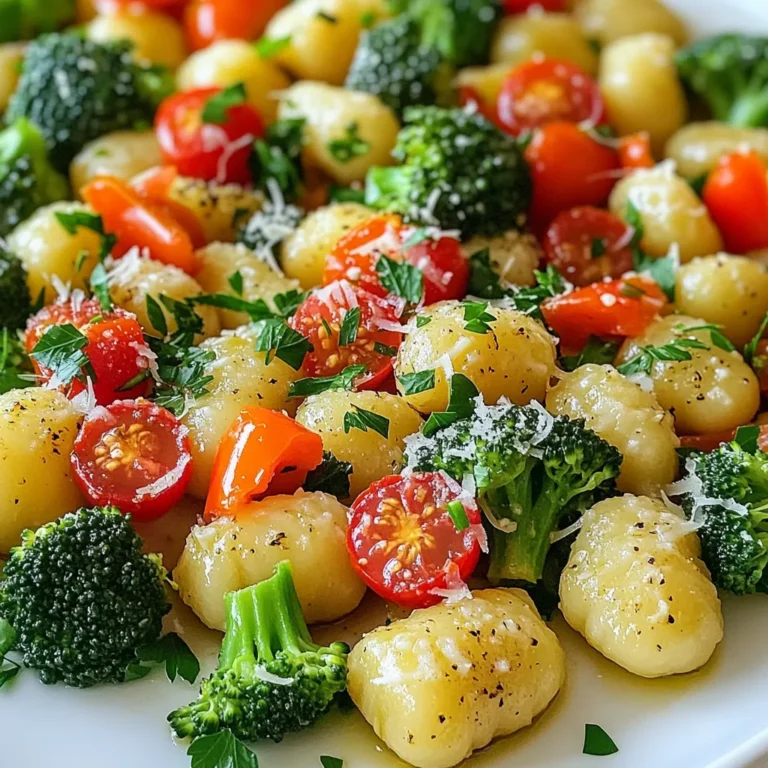
Sheet Pan Garlic Parmesan Gnocchi & Veggies Delight
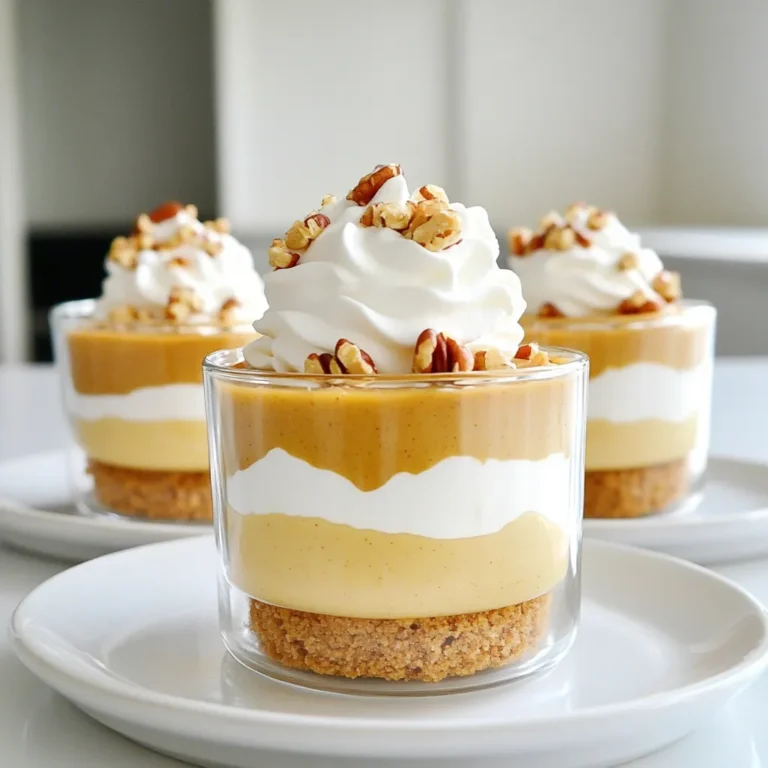
No Bake Maple Pumpkin Pie Cups Simple and Delicious
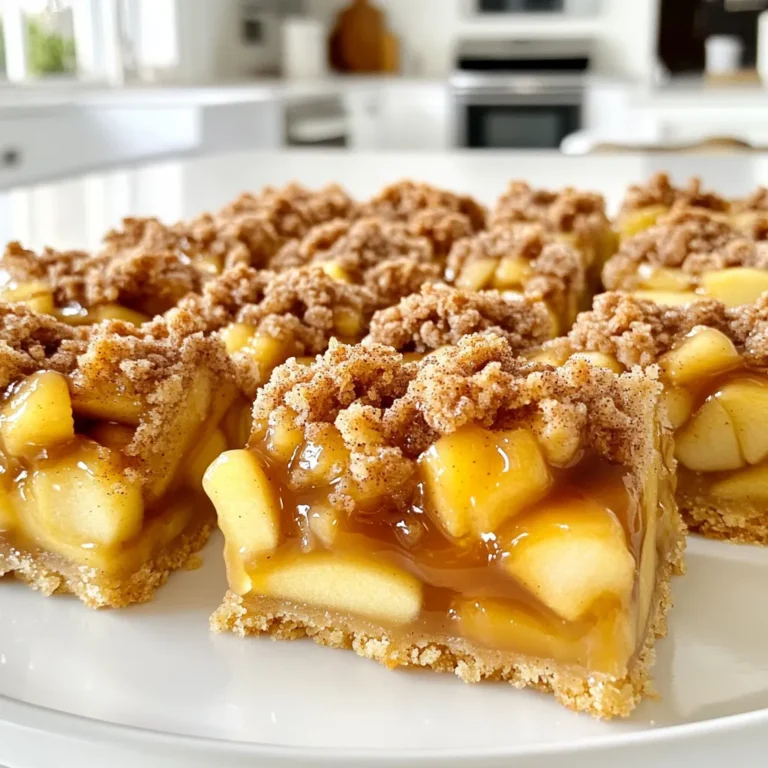
Caramel Apple Streusel Bars Delightful Fall Dessert
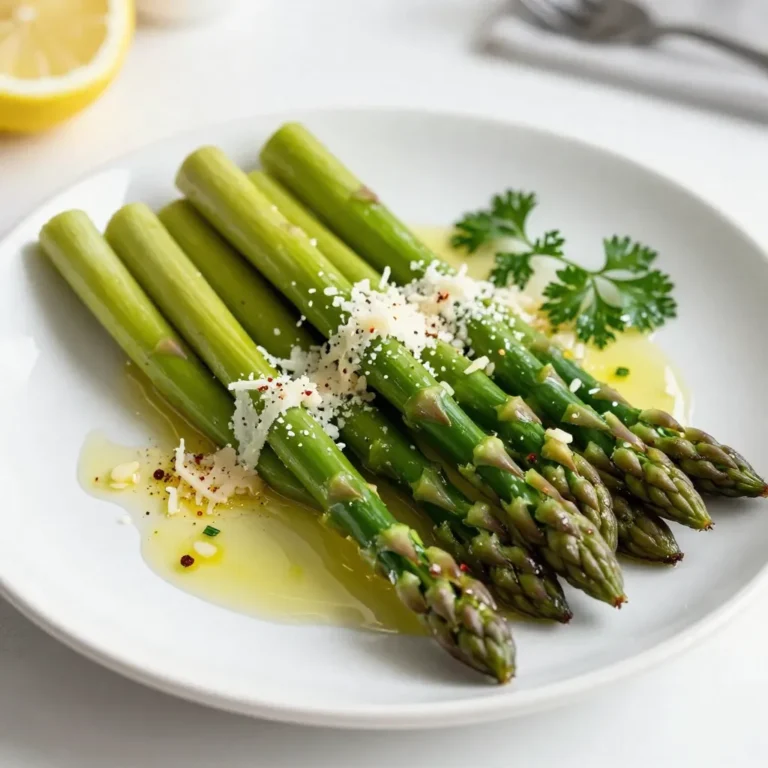
Lemon Garlic Asparagus Quick and Flavorful Recipe
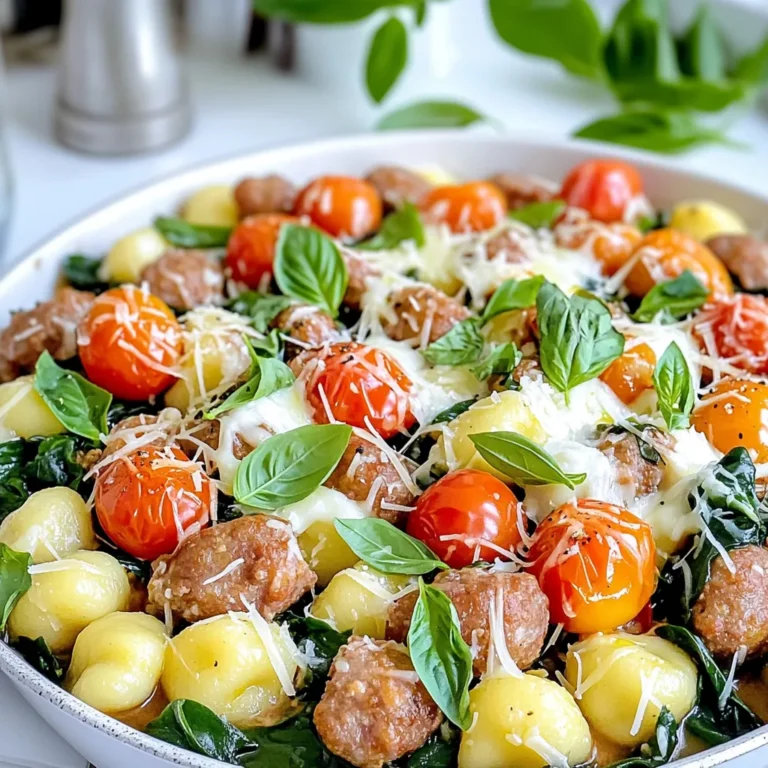
Cheesy Sausage Gnocchi One Pan Delightful Recipe
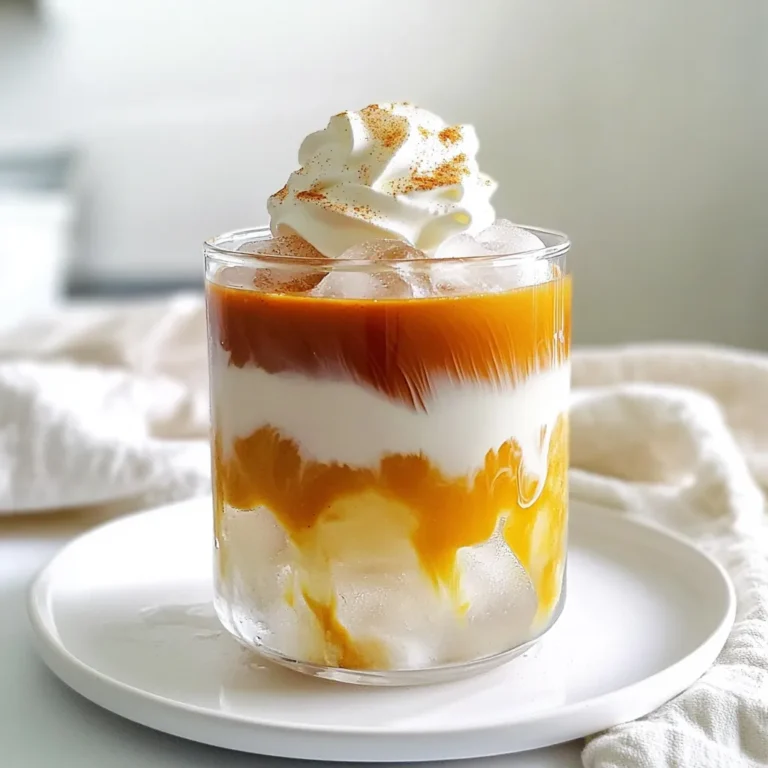
Pumpkin Spice Iced Latte Creamy and Flavorful Drink
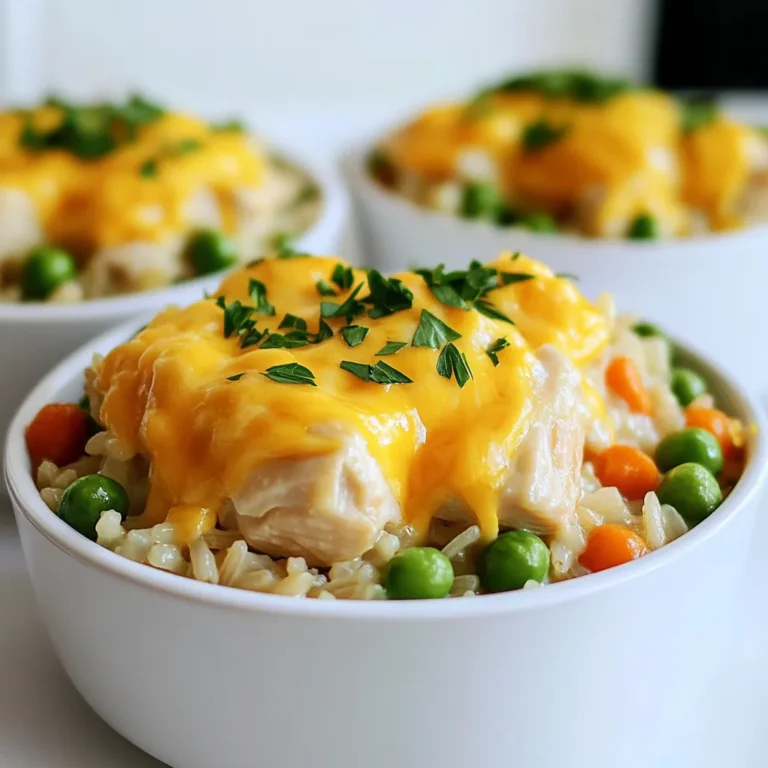
Savory Chicken & Rice Casserole Slow Cooker Recipe
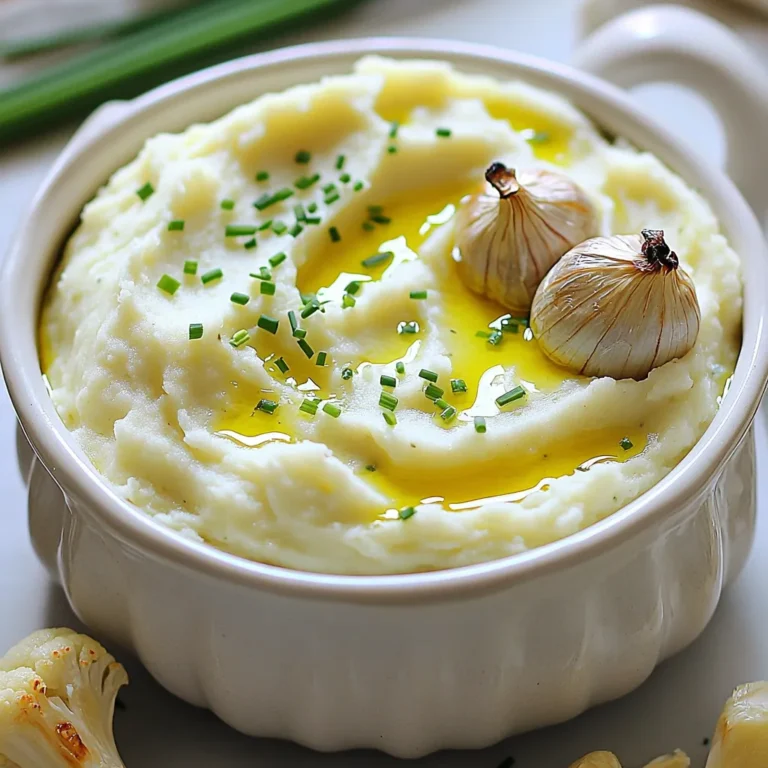
Roasted Garlic Cauliflower Mash Creamy and Flavorful Dish
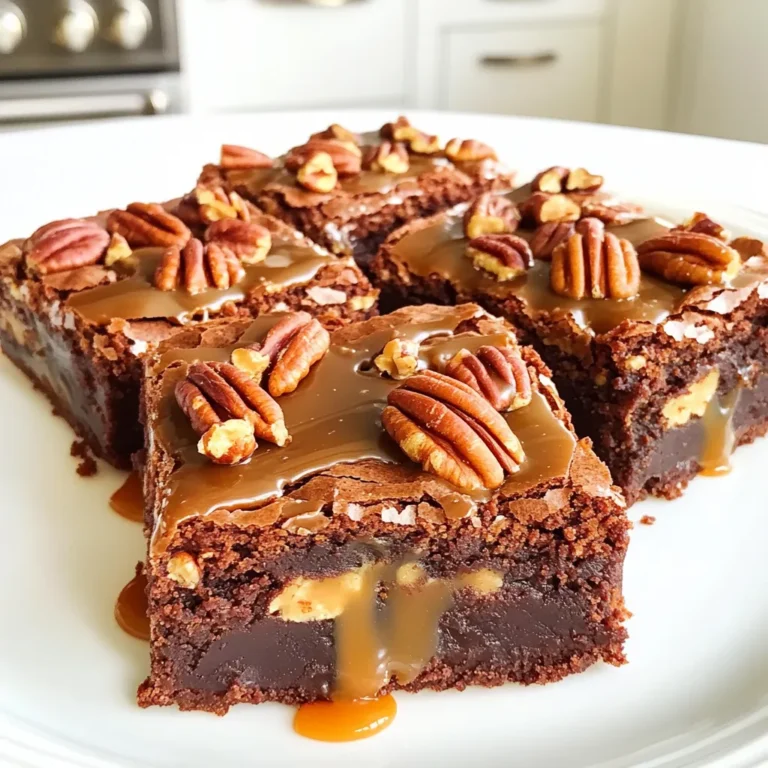
Caramel Pecan Turtle Brownies Decadent Treat Recipe
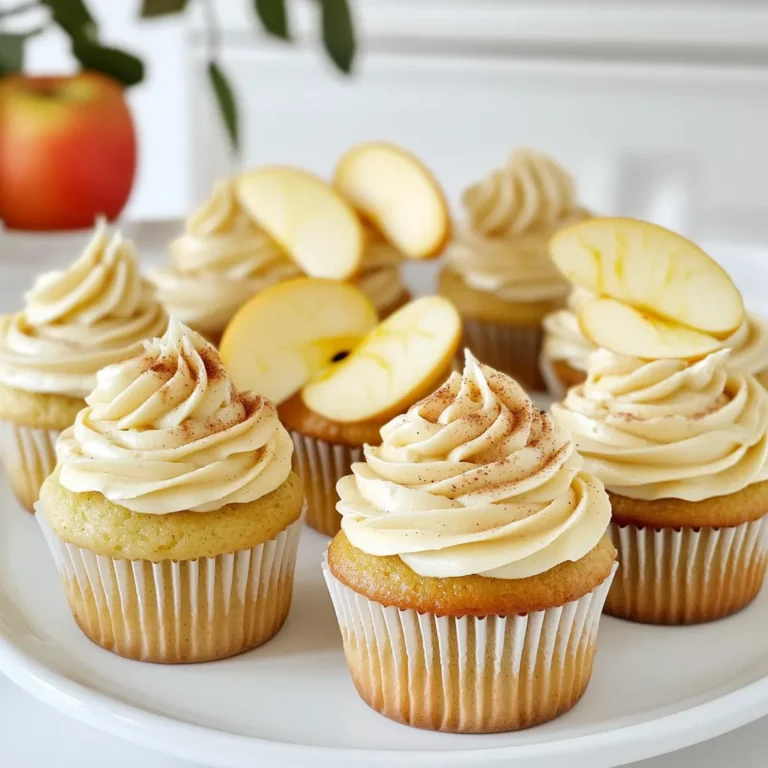
Apple Cider Cupcakes Spiced Frosting Delight Recipe
Page navigation
Previous Page
Previous
1
…
3
4
5
6
7
…
81
Next Page
Next
Home
Dinner
Appetizer
Desserts
Drinks
About
Contact
Privacy Policy
Toggle Menu Close
Search for:
Search