Skip to content
About
Contact
Cookie Policy
Copyright Policy
Disclaimer
Search
Home
Dinner
Appetizer
Desserts
Drinks
About
Contact
Privacy Policy
Toggle Menu
Home
/
NO-ING-IMG
- Page 4
NO-ING-IMG
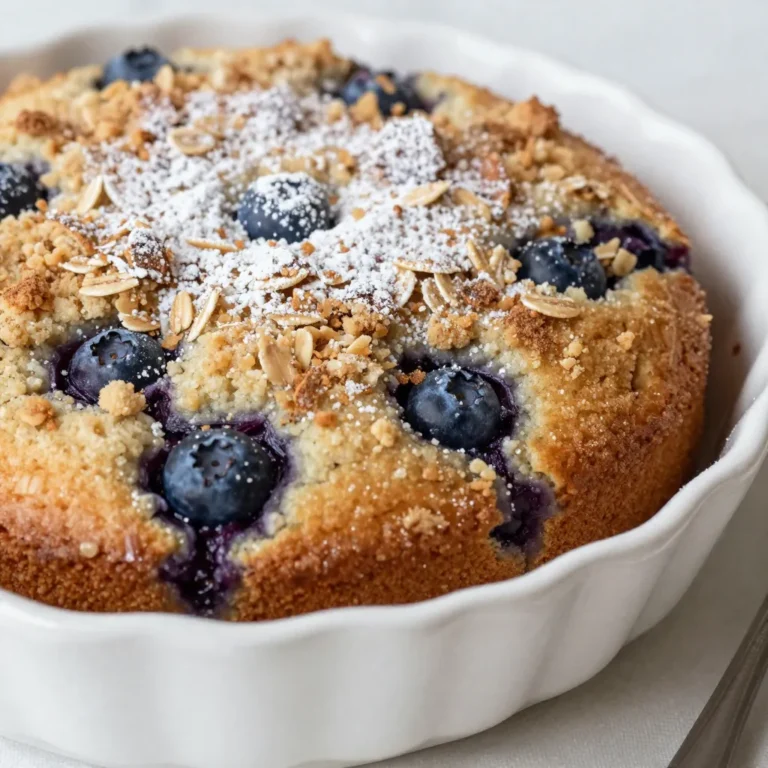
Blueberry Crumb Coffee Cake Simple and Delicious Recipe
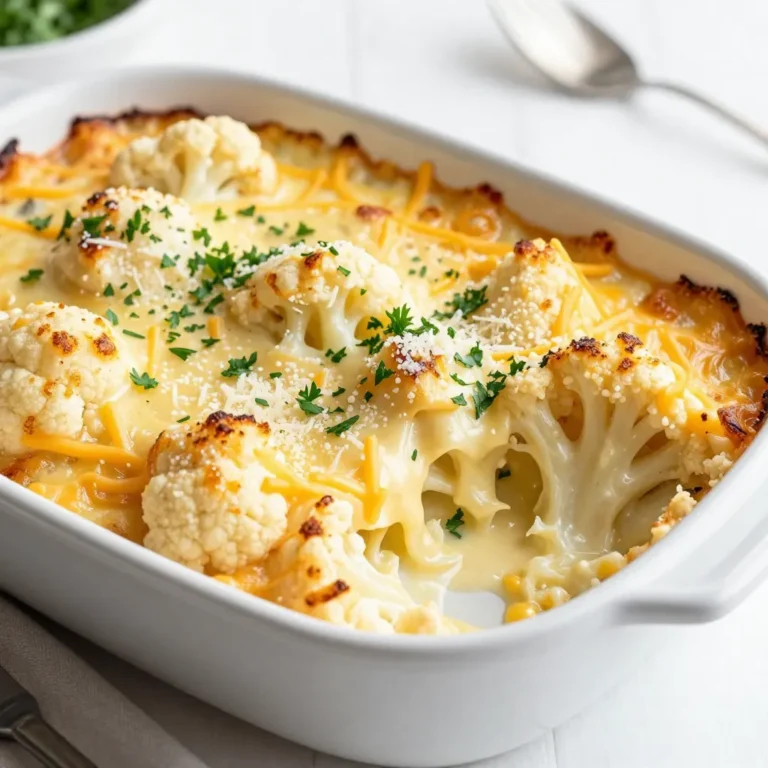
Cheesy Cauliflower Au Gratin Irresistible Comfort Dish
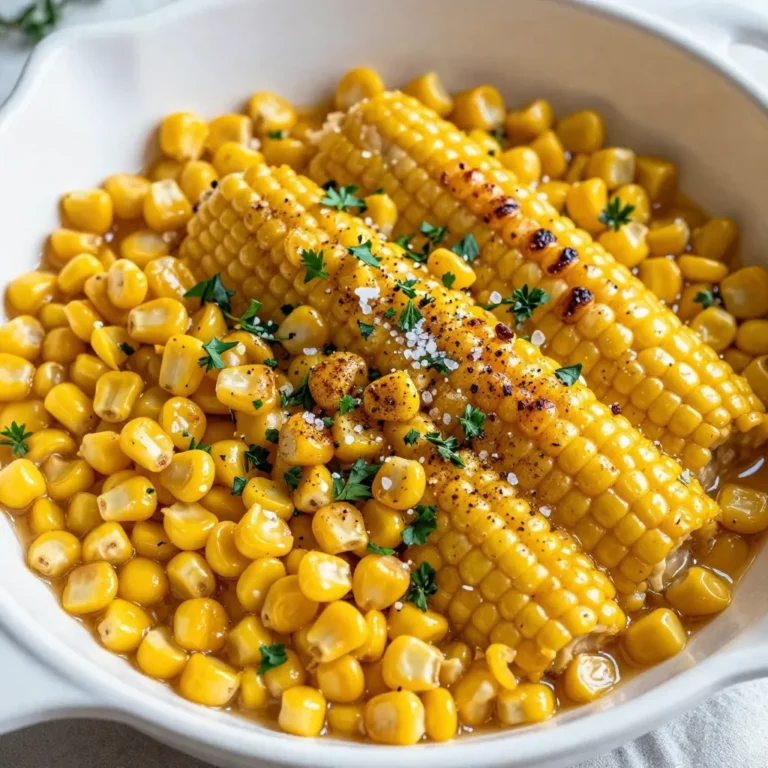
Honey Butter Skillet Corn Delicious Side Dish Recipe
Garlic Butter Mushroom Risotto Savory and Comforting Dish
Cheesy Spinach Stuffed Shells Delicious and Simple Dish
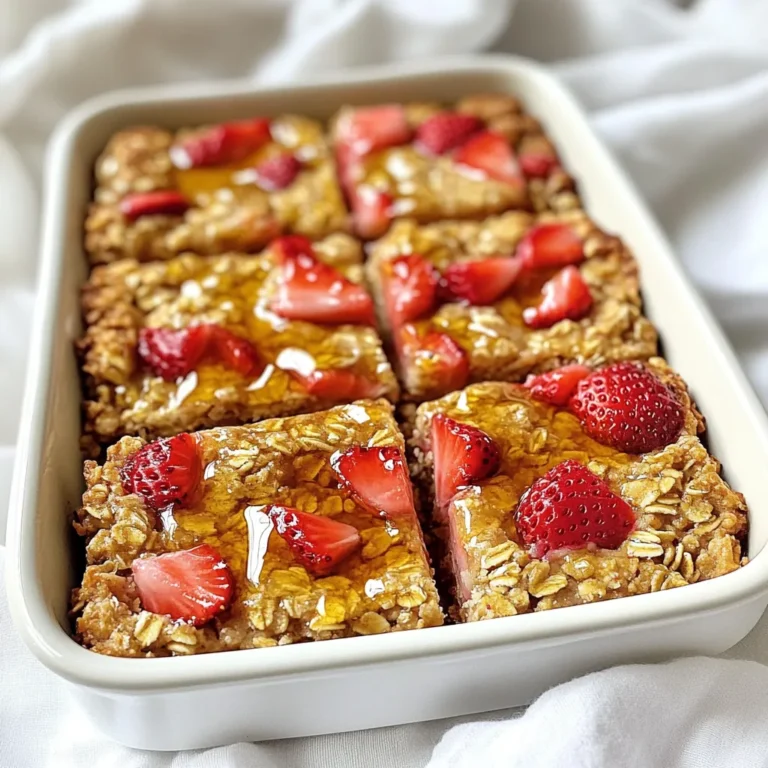
Strawberry Oatmeal Breakfast Bars Easy and Healthy Treat
Sweet Chili Garlic Tofu Bites Flavorful Crunchy Treat
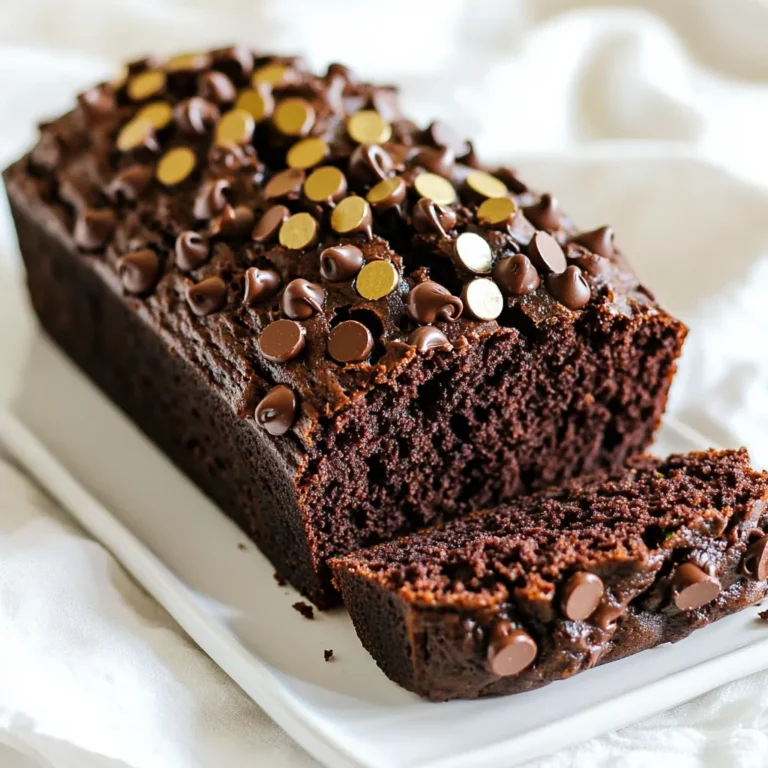
Double Chocolate Zucchini Bread Moist and Rich Delight
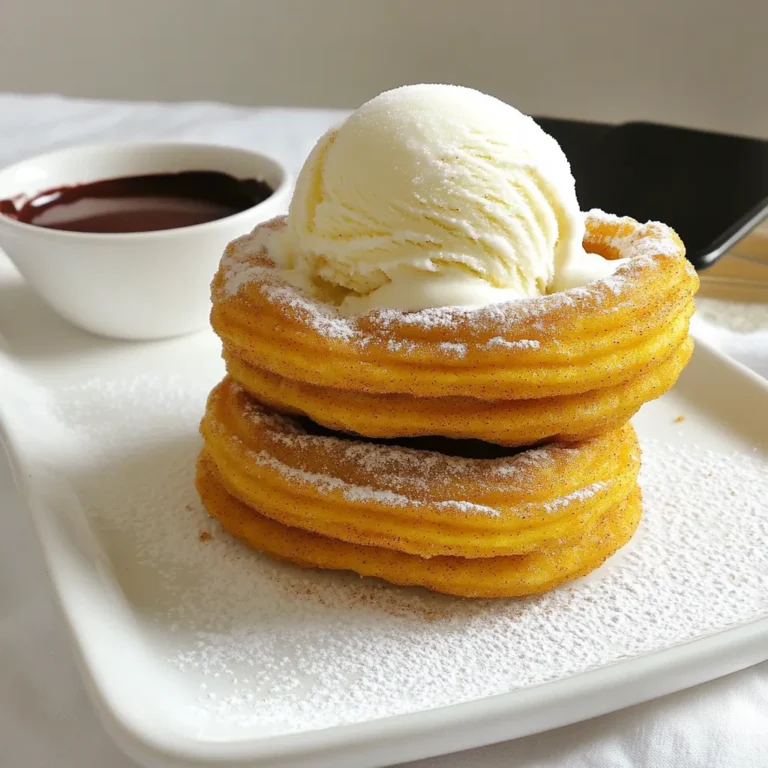
Pumpkin Churro Ice Cream Sandwiches Delicious Treat
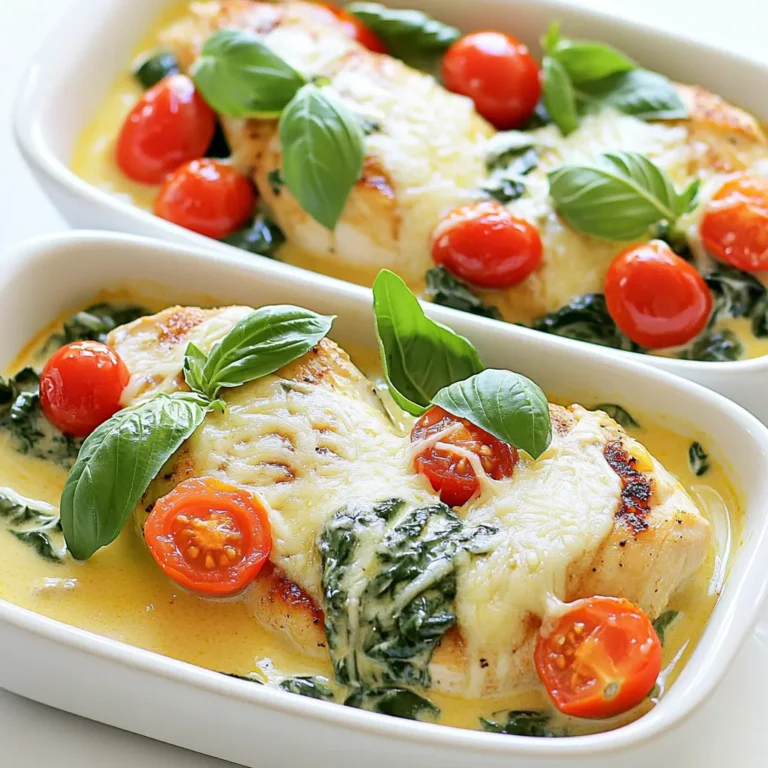
Slow Cooker Creamy Tuscan Chicken Simple Delight
Page navigation
Previous Page
Previous
1
2
3
4
5
6
…
81
Next Page
Next
Home
Dinner
Appetizer
Desserts
Drinks
About
Contact
Privacy Policy
Toggle Menu Close
Search for:
Search