Skip to content
About
Contact
Cookie Policy
Copyright Policy
Disclaimer
Search
Home
Dinner
Appetizer
Desserts
Drinks
About
Contact
Privacy Policy
Toggle Menu
Home
/
NO-ING-IMG
- Page 3
NO-ING-IMG
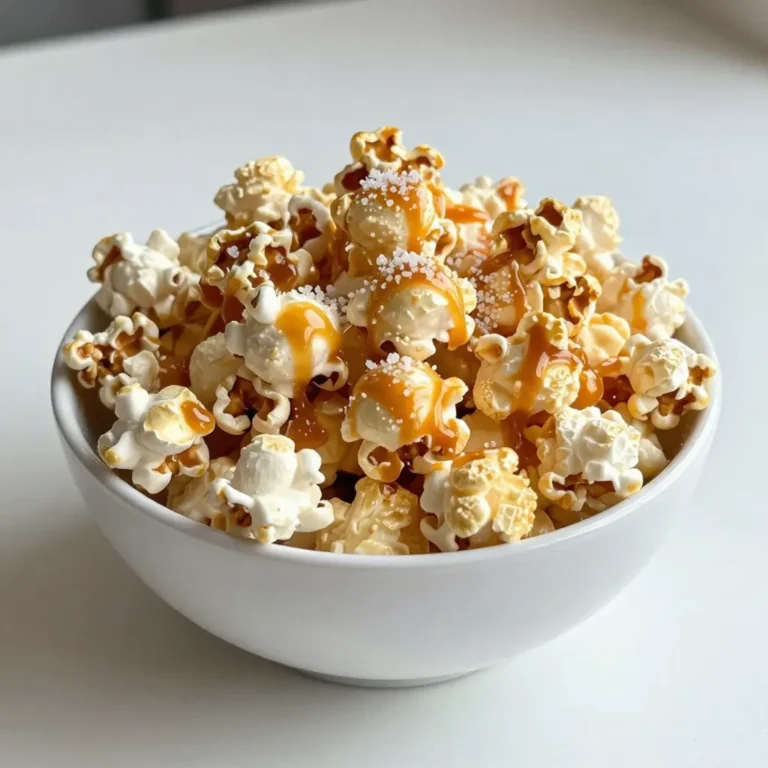
Sweet and Salty Caramel Popcorn Tasty Treat Recipe
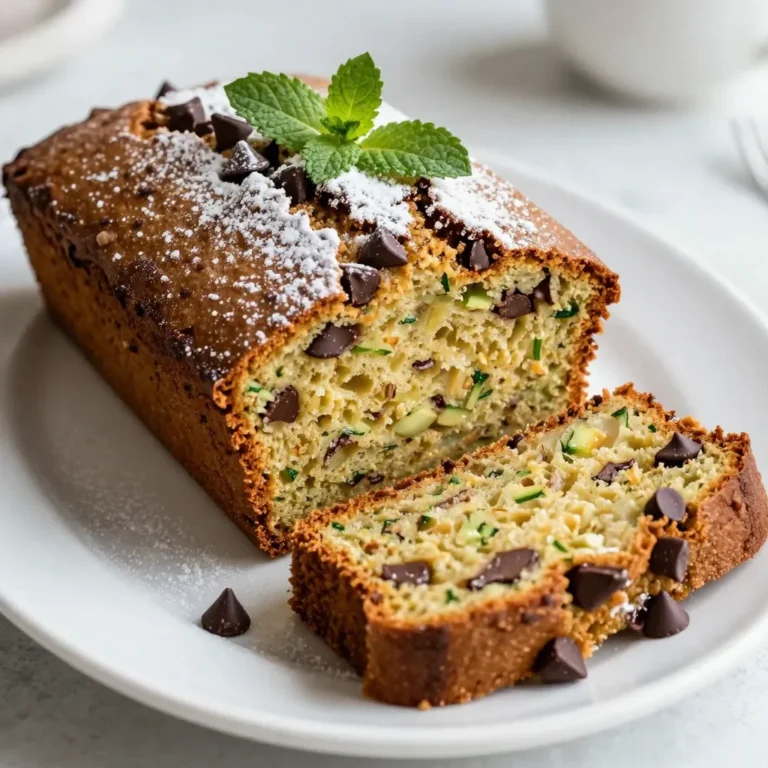
Chocolate Chip Zucchini Bread Quick and Tasty Recipe
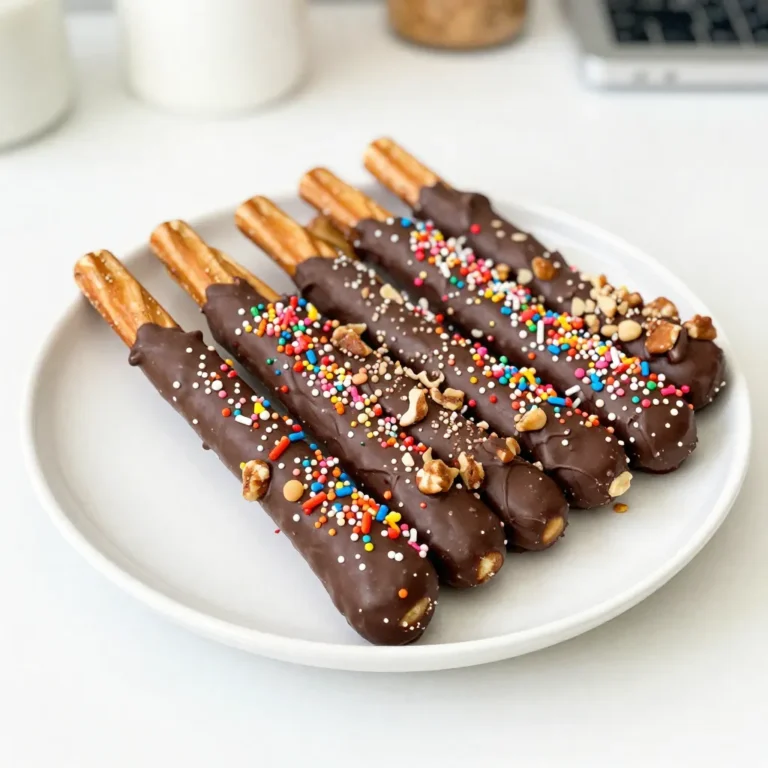
Chocolate Dipped Pretzel Rods Fun and Tasty Treat
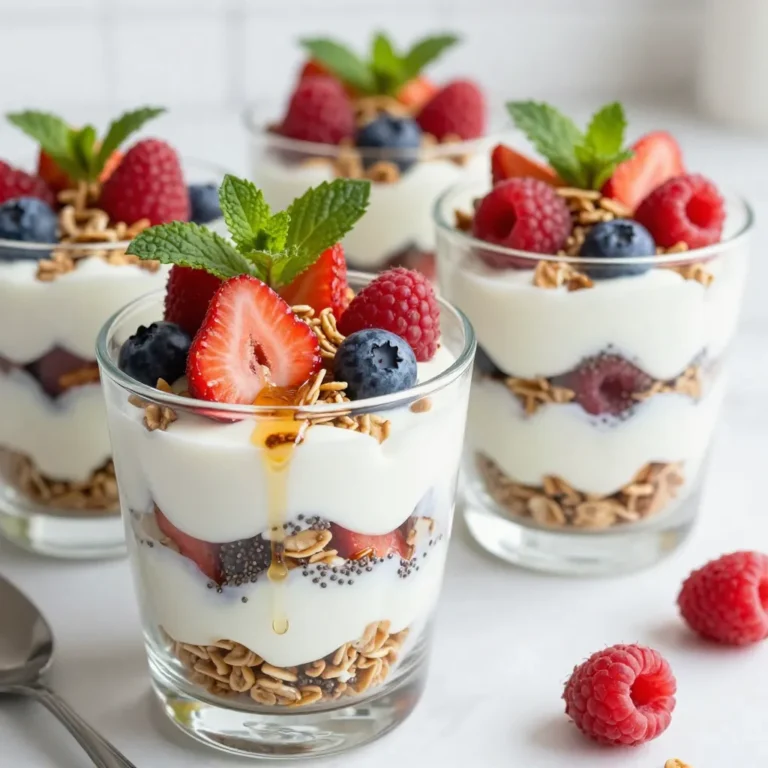
Maple Granola Yogurt Parfaits Delicious and Easy Treat
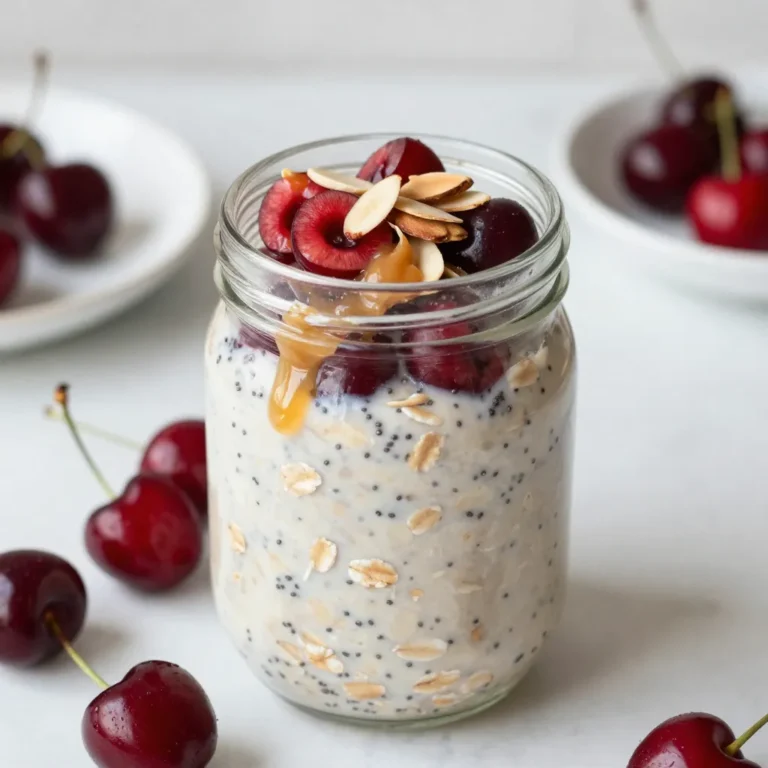
Cherry Almond Overnight Oats Nourishing Breakfast Option
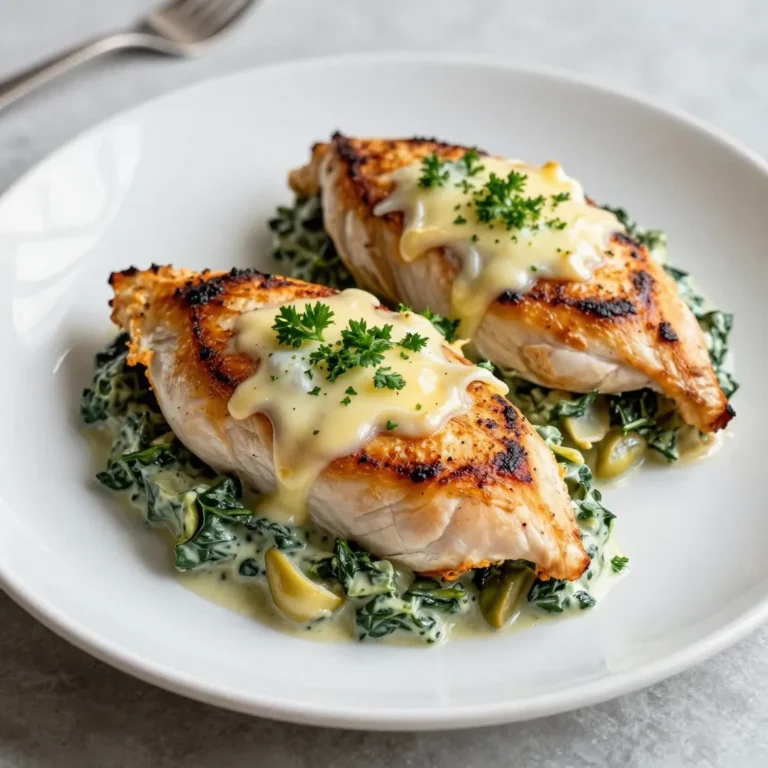
Creamy Spinach Artichoke Stuffed Chicken Delight
Chicken Alfredo Stuffed Manicotti Flavorful Comfort Meal
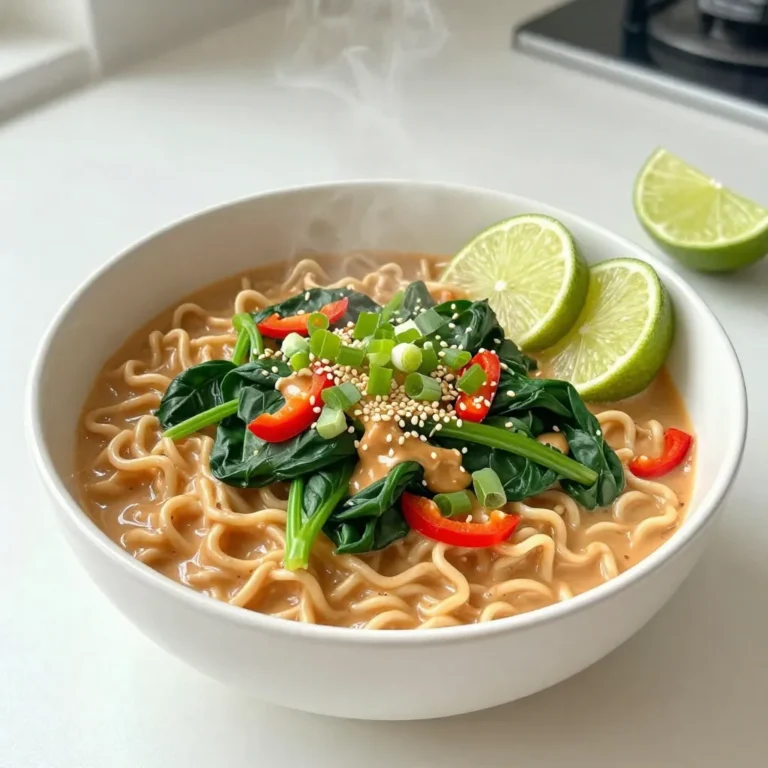
Spicy Peanut Ramen Flavorful and Easy Weeknight Meal
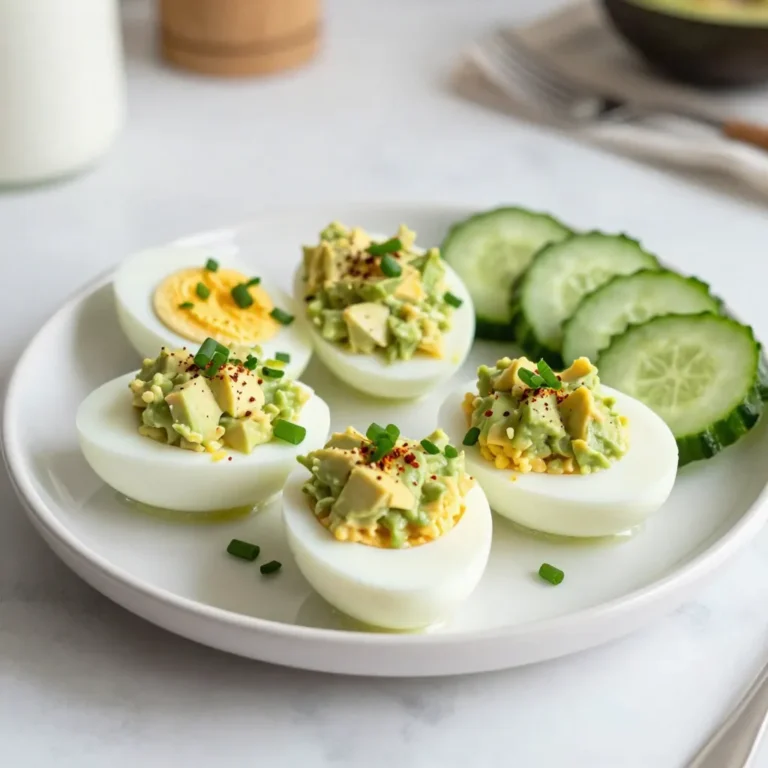
Avocado Egg Salad Easy and Creamy Recipe
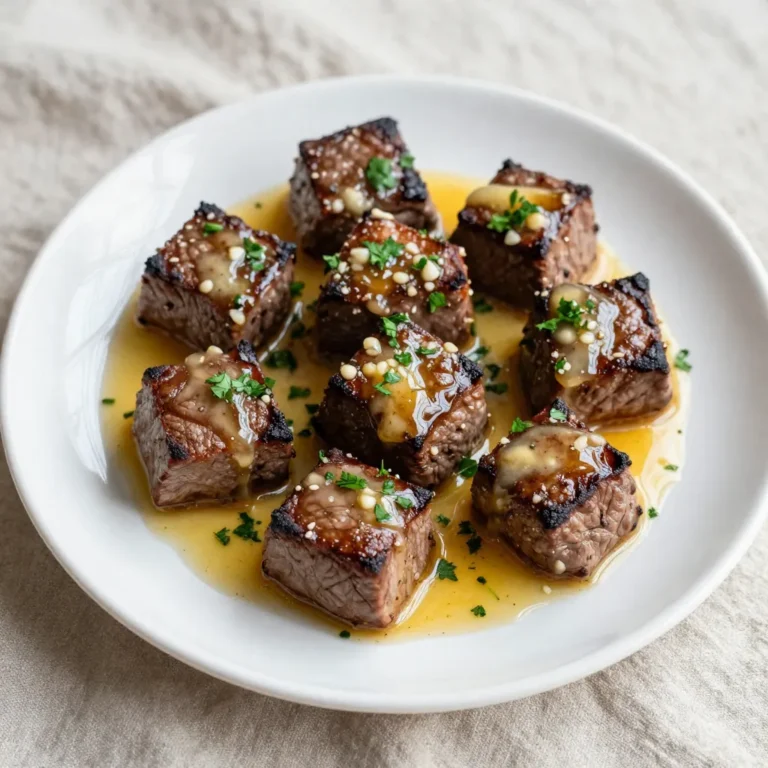
Garlic Butter Steak Bites Flavorful and Easy Recipe
Page navigation
Previous Page
Previous
1
2
3
4
5
…
81
Next Page
Next
Home
Dinner
Appetizer
Desserts
Drinks
About
Contact
Privacy Policy
Toggle Menu Close
Search for:
Search