Skip to content
About
Contact
Cookie Policy
Copyright Policy
Disclaimer
Search
Home
Dinner
Appetizer
Desserts
Drinks
About
Contact
Privacy Policy
Toggle Menu
Home
/
NO-ING-IMG
- Page 2
NO-ING-IMG
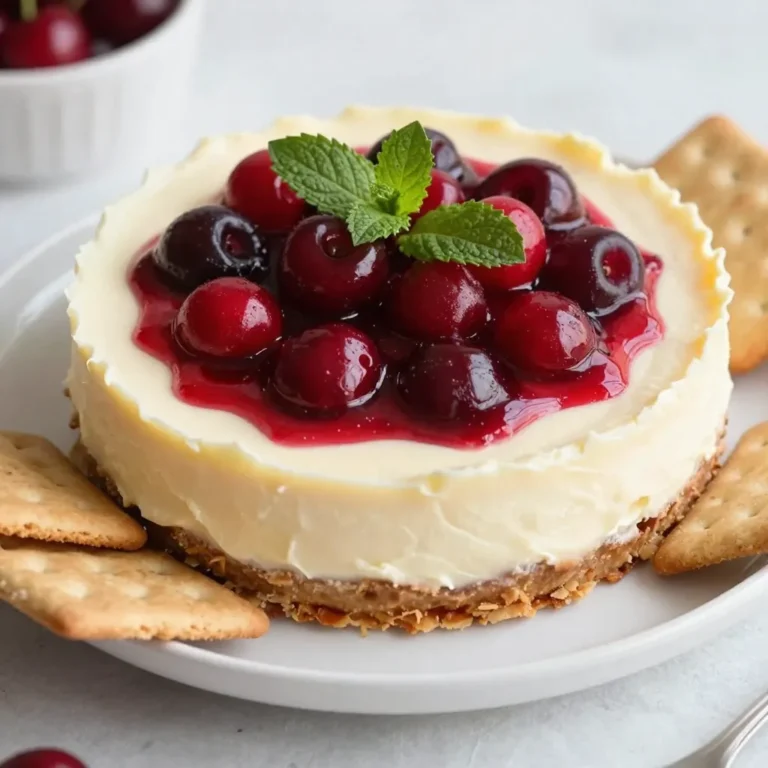
Cherry Cheesecake Dip Irresistible Dessert Treat
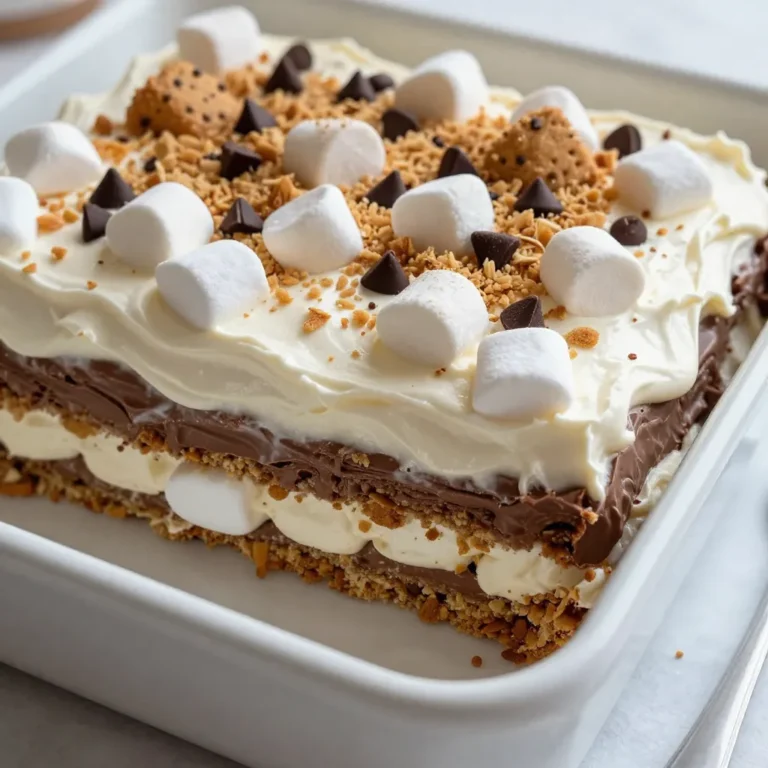
S’mores Icebox Cake Delightful No-Bake Dessert
Chocolate Covered Banana Pops Easy and Fun Recipe
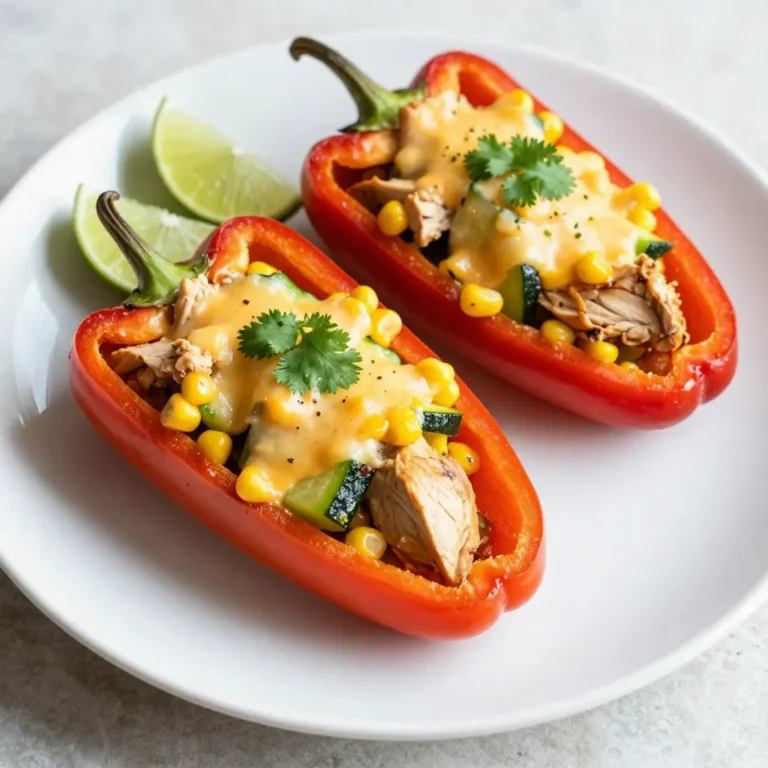
Chicken Fajita Stuffed Peppers Flavorful and Easy Dish
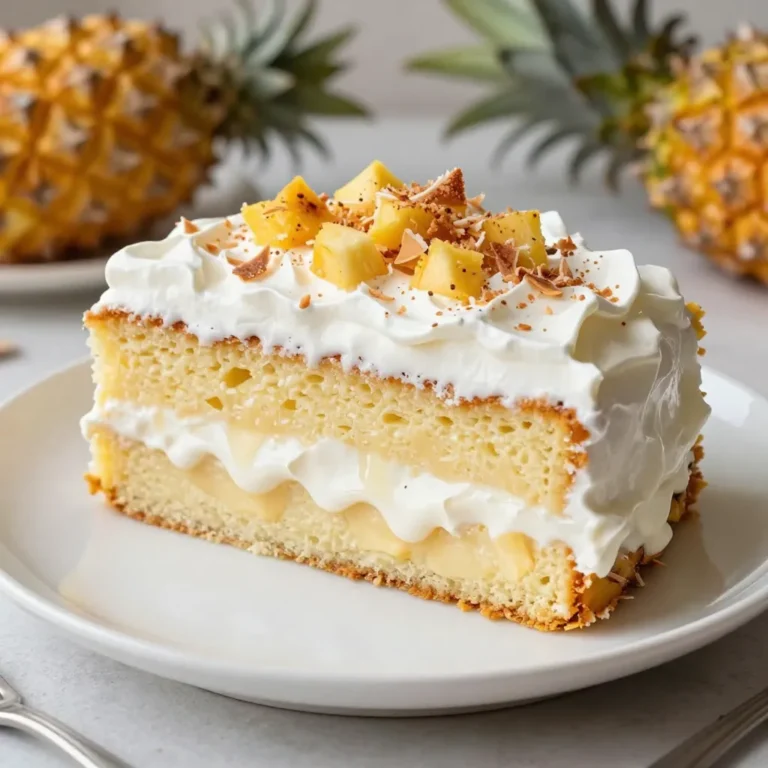
Pineapple Coconut Tres Leches Cake Simple Delight
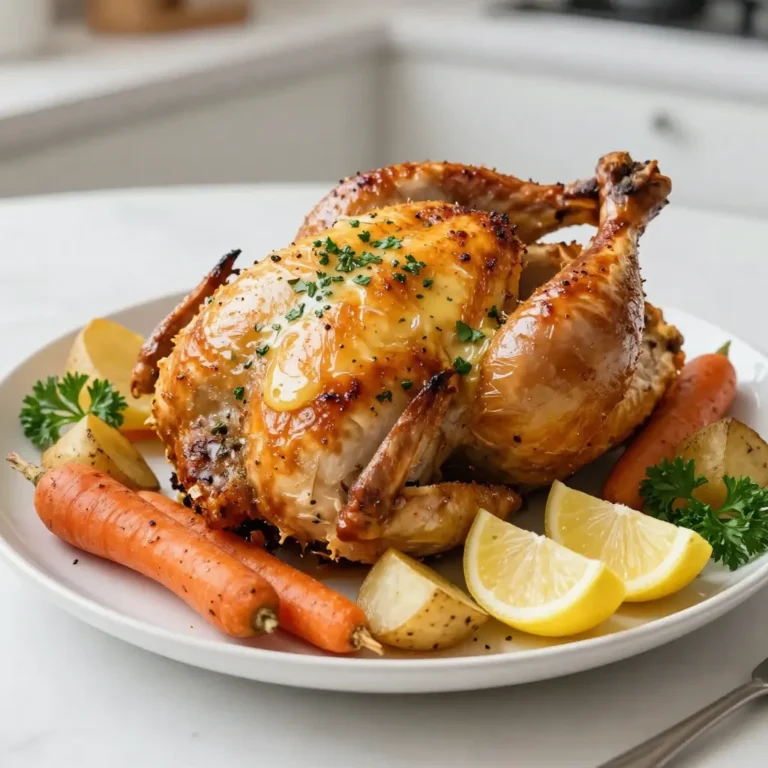
Garlic Herb Butter Roasted Chicken Savory and Juicy
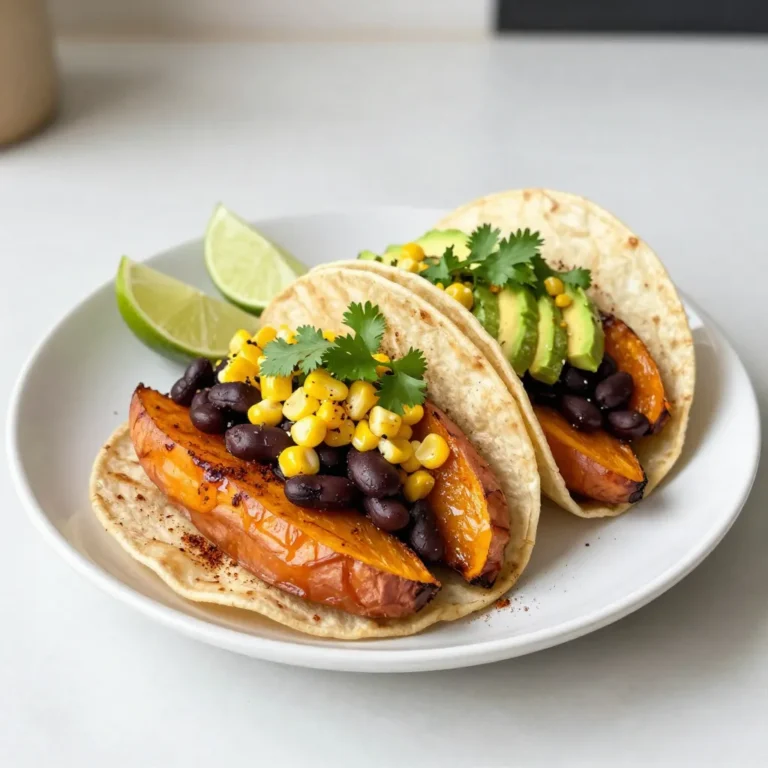
Smoky Sweet Potato Tacos Flavorful and Easy Recipe
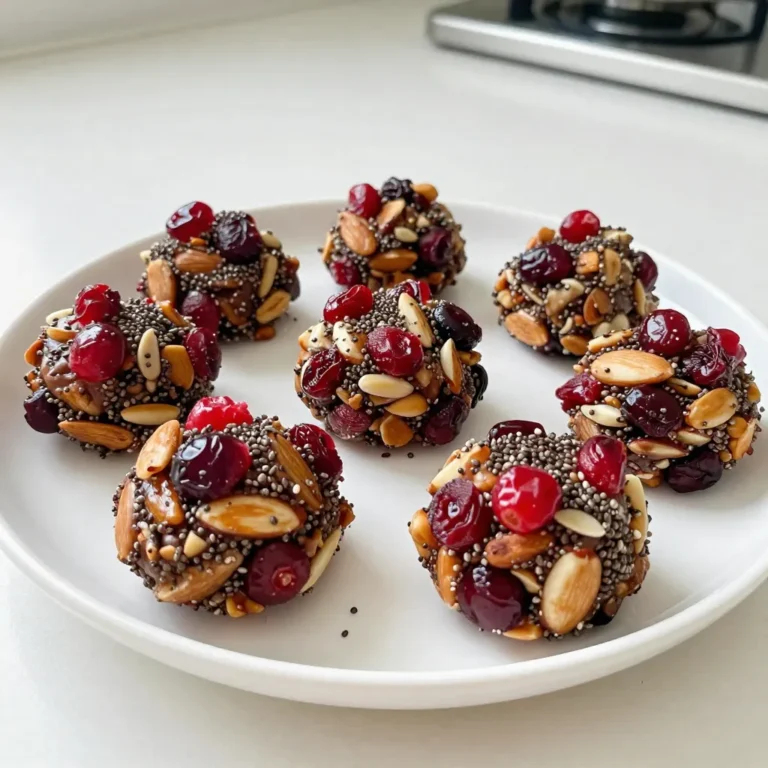
Cranberry Almond Energy Bites Healthy Snack Option
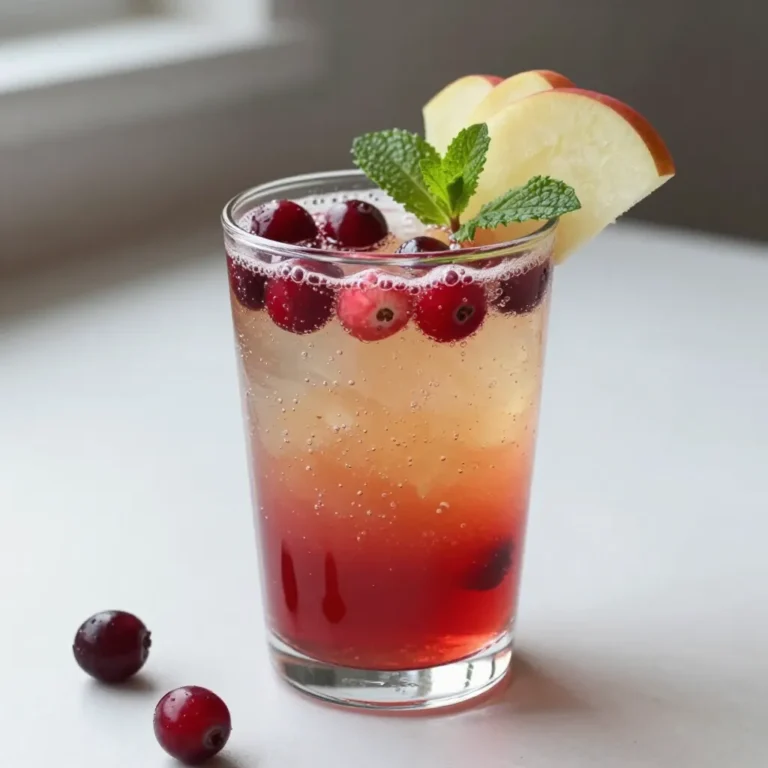
Cranberry Apple Spritzer Refreshing Drink Recipe
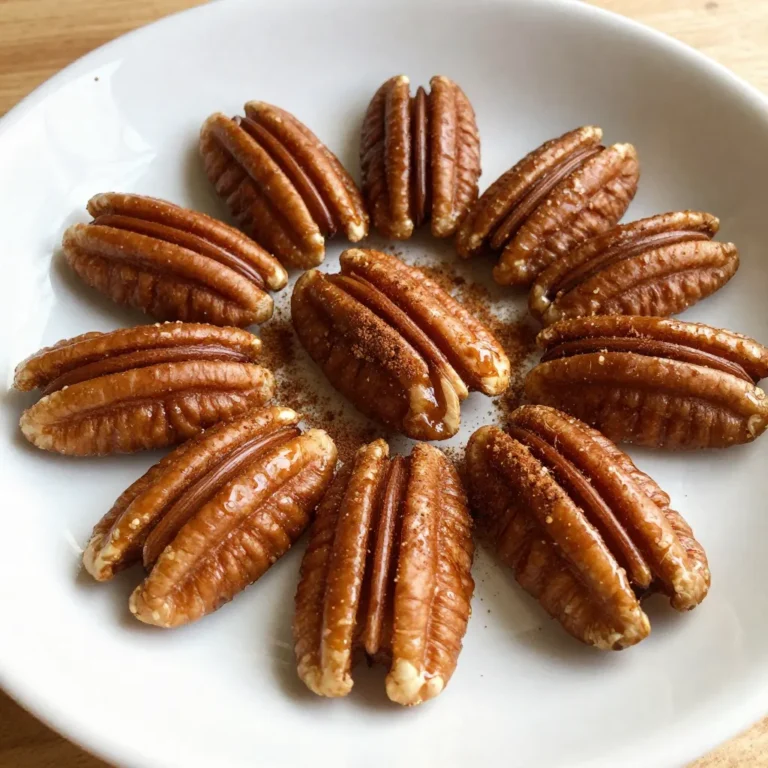
Maple Cinnamon Roasted Pecans Sweet and Crunchy Treat
Page navigation
Previous Page
Previous
1
2
3
4
…
81
Next Page
Next
Home
Dinner
Appetizer
Desserts
Drinks
About
Contact
Privacy Policy
Toggle Menu Close
Search for:
Search