Skip to content
About
Contact
Cookie Policy
Copyright Policy
Disclaimer
Search
Home
Dinner
Appetizer
Desserts
Drinks
About
Contact
Privacy Policy
Toggle Menu
Home
/
NO-ING-IMG
- Page 10
NO-ING-IMG
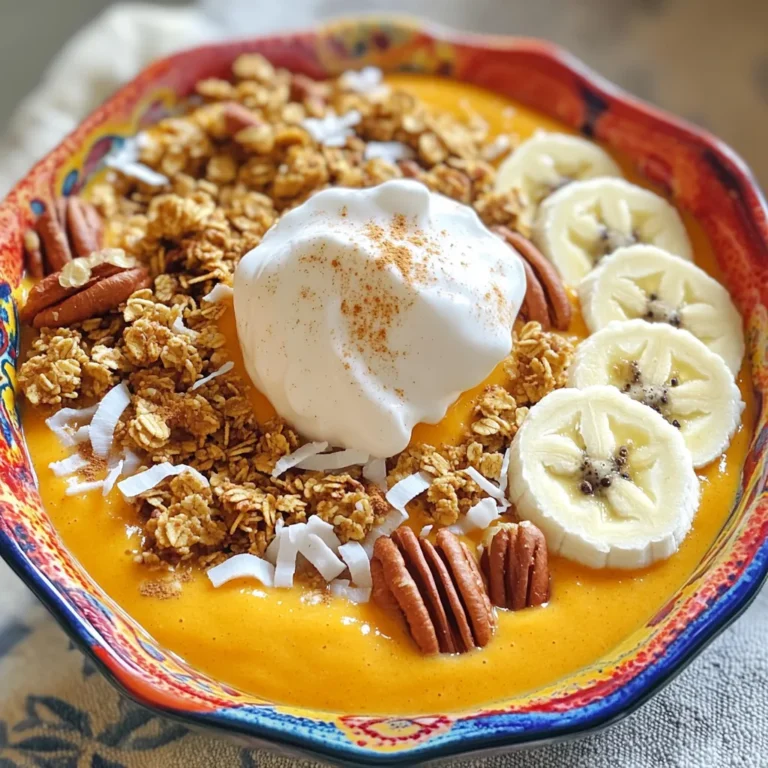
Pumpkin Cheesecake Smoothie Bowl Delightfully Creamy
Sheet-Pan Lemon Herb Shrimp & Zucchini Delight
Air Fryer Sesame Chicken Bites Flavorful and Easy
Garlic Herb Roasted Carrots Flavorful and Simple Dish
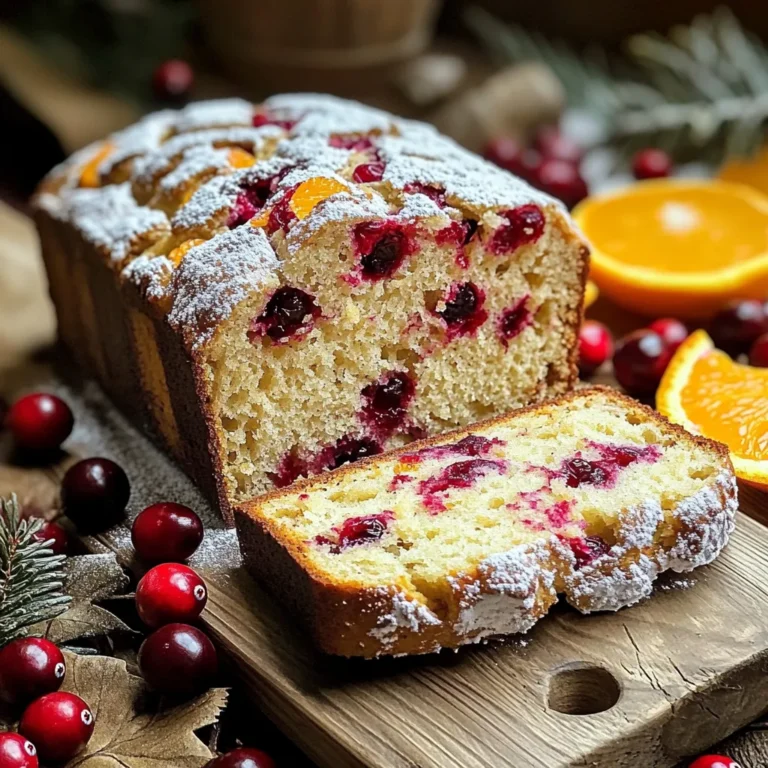
Cranberry Orange Breakfast Bread Simple and Tasty Treat
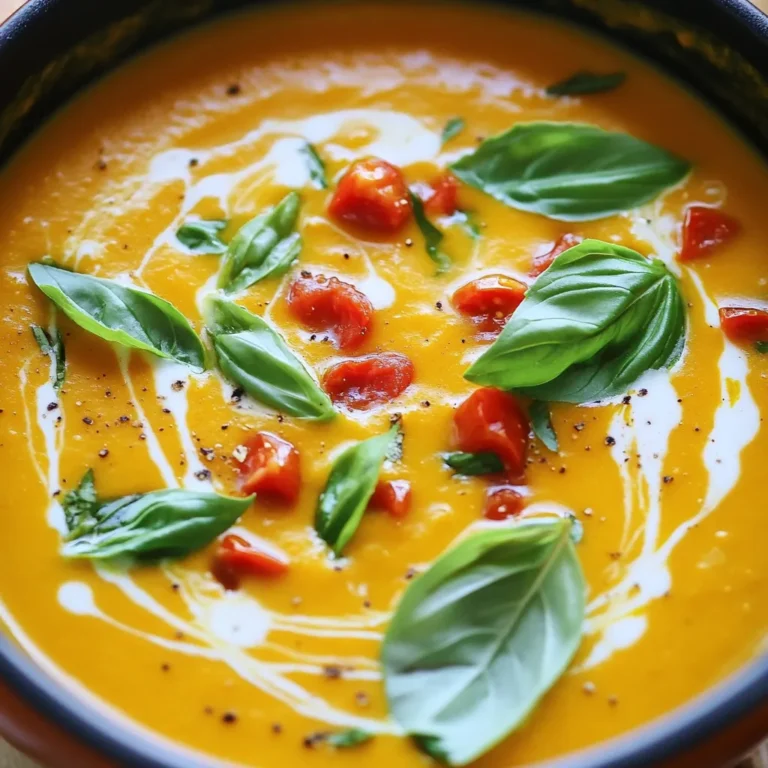
Creamy Pumpkin Tomato Soup Savory and Comforting Delight
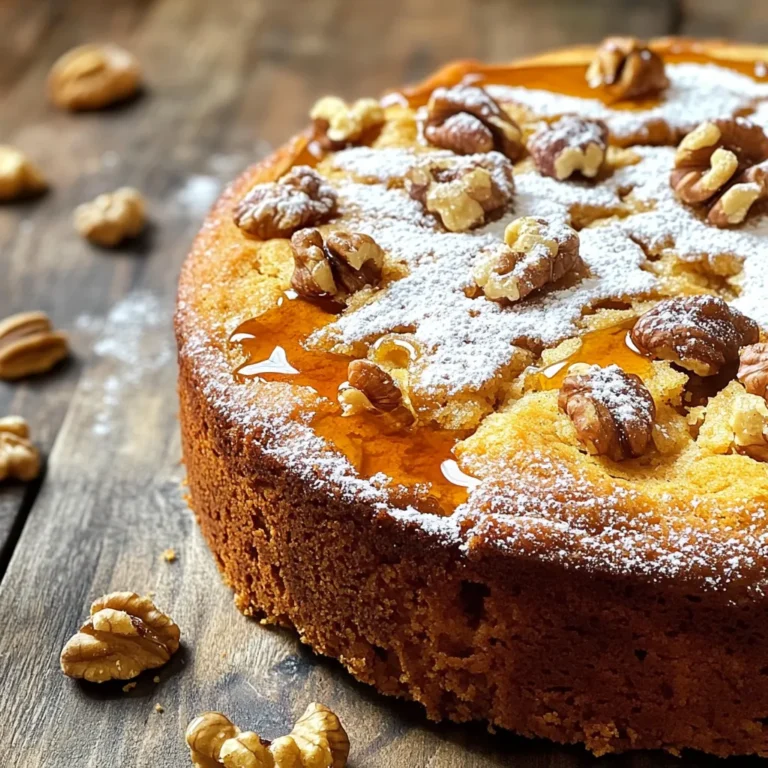
Maple Walnut Coffee Cake Delightful and Easy Recipe
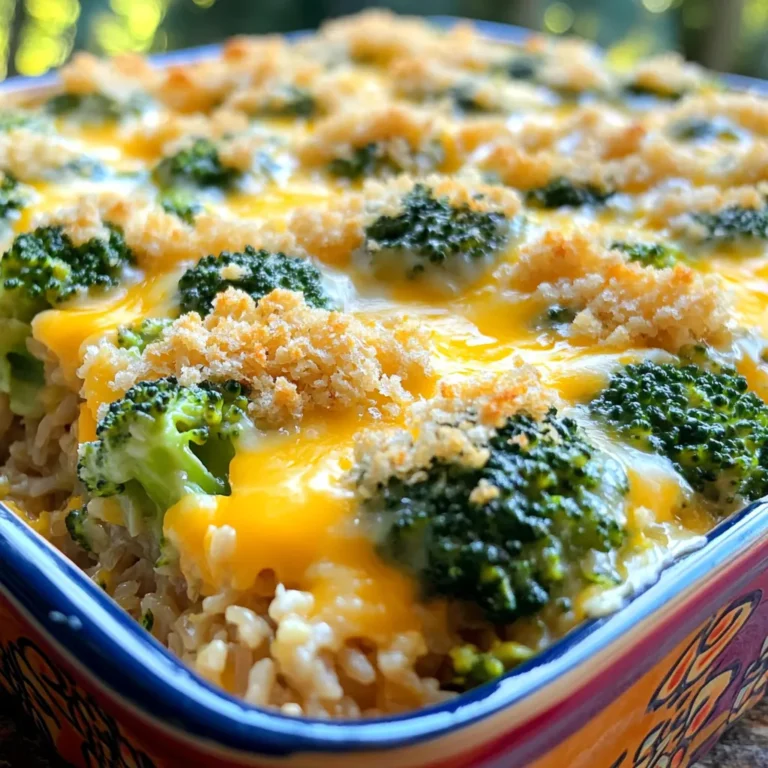
Cheesy Broccoli Rice Casserole Easy and Flavorful Dish
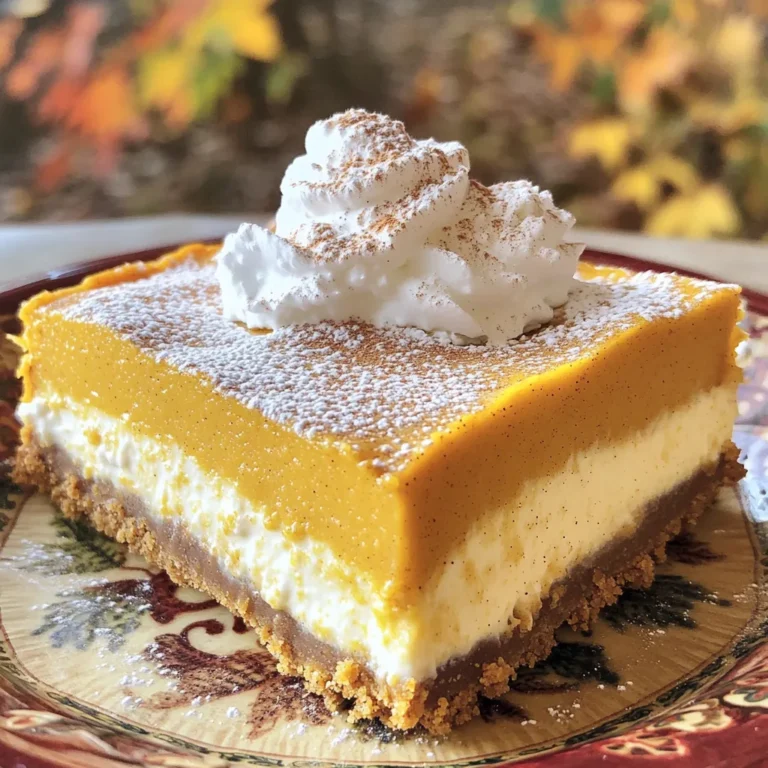
Pumpkin Latte Cheesecake Bars Irresistible Fall Treat
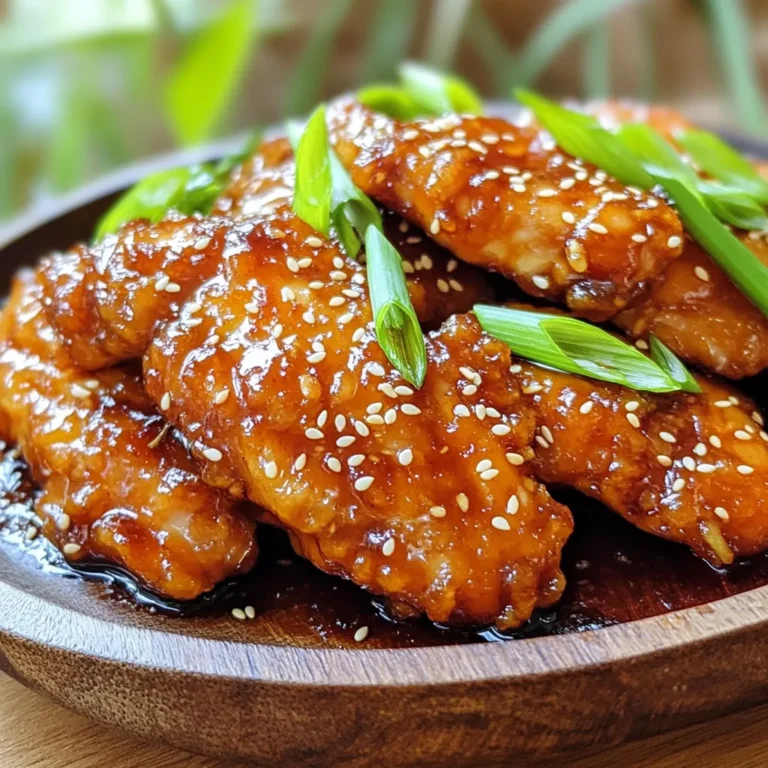
Air Fryer Teriyaki Chicken Strips Flavorful and Easy
Page navigation
Previous Page
Previous
1
…
8
9
10
11
12
…
81
Next Page
Next
Home
Dinner
Appetizer
Desserts
Drinks
About
Contact
Privacy Policy
Toggle Menu Close
Search for:
Search