Skip to content
About
Contact
Cookie Policy
Copyright Policy
Disclaimer
Search
Home
Dinner
Appetizer
Desserts
Drinks
About
Contact
Privacy Policy
Toggle Menu
Home
/
NO-ING-IMG
NO-ING-IMG
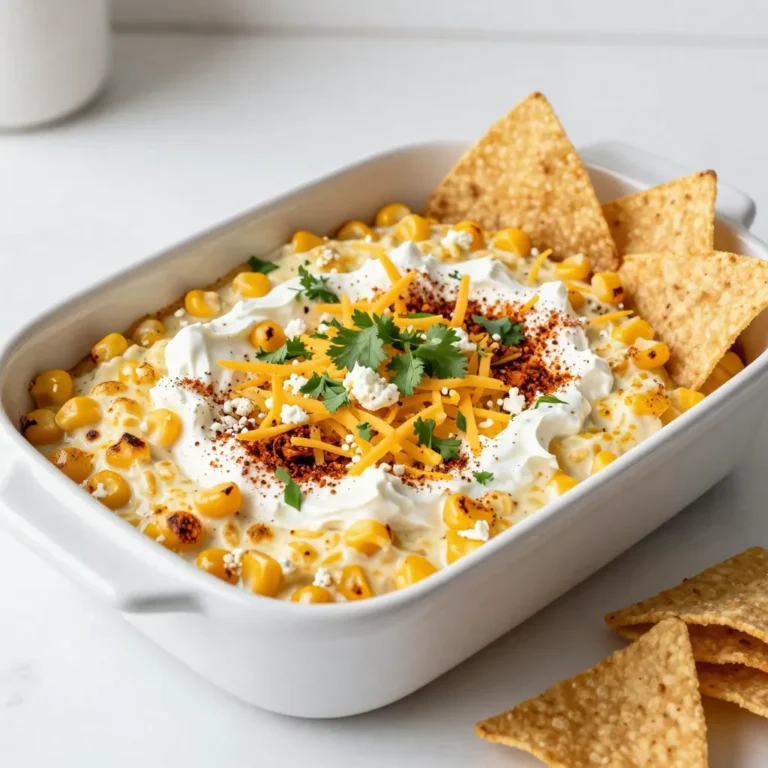
Cheesy Mexican Street Corn Dip Bold and Flavorful Treat
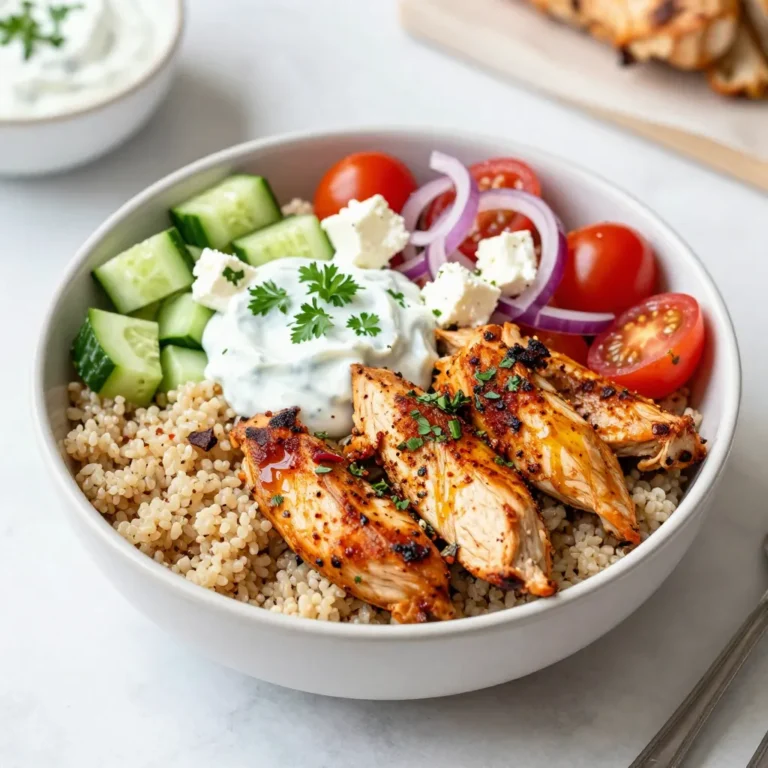
Greek Chicken Gyro Bowls Flavorful and Easy Recipe
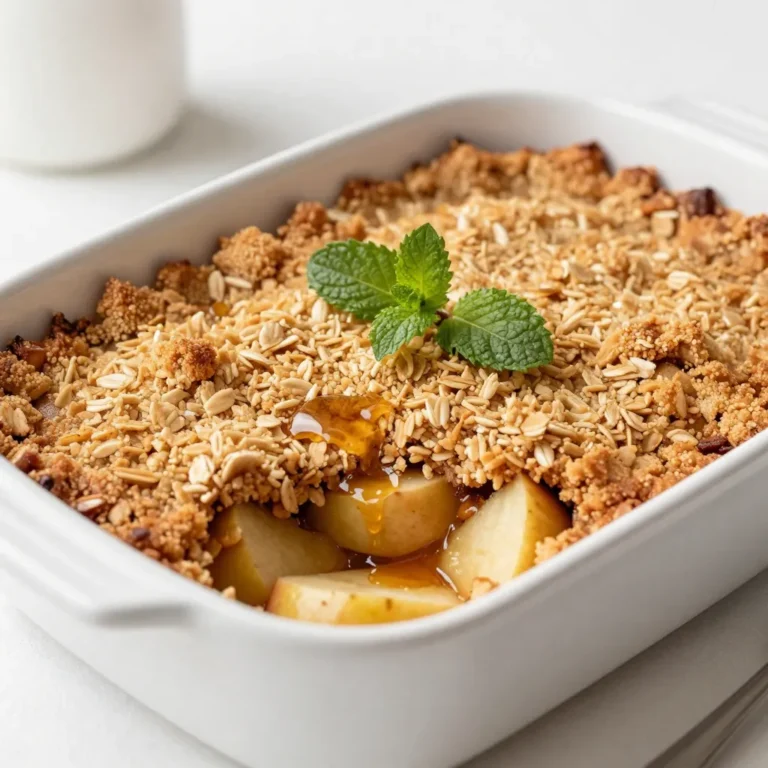
Maple Cinnamon Apple Crisp Irresistible Dessert Delight
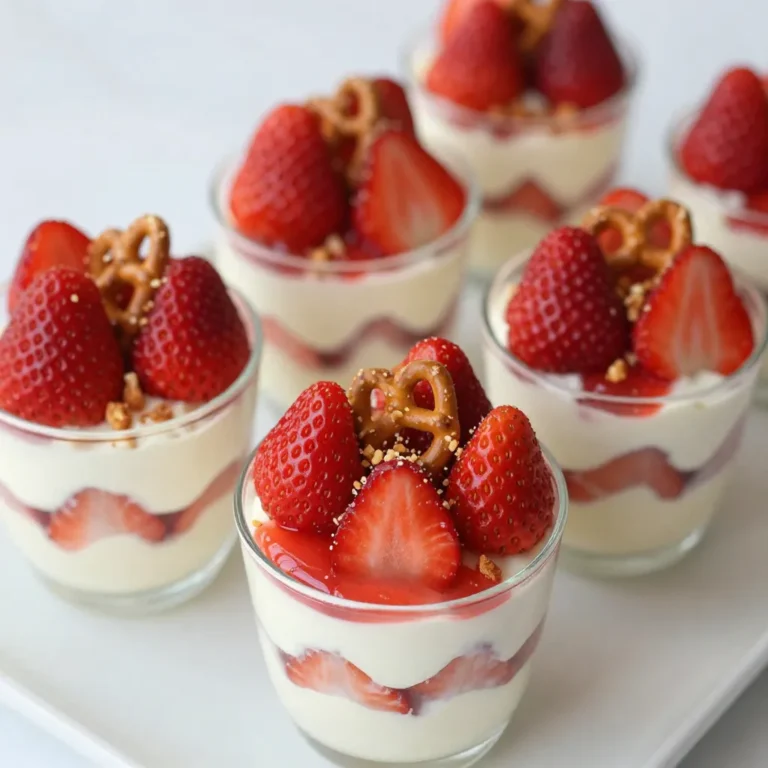
Strawberry Pretzel Salad Cups Sweet and Easy Treat
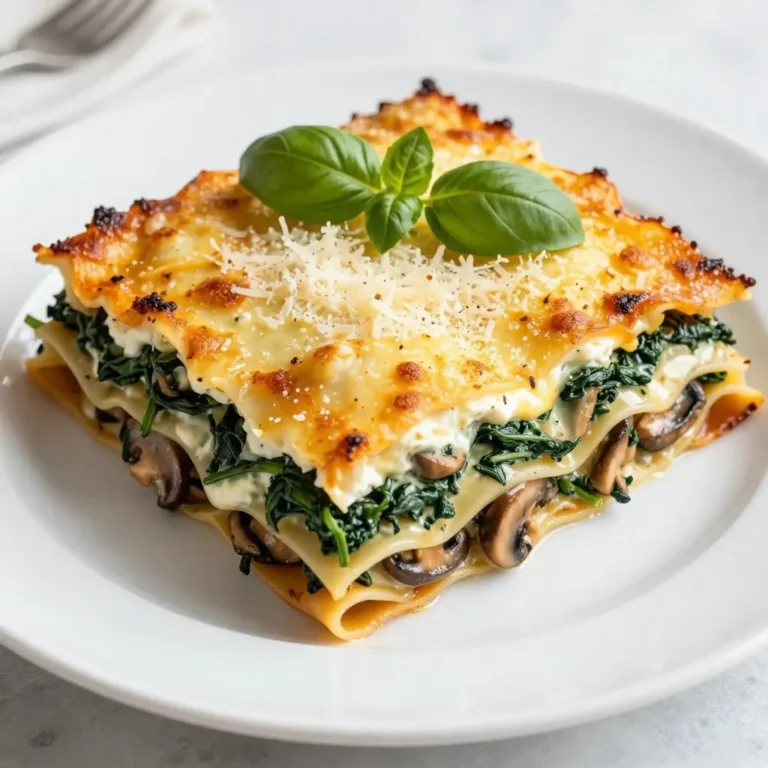
Creamy Spinach Mushroom Lasagna Flavorful and Easy Dish
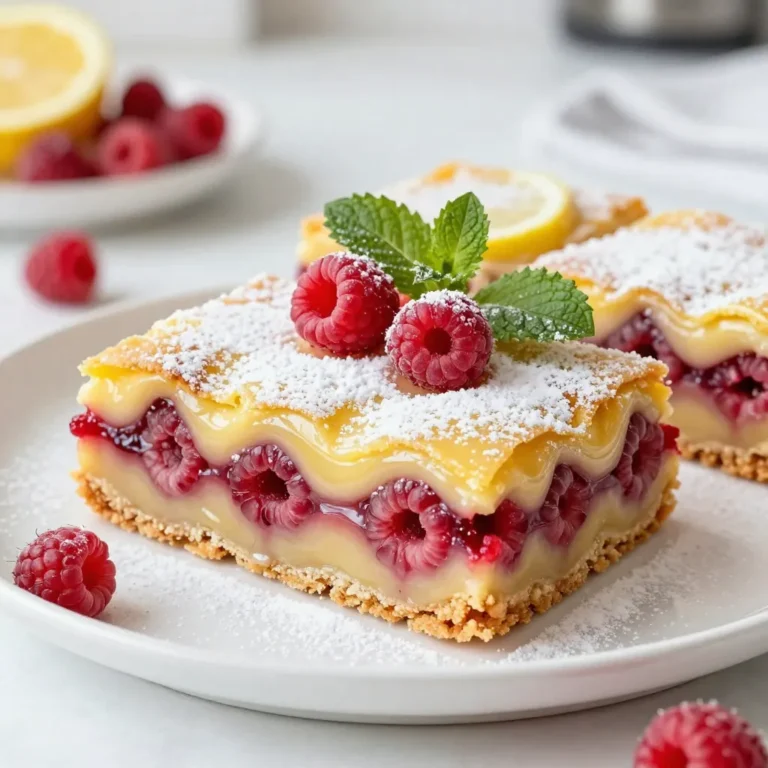
Raspberry Swirl Lemon Bars Tangy and Refreshing Treat
Raspberry Lemon Thumbprint Cookies Delightful Treat
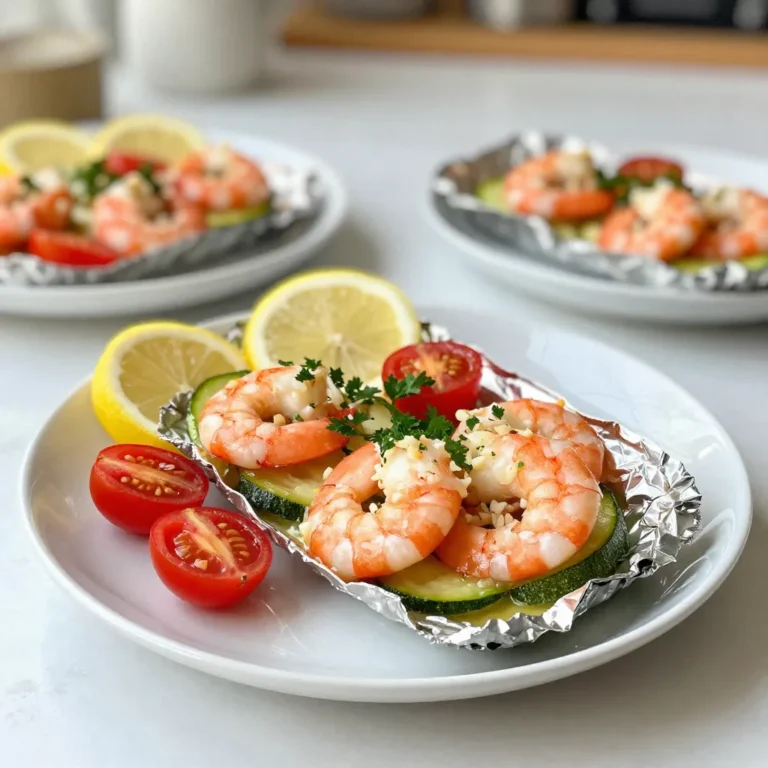
Lemon Garlic Butter Shrimp Foil Packs Quick Dinner Delight
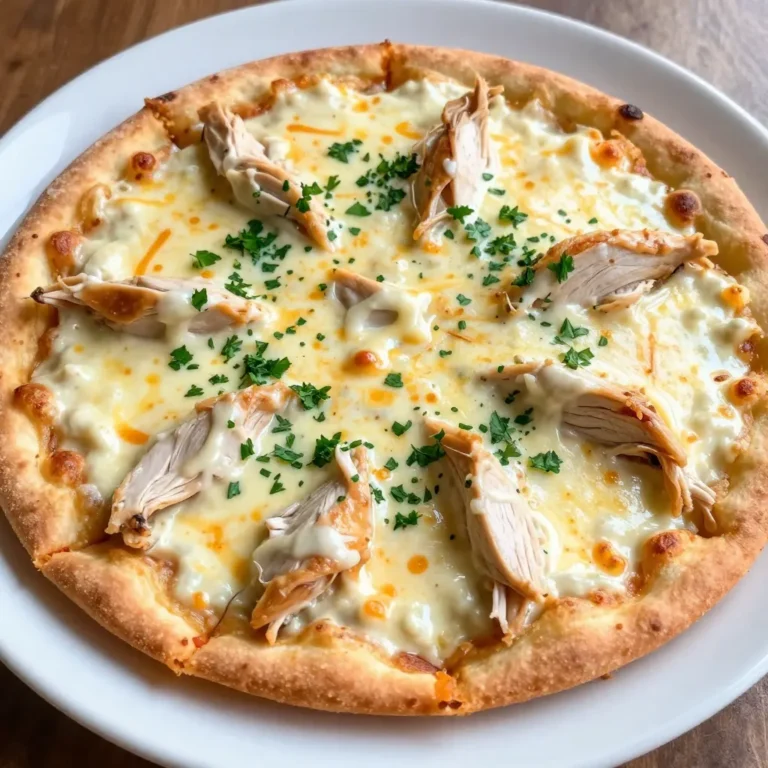
Chicken Alfredo Pizza Delightfully Cheesy Recipe
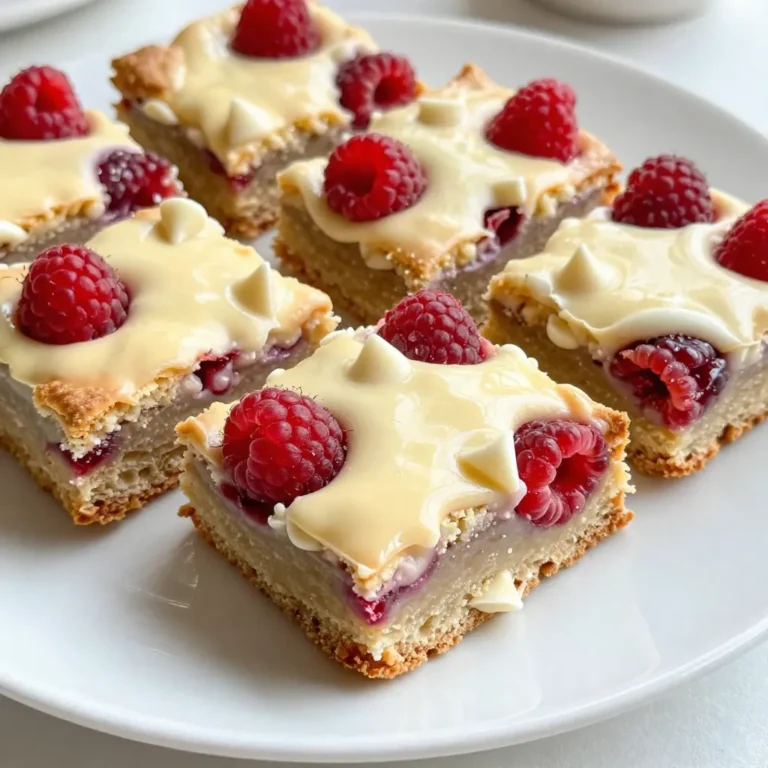
White Chocolate Raspberry Blondies Delectable Dessert Treat
Page navigation
1
2
3
…
81
Next Page
Next
Home
Dinner
Appetizer
Desserts
Drinks
About
Contact
Privacy Policy
Toggle Menu Close
Search for:
Search