Looking for a tasty side dish that’s easy to make? Roasted Garlic Parmesan Cauliflower is your answer! This simple recipe transforms fresh cauliflower florets into a crispy, cheesy delight. With just a few ingredients and straightforward steps, you can impress your family or guests. Plus, it’s a versatile dish, perfect for any meal. Let’s dive into the deliciousness and get cooking!
Ingredients
Main Ingredients Overview
– Cauliflower florets
– Olive oil and garlic
– Seasonings and cheese
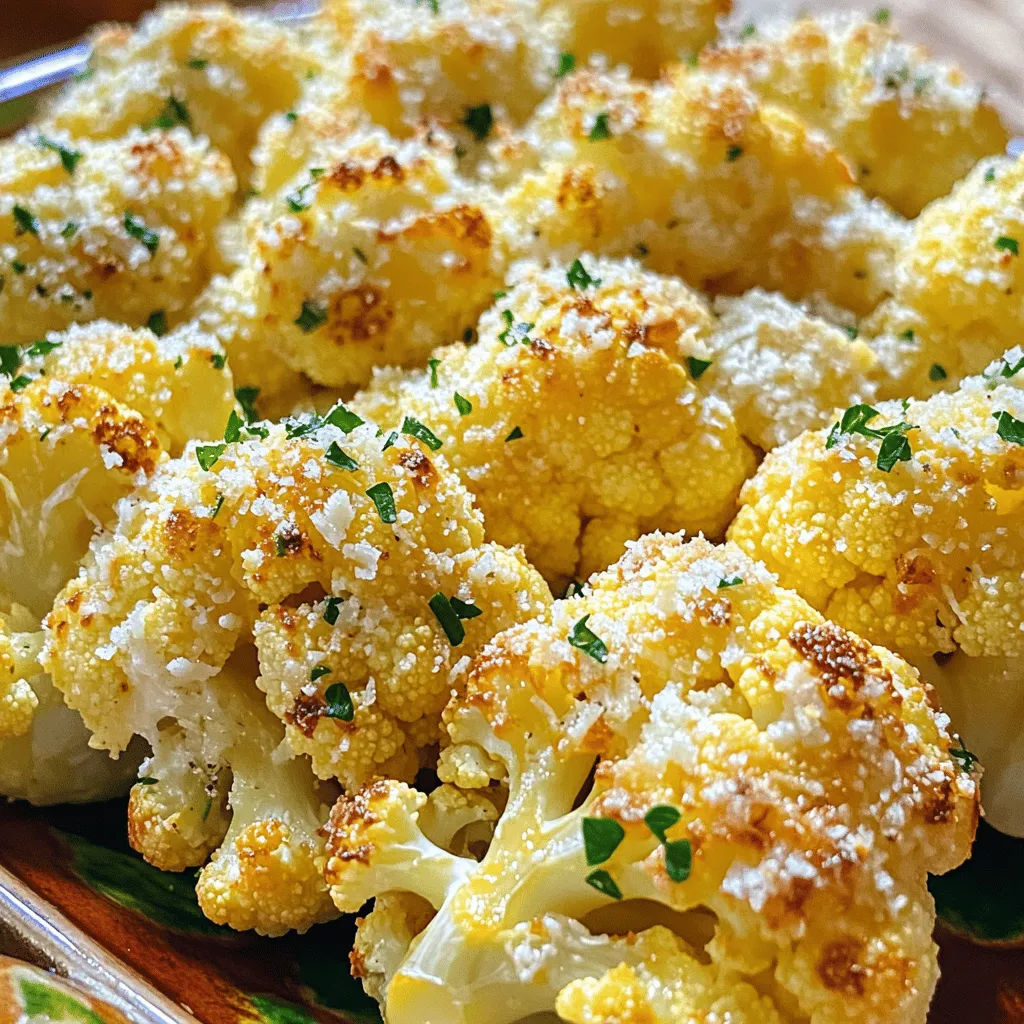
Cauliflower is the star of this dish. I use a large head of cauliflower, cut into bite-sized florets. This size helps them cook evenly. Olive oil gives a rich flavor and helps the garlic shine through. I love using minced garlic for that strong, savory taste.
Seasonings add depth. I use dried thyme and smoked paprika. These spices bring warmth and earthiness to the dish. Finally, I sprinkle freshly grated Parmesan cheese on top. It melts beautifully and adds a creamy finish.
Measurement Details
– 1 large head of cauliflower, trimmed and cut into bite-sized florets
– 4 tablespoons extra virgin olive oil
– 4 cloves garlic, finely minced
– 1 teaspoon dried thyme
– 1 teaspoon smoked paprika
– ½ cup freshly grated Parmesan cheese
– Salt and freshly ground black pepper to taste
– Fresh parsley, finely chopped (for garnish)
For flavor, I sometimes add more spices. You can try a pinch of chili powder for heat or some lemon zest for brightness. Feel free to adjust based on your taste. These options make the dish your own while keeping it simple.
Step-by-Step Instructions
Preparing the Cauliflower
First, trim the large head of cauliflower. Cut it into bite-sized florets. You want each piece to be about the same size for even cooking. Next, in a large mixing bowl, toss the florets with olive oil. Add the minced garlic, dried thyme, and smoked paprika. Sprinkle in salt and pepper to taste. Mix it all well so every floret gets coated with those tasty flavors.
Roasting Process
Preheat your oven to 425°F (220°C). This hot temperature helps the cauliflower get that nice roasted flavor. Line a large baking sheet with parchment paper. Spread the cauliflower florets in a single layer. Make sure they have space to breathe. This way, they roast evenly and don’t steam.
Adding the Parmesan
Roast the cauliflower in the oven for 25-30 minutes. Flip the florets halfway through to ensure they brown nicely. Once they look golden and tender, take the baking sheet out. Immediately, sprinkle the grated Parmesan cheese on top. Return it to the oven for another 5 minutes. You want the cheese to melt and get a bit crispy. When done, the dish looks and smells amazing! For extra flair, add some chopped parsley on top before serving.
Tips & Tricks
Achieving the Perfect Roast
To get that amazing roasted flavor, use a high oven temperature. I recommend setting it to 425°F (220°C). This heat helps the cauliflower crisp up nicely. Spread the florets in a single layer on the baking sheet. This allows hot air to circulate around each piece. Flip the florets halfway through cooking. This simple step gives you even browning and keeps them from getting soggy.
Enhancing Flavor
Want to kick it up a notch? Try adding a pinch of red pepper flakes for heat. You can also mix in some Italian seasoning or garlic powder for extra depth. If you want to change it up, you can steam the cauliflower instead of roasting. It will work well with the same spices. You can also toss it in a pan with olive oil and sauté until tender.
Serving Suggestions
Presentation makes a difference! Serve the roasted cauliflower on a colorful platter. Pile it high to show off that golden, cheesy goodness. A sprinkle of fresh parsley not only looks great but adds a fresh taste. This dish pairs well with grilled chicken or fish. For a vegetarian meal, serve it alongside quinoa or a fresh salad.

Variations
Alternative Cheese Choices
You can switch the Parmesan for other cheeses. Try using cheddar for a sharp bite. Mozzarella adds a creamy texture and mild flavor. Feta gives a tangy twist. Each cheese alters the taste and makes it unique. Experiment based on what you like best.
Add-Ins and Modifications
Mix in other veggies for variety. Broccoli or bell peppers work great with cauliflower. You can also try different herbs and spices. Basil or oregano can give a fresh kick. A pinch of red pepper flakes adds heat. Feel free to get creative with your choices!
Dietary Adaptations
Want a vegan version? Use nutritional yeast instead of cheese. It gives a cheesy flavor and is plant-based. For gluten-free options, ensure all ingredients are gluten-free. This dish fits many diets while still being tasty and satisfying. Enjoy the flavors without worry!
Storage Info
Storing Leftovers
To keep your roasted garlic Parmesan cauliflower fresh, store it in an airtight container. Make sure to let it cool before sealing. Place the container in the fridge. This dish lasts about 3 to 5 days. If you want to enjoy it later, consider freezing it. Freeze in a single layer on a baking sheet first. Once solid, transfer it to a freezer-safe bag. It will keep well for up to three months.
Reheating Techniques
When reheating, you want to maintain that crispy texture. The best method is to use the oven. Preheat your oven to 350°F (175°C). Spread the cauliflower on a baking sheet in a single layer. Heat for about 10 to 15 minutes. You can also use a microwave for quick warming but expect a softer texture. If you do, cover it loosely with a paper towel to prevent splatters. Enjoy your delicious leftovers just as much as the first time!
FAQs
Can I make Roasted Garlic Parmesan Cauliflower ahead of time?
Yes, you can prepare Roasted Garlic Parmesan Cauliflower in advance. First, cut the cauliflower into florets. Toss them with olive oil, garlic, and seasoning. Store this mix in the fridge for up to a day before cooking. When ready, simply roast it in the oven. This saves time and makes dinner prep easy.
What’s the best way to prevent soggy cauliflower?
To avoid soggy cauliflower, ensure you dry the florets well before cooking. After washing, let them sit on a towel to soak up moisture. Spread them out on the baking sheet, leaving space between each piece. This helps them roast evenly and stay crispy.
Is there a way to make this dairy-free?
Absolutely! To make Roasted Garlic Parmesan Cauliflower dairy-free, substitute the Parmesan cheese. Nutritional yeast works great for a cheesy flavor without dairy. You can also use vegan cheese if you prefer. These options keep your dish creamy and tasty.
Can I use frozen cauliflower instead?
Yes, frozen cauliflower is a convenient choice. It saves time, and you can find it year-round. Thaw the cauliflower and pat it dry before seasoning. You may need to roast it a bit longer to achieve the perfect crispy texture. Enjoy the ease of using frozen florets!
In this post, we explored how to make Roasted Garlic Parmesan Cauliflower. You learned about key ingredients like cauliflower, olive oil, garlic, and seasonings. I shared tips for perfect roasting and how to enhance flavors. To wrap it up, this dish is easy to customize and store. It works well for many diets too. Try different cheeses, add-ins, or spices to make it your own. Enjoy this tasty, healthy side that impresses everyone!


