Looking for a side dish that steals the show? Parmesan Herb Roasted Potatoes are your answer! With their crispy edges, savory herbs, and cheesy goodness, these potatoes add flavor to any meal. I’ll guide you through easy steps to make them perfect every time. Plus, I’ll share tips for variations and storage. Get ready to impress your family and friends with this delicious, simple recipe!
Ingredients
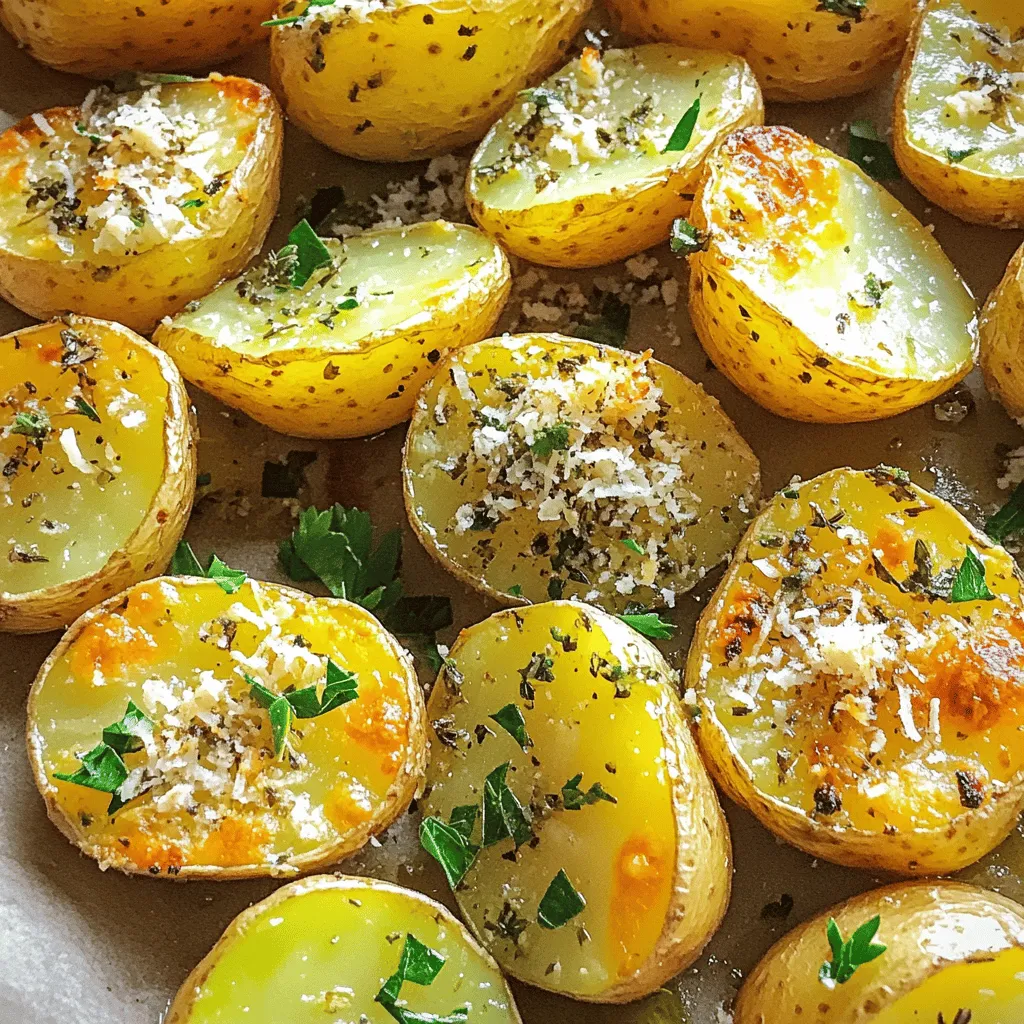
List of Ingredients
– 2 pounds baby potatoes, halved
– 1/4 cup extra virgin olive oil
– 1/2 cup finely grated Parmesan cheese
– 3 cloves garlic, finely minced
– 2 teaspoons dried Italian herbs (a blend of oregano, thyme, and basil)
– 1 teaspoon sea salt
– 1/2 teaspoon freshly ground black pepper
– 2 tablespoons fresh parsley, finely chopped (for garnish)
Measurement Information
When you measure your ingredients, accuracy is key. Use a kitchen scale for potatoes. A good scale ensures you get the right amount. For liquid ingredients, use a liquid measuring cup. This helps you pour accurately. Grate the Parmesan cheese finely. This will help it melt and coat the potatoes better.
Substitutions for Ingredients
You can change some ingredients to suit your taste. If you don’t have baby potatoes, use regular ones. Just cut them into smaller pieces. If you want a different flavor, swap dried herbs for fresh ones. Fresh herbs will add a nice touch. If you want a dairy-free version, try nutritional yeast instead of Parmesan. This gives a cheesy flavor without the dairy.
Step-by-Step Instructions
Preparation Overview
To make Parmesan Herb Roasted Potatoes, start by gathering your ingredients. You need baby potatoes, olive oil, Parmesan cheese, garlic, and herbs. Preheat your oven to 425°F (220°C). This temperature helps the potatoes roast well.
Detailed Cooking Steps
1. Mixing the Potatoes: In a big bowl, add the halved baby potatoes. Pour in the olive oil and mix well. You want each potato to be coated in oil.
2. Adding Flavor: Next, sprinkle in the grated Parmesan, minced garlic, dried herbs, sea salt, and black pepper. Stir until all potatoes are covered in this tasty mix.
3. Ready to Roast: Line a baking sheet with parchment paper. Spread the potatoes in one layer. Make sure they have space between them. This will help them get crispy.
4. Roasting Time: Place the baking sheet in the oven. Roast for 25-30 minutes. Halfway through, give the potatoes a gentle toss. This helps them cook evenly.
Ensuring Even Roasting
To ensure even roasting, keep potatoes in a single layer on the sheet. Avoid crowding them. If they touch, they can steam instead of roast. This makes them less crispy. Toss them halfway through cooking for the best results. When they are done, they should be golden brown and soft inside. For a final touch, sprinkle fresh parsley on top before serving.
Tips & Tricks
Best Practices for Flavor Enhancement
To make your Parmesan Herb Roasted Potatoes shine, use fresh herbs when you can. Fresh parsley adds a bright touch. Also, try mixing in fresh rosemary or thyme for a bolder flavor. For a kick, add a pinch of red pepper flakes. Roasting with garlic adds depth. Make sure to use a good quality Parmesan for rich taste.
Common Mistakes to Avoid
One common mistake is overcrowding the baking sheet. If the potatoes are too close, they steam instead of roast. This leads to soggy potatoes. Another mistake is not tossing the potatoes halfway through cooking. This step ensures even browning and crispiness. Lastly, don’t skip the salt. It enhances all the flavors in the dish.
Serving Suggestions and Pairings
These roasted potatoes pair well with many main dishes. Try them with grilled chicken or fish for a balanced meal. They also complement hearty stews or roasted vegetables. For a fun twist, serve with a creamy dip or aioli. Present the potatoes in a rustic bowl, garnished with parsley. This makes for a beautiful, inviting dish.

Variations
Alternative Herbs and Seasonings
You can change the taste by trying different herbs. Rosemary or dill works great. You can also use fresh herbs if you have them. Just chop a handful and mix them in. A sprinkle of paprika adds a nice kick too. Feel free to explore flavors you love!
Vegetable Add-ins or Substitutions
Adding other veggies can make this dish even better. Carrots, bell peppers, or zucchini roast well. Cut them into similar sizes to the potatoes for even cooking. You can replace the potatoes with sweet potatoes for a sweeter flavor. They pair well with the Parmesan.
Dietary Modifications (Vegan, Gluten-Free)
If you need a vegan version, skip the cheese. Use nutritional yeast instead for a cheesy taste. For gluten-free needs, this recipe is naturally gluten-free. Just check your other ingredients, like seasonings, to ensure they are gluten-free. Enjoy these potatoes with peace of mind!
Storage Info
Storing Leftovers
Store leftover Parmesan herb roasted potatoes in an airtight container. Keep them in the fridge for up to three days. Make sure they cool down before you seal them. This helps keep them fresh and tasty.
Reheating Instructions
To reheat, use the oven for the best results. Preheat your oven to 350°F (175°C). Spread the potatoes on a baking sheet in a single layer. Heat for 10-15 minutes until they are warm and crispy again. You can also use a microwave, but they might not be as crispy.
Freezing Tips
You can freeze these potatoes too, but it’s best to freeze them before cooking. Place the seasoned potatoes on a baking sheet and freeze them until solid. Then, transfer them to a freezer-safe bag. They can last for up to three months in the freezer. When ready to cook, bake them straight from frozen, adding a few extra minutes to the cooking time.
FAQs
What to serve with Parmesan Herb Roasted Potatoes?
You can serve these potatoes with many dishes. They pair well with grilled chicken, fish, or steak. A fresh salad also makes a great side. You can try them with roasted vegetables for a colorful plate. They add flavor and texture to any meal.
Can I make these potatoes ahead of time?
Yes, you can prepare these potatoes ahead of time. Cut the baby potatoes and coat them in oil and seasonings. Put them in the fridge for up to 24 hours. When ready, just roast them as directed. This saves time and makes meal prep easier.
How do I make the potatoes crispier?
To make the potatoes crispier, start with dry potatoes. Pat them with a towel after washing. Use enough olive oil to coat them well, but don’t drown them. Spread them out on the baking sheet. Avoid overcrowding. Toss them halfway through roasting. These tips help them get that perfect crunch.
This post covered how to make delicious Parmesan herb roasted potatoes. First, we explored the key ingredients and their measurements. Then, I shared step-by-step cooking instructions and tips for even roasting.
We also looked at flavor enhancement, common mistakes, and serving ideas. Options for variations and dietary needs were also discussed. I provided tips on storing and reheating leftovers.
With this guide, you can confidently create tasty potatoes that fit your needs. Happy cooking!


