Making homemade soft pretzels is a fun and rewarding kitchen project. You can create warm, chewy treats fresh from your oven. Whether you want to serve them at a party or snack on them alone, these pretzels are easy to make and delicious. In this article, I’ll guide you through the simple steps and provide tips for the perfect batch. Let’s dive into this tasty adventure!
Ingredients
Essential Ingredients for Homemade Soft Pretzels
To make soft pretzels, you need a few key ingredients. Here’s what you’ll need:
– 4 cups all-purpose flour
– 1 packet (2 ¼ teaspoons) active dry yeast
– 1 ½ cups warm water (about 110°F or 43°C)
– ¼ cup granulated sugar
– 2 teaspoons fine salt
– ½ cup baking soda
– 1 large egg, beaten (for egg wash)
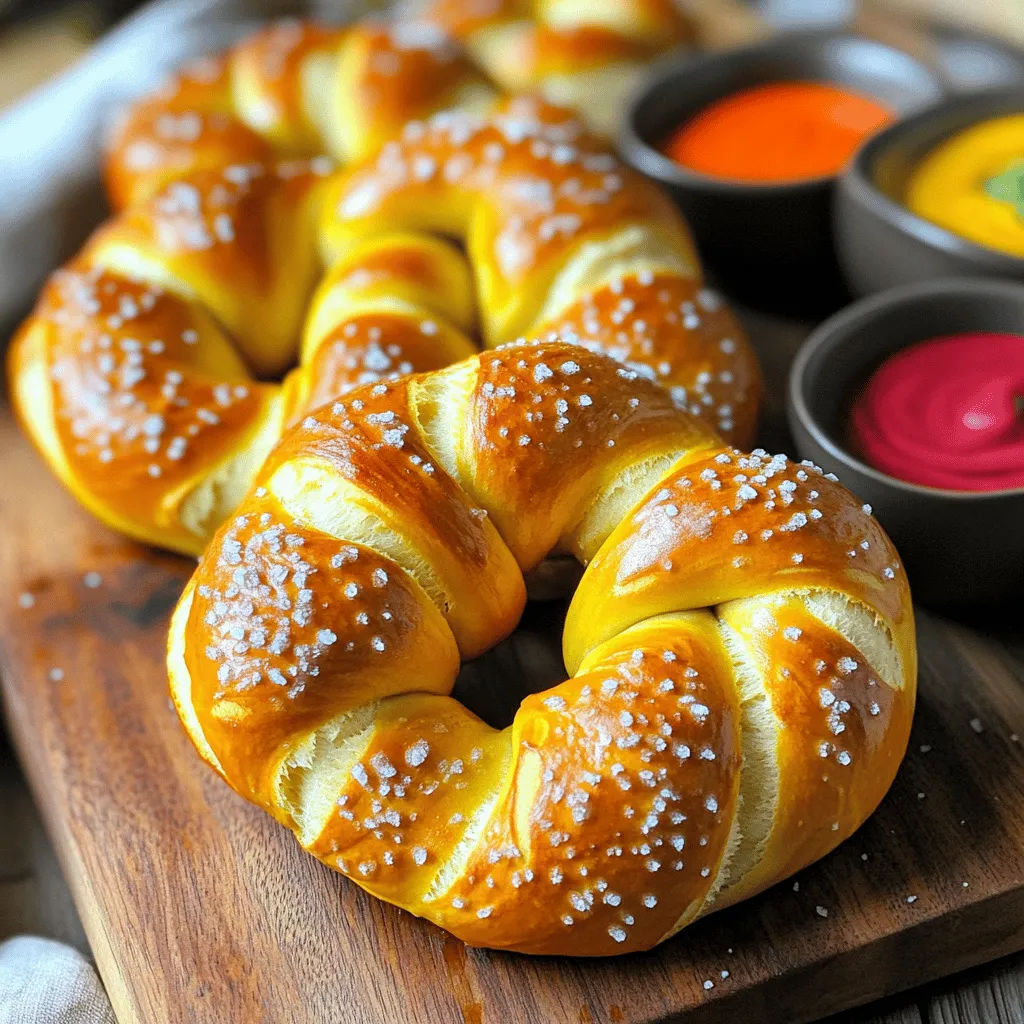
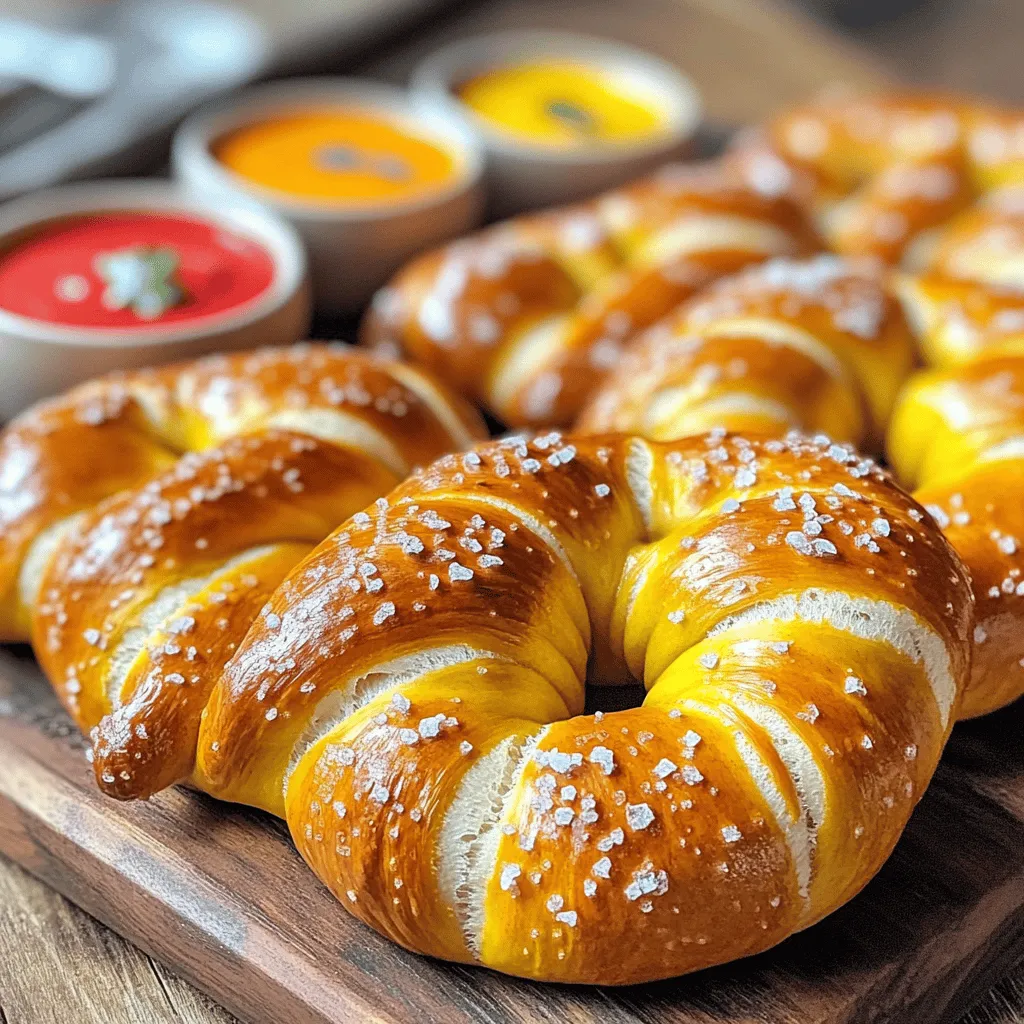
– Coarse sea salt (for sprinkling)
– 1 tablespoon olive oil (for greasing)
These ingredients work together to create that classic soft pretzel taste and texture.
Optional Ingredients for Flavors and Dips
You can enhance your pretzels with extra flavors. Consider adding:
– Garlic powder for a savory kick
– Cheese, like cheddar or Parmesan, for a cheesy twist
– Cinnamon and sugar for a sweet treat
– Mustard or cheese sauce for dipping
These options can make your pretzels even more exciting.
Tips for Ingredient Substitutions
You might not have every ingredient on hand. Here are some swaps:
– If you lack all-purpose flour, try bread flour for a chewier texture.
– Honey can replace granulated sugar if you want a natural sweetener.
– Use almond milk or oat milk instead of water for a dairy-free version.
These substitutions can help you adapt the recipe to what you have available. Enjoy your pretzel-making adventure!
Step-by-Step Instructions
Activating the Yeast
To start, I combine warm water and sugar in a large bowl. I gently sprinkle the active dry yeast over the water. I let it sit for 5 to 10 minutes. When it becomes frothy, the yeast is ready. This step is key for making soft pretzels. It wakes up the yeast, which helps the dough rise and become fluffy.
Forming and Kneading the Dough
Next, I add all-purpose flour and fine salt to the yeast mixture. I use a wooden spoon to stir until the dough starts to come together. Then, I lightly flour a clean surface and turn the dough out. Kneading it by hand takes about 5 to 7 minutes. I want it to be smooth and elastic. If it feels sticky, I add a bit more flour. This step builds strength in the dough and improves texture.
Rising and Shaping the Pretzels
After kneading, I transfer the dough to a greased bowl. I turn the dough to coat it in olive oil. Then, I cover the bowl with a clean towel. I let it rise in a warm spot for about 1 hour. This allows the dough to double in size. Once risen, I punch it down to release air. I divide the dough into 8 equal pieces and roll each piece into a long rope. Each rope should be about 24 inches long. I twist each rope into a pretzel shape, pressing the ends down to secure them. This part is fun and lets me be creative!
Tips & Tricks
Achieving the Perfect Pretzel Texture
To get that soft, chewy texture, you need to follow key steps. Firstly, make sure your yeast is fresh. A bubbly mixture shows it’s alive. Knead the dough well, about 5 to 7 minutes. This step develops gluten, giving your pretzels their chew. When boiling, don’t skip the baking soda. It helps form that classic pretzel crust.
Common Mistakes to Avoid
Many new bakers make mistakes that can ruin their pretzels. One common error is not measuring flour precisely. Too much flour makes the dough dry. Another mistake is skipping the boiling step. Boiling is crucial for that shiny finish. Lastly, don’t rush the rise. Letting the dough double in size is key for fluffiness.
Best Practices for Shaping and Twisting
Shaping pretzels can be tricky, but I have tips to help. First, roll the dough into even ropes. Aim for about 24 inches long. To twist, make a loop, cross the ends, and press them down. This technique gives the pretzel its shape. Practice makes perfect, so don’t worry if it’s not perfect on the first try.
Variations
Flavor Variations: Cheese, Garlic, and More
You can take your pretzels to the next level by adding flavors. Cheese is a popular choice. Just sprinkle some shredded cheese on top before baking. You can also mix cheese into the dough for a cheesy twist. Garlic is another great flavor. Brush melted garlic butter over the pretzels right after baking for a savory treat. This adds a rich taste that pairs well with the soft dough.
Sweet Pretzel Twists: Adding Sugar or Cinnamon
If you want something sweet, try adding sugar or cinnamon. You can mix a bit of sugar into the dough for a subtle sweetness. For a fun twist, after baking, coat the pretzels in melted butter and then in a mix of sugar and cinnamon. This makes a delicious treat that is perfect for dessert or a snack. Kids love these sweet pretzel twists!
Gluten-Free Pretzel Recipe Options
If you are gluten-free, you can still enjoy soft pretzels! Use gluten-free all-purpose flour instead of regular flour. Make sure your baking soda is gluten-free as well. The dough will feel different, but it will still taste great. Follow the same steps as the traditional recipe. You can find many gluten-free mixes that work well for this. Just check the labels to be sure. Enjoy your gluten-free pretzels with your favorite dips!
Storage Info
How to Store Leftover Pretzels
To keep your pretzels fresh, let them cool first. Place them in a zip-top bag or an airtight container. Store them at room temperature for up to two days. This keeps them soft and tasty. If you want to keep them longer, consider freezing.
Reheating Tips for Freshness
When you’re ready to enjoy your leftover pretzels, reheating is simple. Preheat your oven to 350°F (175°C). Place the pretzels on a baking sheet. Heat them for about 5 to 10 minutes. This restores their softness and warm flavor. You can also use a microwave, but they may turn chewy.
Freezing Pretzels for Future Enjoyment
Freezing pretzels is a great idea for later. After they cool, wrap each pretzel tightly in plastic wrap. Place the wrapped pretzels in a freezer-safe bag. They can last up to three months in the freezer. When ready to eat, thaw them overnight in the fridge and reheat as mentioned. This way, you can enjoy your homemade soft pretzels anytime!
FAQs
How do I know when the pretzel dough is ready?
You can tell the dough is ready when it has doubled in size. This usually takes about one hour. To check, gently poke the dough with your finger. If it springs back slowly, it is ready to shape. If it springs back fast, it needs more time to rise.
Can I use instant yeast instead of active dry yeast?
Yes, you can use instant yeast. It works great and does not need to be activated first. Just mix it directly into the flour. You may need to adjust the water slightly, as instant yeast absorbs moisture differently.
What is the best way to reheat soft pretzels?
The best way to reheat soft pretzels is in the oven. Preheat it to 350°F (175°C). Place the pretzels on a baking sheet and heat for about 5 to 10 minutes. This method keeps them soft and warm.
How do I prevent my pretzels from being tough?
To prevent tough pretzels, do not over-knead the dough. Knead just until smooth and elastic. Also, make sure to not boil them too long. Thirty seconds on each side is perfect for a soft texture.
Homemade soft pretzels are fun to make, and they taste amazing. We covered essential and optional ingredients, plus tips for substitutions. You now know how to activate yeast and shape your dough. Remember the tips for the perfect texture, and avoid common mistakes. There are many flavor variations, including cheese and sweet options. Store extras wisely and reheat them for the best taste. Enjoy making pretzels with your favorite flavors today!


