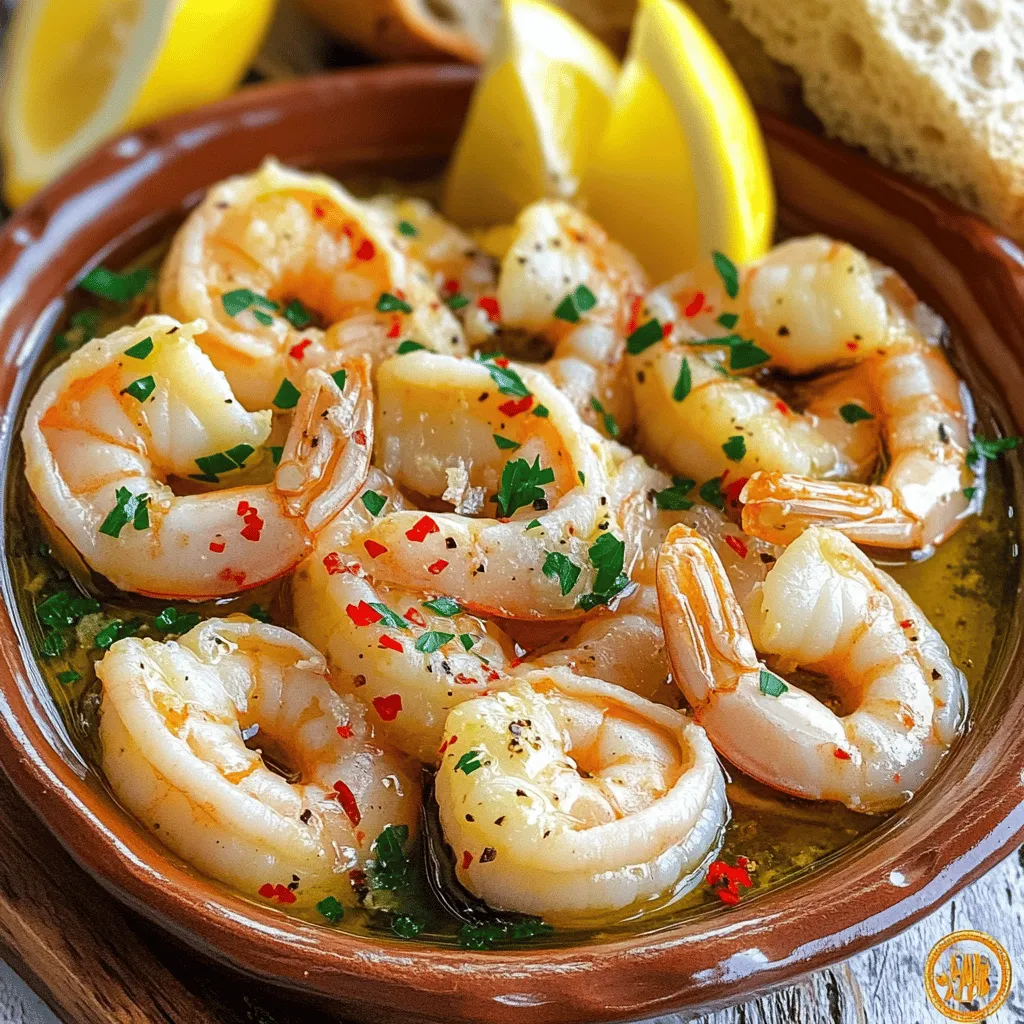
If you crave a dish that’s quick, tasty, and easy to make, you’ve found it! This Easy Garlic Shrimp recipe combines fresh ingredients for a flavorful meal in minutes. With shrimp, garlic, and a touch of heat, dinner is on the table before you know it. Let’s dive into how to whip up this delicious dish that’s sure to impress anyone. Bring your appetite and let’s get cooking!
Ingredients
Main Ingredients
– 1 lb large shrimp, peeled and deveined
– 4 cloves garlic, minced
– 3 tablespoons olive oil
– 1 teaspoon red pepper flakes (adjust to taste)
Additional Ingredients
– 1 tablespoon fresh lemon juice
– 1 tablespoon fresh parsley, finely chopped
– Salt and freshly ground black pepper to taste
– Lemon wedges for serving
For this easy garlic shrimp dish, you need just a few fresh ingredients. The shrimp should be large, peeled, and deveined. This helps them cook evenly and taste great. Fresh garlic is key. It gives the dish a strong flavor. Olive oil adds richness. Red pepper flakes bring heat, but you can adjust this to fit your taste.
Adding lemon juice brightens the dish. Fresh parsley adds color and a hint of earthiness. Salt and black pepper finish the flavor. Serve with lemon wedges for that extra zing.This meal is quick to make and perfect for any night!
Step-by-Step Instructions
Preparation
– Rinse and dry shrimp
– Mince garlic
– Prepare lemon and parsley
Start by rinsing the shrimp under cold water. Make sure to remove any dirt. Once rinsed, use paper towels to dry the shrimp. This helps achieve a nice sear later. Next, mince the garlic into small pieces. This adds flavor to the dish. Finally, cut the lemon in half and chop the parsley finely. Set these aside for later.
Cooking Process
– Heat olive oil
– Sauté garlic
– Cook shrimp
In a large skillet, pour in the olive oil. Heat it over medium-high heat. Wait until the oil shimmers but does not smoke. Then, add the minced garlic. Sauté it for about 30 seconds. Stir it often to avoid burning. You will smell a great aroma when it’s ready. Now, add the shrimp in a single layer. Sprinkle red pepper flakes, salt, and black pepper on top. Cook the shrimp for 2-3 minutes on each side. They should turn pink and opaque.
Finishing Touches
– Add lemon juice
– Garnish with parsley
– Serve with lemon wedges
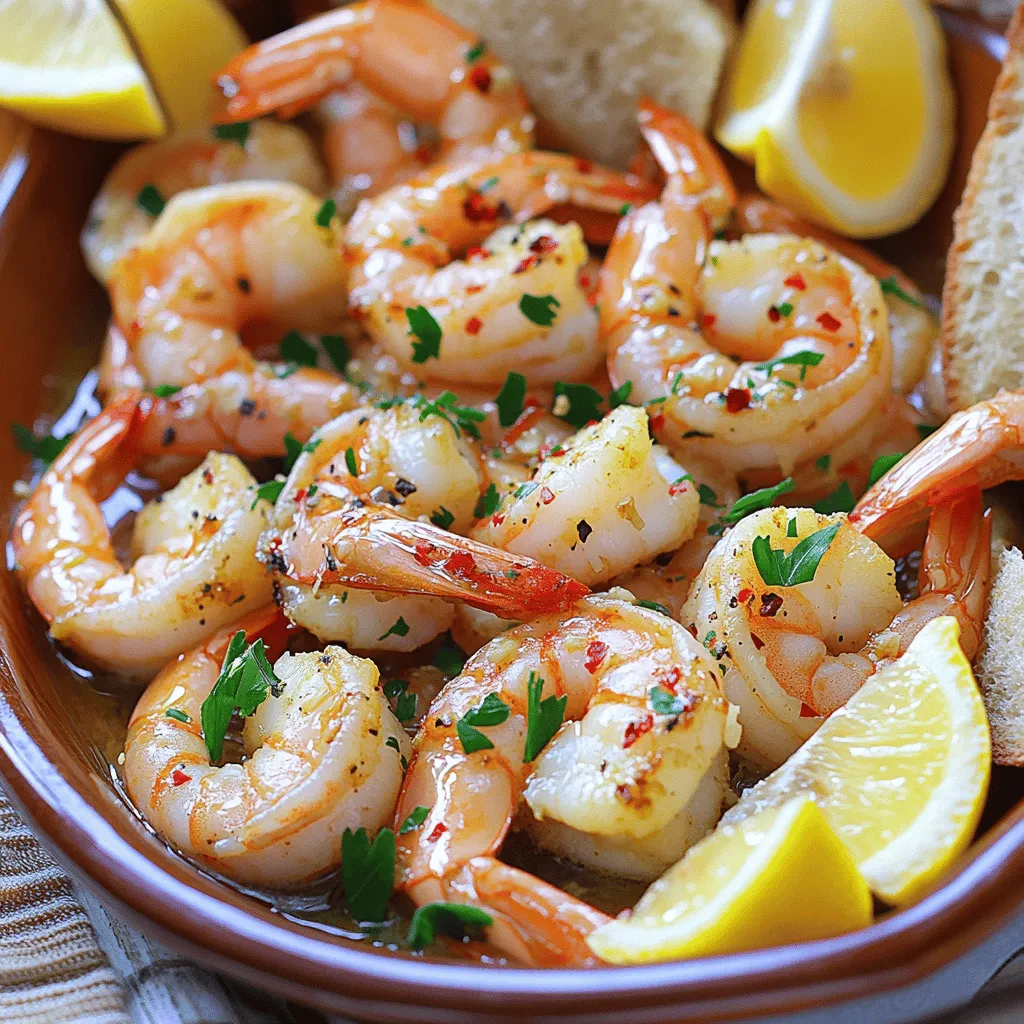
When the shrimp are done, take the skillet off the heat. Squeeze lemon juice over the shrimp and toss them gently. This adds a bright flavor. Next, sprinkle the chopped parsley on top for color. Lastly, transfer the shrimp to a serving plate and arrange lemon wedges around them. This makes the dish look nice and inviting.
Tips & Tricks
Cooking Tips
Drying shrimp is key. It ensures a nice sear and prevents steaming. After rinsing, pat them dry with paper towels. This simple step makes a big difference in texture.
Adjusting spice levels is easy. If you like heat, add more red pepper flakes. For a milder dish, reduce the amount. You control the flavor profile, making it your own.
Serving Suggestions
For presentation, use a large shallow dish. Arrange the shrimp and garnish with lemon wedges and parsley. This makes your meal look inviting and fresh.
Pair this dish with crusty bread. It’s perfect for soaking up the flavorful garlic oil. A crisp salad or rice also works well. For drinks, try a chilled white wine. It complements the shrimp beautifully.
Variations
Flavor Variations
You can change the flavor of your easy garlic shrimp by adding fresh herbs. Basil and cilantro bring a bright taste. Just chop them finely and sprinkle them in at the end. You can also mix in vegetables. Bell peppers add crunch and color. Spinach wilts down and adds nutrients. You can sauté these with the garlic to infuse their flavors into the shrimp.
Cooking Methods
Grilling shrimp is fun and gives a smoky flavor. To grill, thread the shrimp on skewers and brush them with olive oil and seasoning. Grill them for about 2-3 minutes on each side until they are pink.
If you prefer oven-baking, preheat your oven to 400°F. Place the shrimp in a single layer on a baking sheet. Drizzle with olive oil and season them. Bake for about 8-10 minutes. They will turn pink and cook through. Both methods keep the dish simple and delicious.
Storage Info
Storing Leftovers
To keep your garlic shrimp fresh, use airtight containers. Glass or plastic containers work well. Make sure they seal tightly to lock in flavor. Store the shrimp in the fridge. They will last for up to two days. After that, the quality may drop.
Reheating Recommendations
When reheating, use low heat to keep the shrimp tender. A skillet is great for this. Add a splash of olive oil to help restore moisture. Stir gently to avoid overcooking. If you prefer the microwave, use a microwave-safe dish. Heat for short bursts, checking often. This way, you keep that tasty garlic flavor intact.
FAQs
Can I use frozen shrimp for this recipe?
Yes, you can use frozen shrimp. Just remember to thaw them first. To thaw shrimp properly, place them in the fridge overnight or run them under cold water for about 10-15 minutes. Make sure to dry them well with paper towels. This step ensures they cook evenly.
How can I make this dish spicier or milder?
To adjust the spice level, you can add or reduce red pepper flakes. For a milder dish, use less than a teaspoon. You can also add more garlic for flavor without heat. If you want more spice, add extra red pepper flakes or some sliced jalapeños while cooking.
What are some good sides to serve with garlic shrimp?
Garlic shrimp pairs well with many sides. Here are a few options:
– Steamed rice or quinoa for a filling meal
– Crusty bread to soak up the garlic oil
– A fresh green salad for crunch and color
– Roasted vegetables for extra flavor and nutrition
These sides will enhance your garlic shrimp and make it a complete meal.
This blog post shared a simple and tasty garlic shrimp recipe. We covered key ingredients, easy steps, and useful tips. You learned how to cook shrimp perfectly and adjust flavors to your liking. We also explored variations and storage tips.
Now you can enjoy this dish and impress friends at dinner. With your new skills, shrimp night will be a hit! Get creative and have fun with the recipe. Enjoy cooking and delighting your taste buds!


