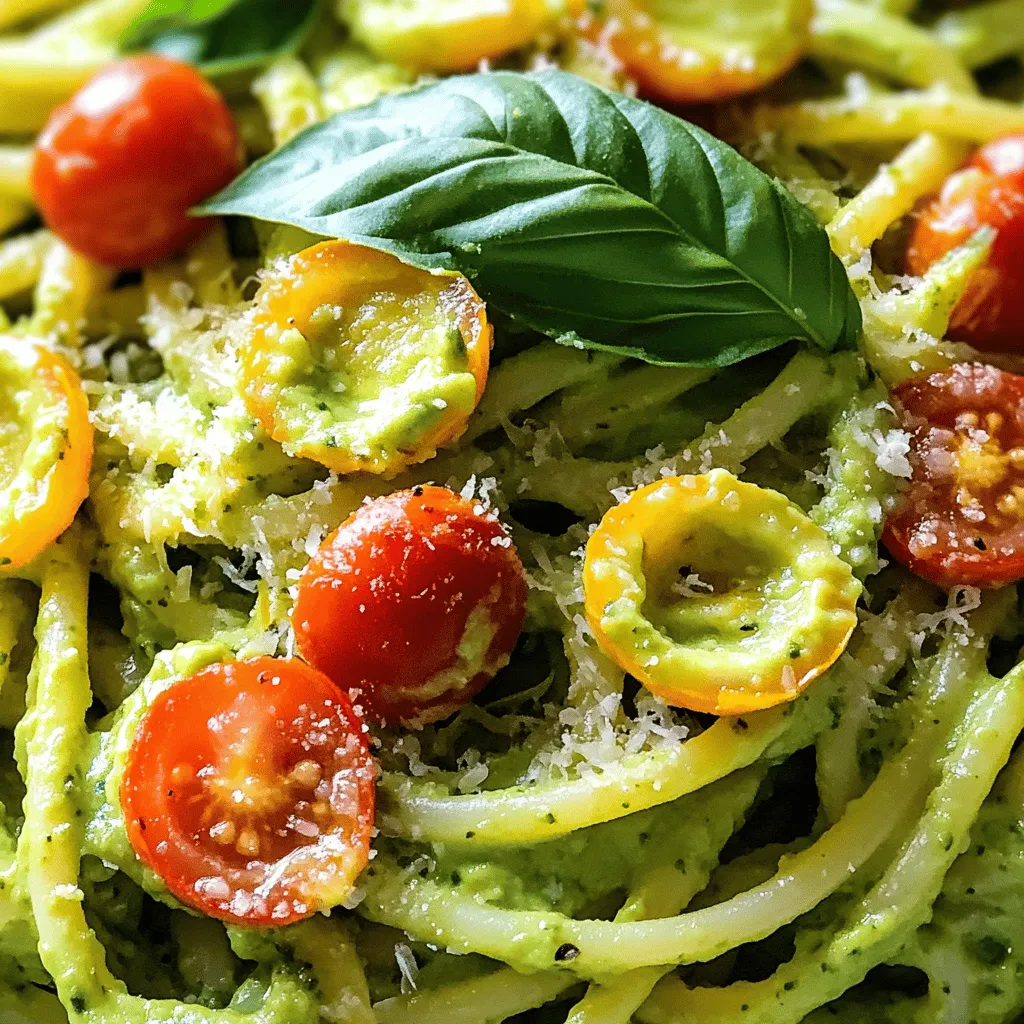
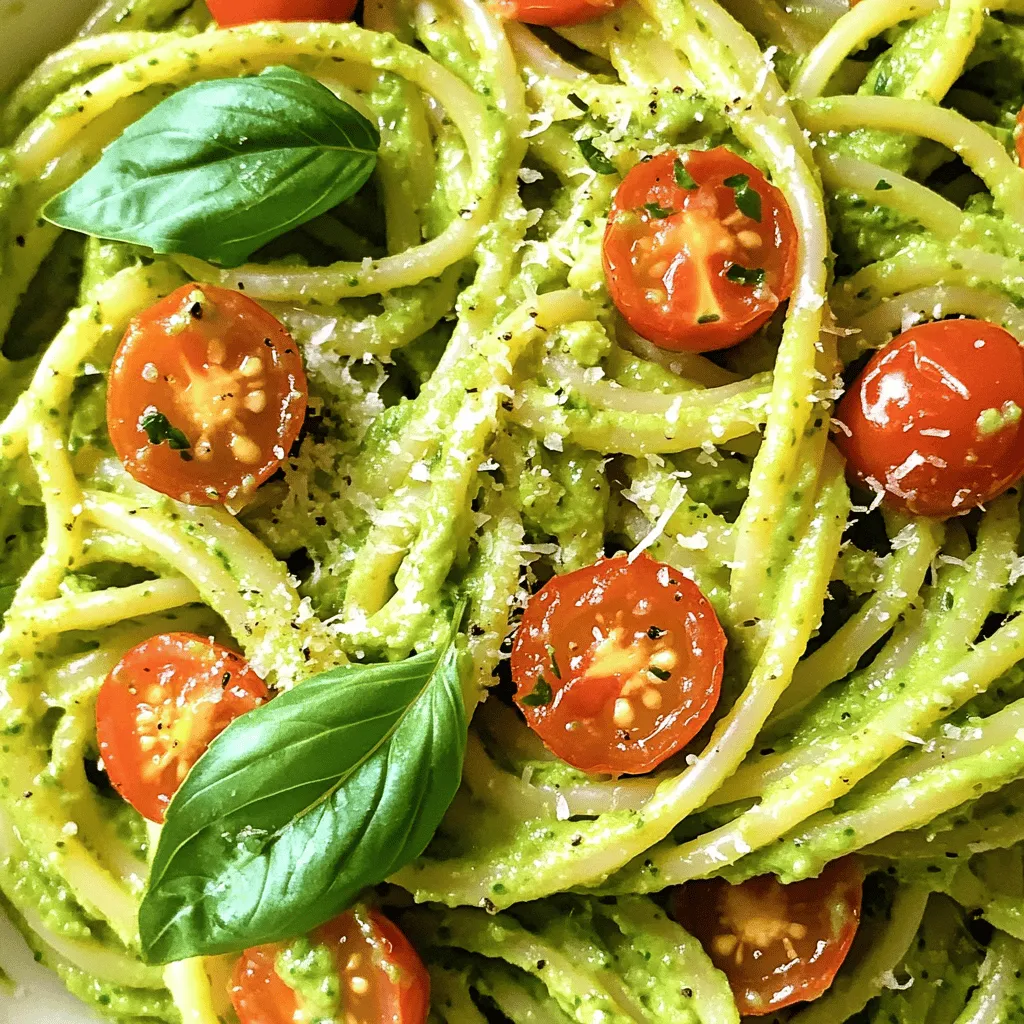
Looking for a quick and creamy dinner that will wow your taste buds? Try Easy Avocado Pasta! This bright and fresh dish is packed with flavor and takes just minutes to make. With simple ingredients and easy steps, you’ll have a satisfying meal ready for your weeknight in no time. Join me as we explore how to whip up this delicious treat that’s perfect for everyone at the table!
Ingredients
Main Ingredients for Easy Avocado Pasta
– 2 ripe avocados, pitted and peeled
– 2 cups fresh basil leaves, loosely packed
– 2 cloves garlic, minced
– 2 tablespoons freshly squeezed lemon juice
– 1/4 cup extra virgin olive oil
– Salt and freshly ground black pepper to taste
– 12 oz spaghetti or your choice of pasta
– 1/4 cup freshly grated Parmesan cheese (optional)
The main ingredients in this dish are simple and fresh. Ripe avocados form the creamy base, making it rich and delicious. Fresh basil adds a fragrant touch, while garlic gives it a nice kick. Lemon juice brightens the flavors. Olive oil helps bind everything together. Choose your favorite pasta for a personal touch.
Optional Ingredients and Garnishes
– Handful of cherry tomatoes, halved
– Crushed red pepper flakes (for extra heat)
Garnishes make your dish pop! Halved cherry tomatoes add sweetness and color. If you like heat, sprinkle on red pepper flakes. They give an extra zing to each bite.
Ingredient Substitutions and Tips
You can swap ingredients if needed. For a vegan option, skip the Parmesan cheese. Instead, try nutritional yeast for a cheesy flavor. Use whole wheat or gluten-free pasta for a healthier choice. If you don’t have fresh basil, pesto works well. Just remember that each swap changes the taste slightly, so feel free to experiment!
For the perfect dish, ensure your avocados are ripe but not overripe. This helps keep the sauce smooth.Enjoy creating this tasty meal!
Step-by-Step Instructions
Cooking the Pasta
First, grab a large pot. Fill it with water and add salt. Bring it to a boil. Once boiling, add 12 oz of spaghetti or your favorite pasta. Cook it as per the package directions until al dente. Remember to reserve 1 cup of pasta water before draining. This water helps the sauce stick later. Drain the pasta and set it aside.
Making the Creamy Avocado Sauce
While the pasta cooks, it’s time to make the sauce. Take 2 ripe avocados, 2 cups of fresh basil, 2 cloves of minced garlic, and 2 tablespoons of lemon juice. Place these in a food processor. Add 1/4 cup of extra virgin olive oil too. Blend everything until smooth. If the sauce is thick, add some reserved pasta water. This will make it creamy and perfect.
Combining and Serving the Dish
In a large bowl, combine the drained pasta and the creamy avocado sauce. Toss the pasta well to coat every strand. If needed, add more reserved water to help the sauce blend in. You can fold in 1/4 cup of grated Parmesan cheese if you like. Serve this dish hot. Garnish with halved cherry tomatoes for color. For a spicy kick, add crushed red pepper flakes. Enjoy your meal!
Tips & Tricks
Tips for Perfecting the Avocado Sauce
To make a great avocado sauce, choose ripe avocados. Check for softness by gently pressing them. When blending, add the basil, garlic, and lemon juice first. This helps mix flavors well. If the sauce is too thick, use pasta water to thin it. This water adds flavor and creaminess. Taste your sauce and adjust salt and pepper to your liking.
Cooking Tips for Perfect Pasta
Start with a large pot of salted water. This adds flavor to the pasta. Cook your pasta until it is al dente. This means it should be firm but not hard. When draining, save some pasta water. This water helps the sauce stick. Toss the drained pasta with the sauce right away. This keeps the pasta warm and absorbs the sauce.
Presentation Tips for Serving
For a beautiful dish, use a large serving bowl. Add the pasta and sauce, then mix gently. Garnish with halved cherry tomatoes for color. You can add extra basil leaves on top for freshness. A drizzle of olive oil enhances the look. If you like spice, sprinkle some crushed red pepper flakes on top. These tips make your avocado pasta look as good as it tastes!
Variations
Vegan-friendly Modifications
This dish is great for everyone, even vegans! To make it vegan, skip the Parmesan cheese. You can also add nutritional yeast for a cheesy flavor without dairy. It gives a nice taste while keeping the dish light and healthy.
Adding Protein Options
Want to make your meal heartier? Add protein! Grilled chicken or shrimp works well. If you prefer plant-based options, try chickpeas or lentils. Just mix them in when you combine the pasta and sauce. This way, you get a complete meal that fills you up!
Flavor Enhancements and Mix-ins
Boost the taste with fun mix-ins! A squeeze of lime juice adds a fresh twist. You might also enjoy adding spinach or arugula for extra greens. For a spicy kick, sprinkle in crushed red pepper flakes. These simple changes can take your avocado pasta to the next level. Enjoy experimenting!
Storage Info
Best Practices for Storing Leftovers
To keep your avocado pasta fresh, store it in an airtight container. Make sure to seal it well. This will help prevent browning. If you have leftover sauce, keep it separate if possible. It stays creamier that way. Use it within two days for the best taste.
How to Reheat Leftover Pasta
When reheating, avoid the microwave if you can. Instead, use a skillet on low heat. Add a splash of water or olive oil. Stir gently to warm it up. This helps keep the pasta from drying out. If you have leftover sauce, heat it separately and mix it in later.
Freezing Tips for Avocado Pasta
Freezing avocado pasta is tricky. The texture may change after thawing. If you want to freeze it, do so before adding any cheese or tomatoes. Use a freezer-safe container. Label it with the date. It can last up to three months. When you’re ready to eat, thaw it overnight in the fridge. Reheat gently as mentioned above.
FAQs
What is Easy Avocado Pasta?
Easy avocado pasta is a quick dish made with soft avocados and fresh basil. It mixes creamy avocado with pasta for a flavorful meal. The sauce is made in a blender, making it very easy. You can serve it with any pasta you like. It’s healthy, tasty, and very filling.
How can I make my avocado pasta creamier?
To make your avocado pasta creamier, use ripe avocados. Blend them well with olive oil and lemon juice. If the sauce is thick, add some pasta water to thin it out. This water has starch, which helps to create a smooth texture. You can also add a bit of cream or Greek yogurt for extra creaminess.
Can I use different types of pasta?
Yes, you can use any pasta you like. Spaghetti is a classic choice, but you can try whole wheat, gluten-free, or even spiralized veggies. Just cook the pasta according to the package instructions. Different shapes will change the way the sauce clings, so pick what you enjoy most.
How long does avocado pasta last in the fridge?
Avocado pasta stays fresh in the fridge for about 2 days. But it’s best to eat it right away. The avocado may turn brown over time. To help keep it fresh, cover it tightly with plastic wrap. You can also add a little lemon juice to slow the browning process.This recipe gives all the steps and tips you need for a perfect dish.
Easy avocado pasta is simple and fun to make. We explored key ingredients, easy steps, and tasty variations. Tips helped improve the flavor and texture. Now, you can store and reheat leftovers with ease.
This dish is great for everyone. Use your favorite pasta and mix in what you love. Enjoy your creamy meal and get creative with new flavors! Cooking exists to be shared.


