If you want a tasty side dish, look no further! Crispy Brussels sprouts with bacon are easy to make and packed with flavor. These little green gems get crispy in the oven while their savory bacon counterpart brings a smoky touch. Whether you’re hosting a dinner or looking for a simple weeknight side, this dish is sure to impress. Let’s dive into how you can make this delicious treat yourself!
Ingredients
Main Ingredients Needed
– 1 pound Brussels sprouts
– 3 tablespoons olive oil
– 2 tablespoons maple syrup
– 2 tablespoons balsamic vinegar
Seasonings and Optional Ingredients
– 1 teaspoon garlic powder
– 1 teaspoon smoked paprika
– Salt and pepper to taste
– 1/4 cup chopped walnuts (optional)
– 2 tablespoons grated Parmesan cheese (optional)
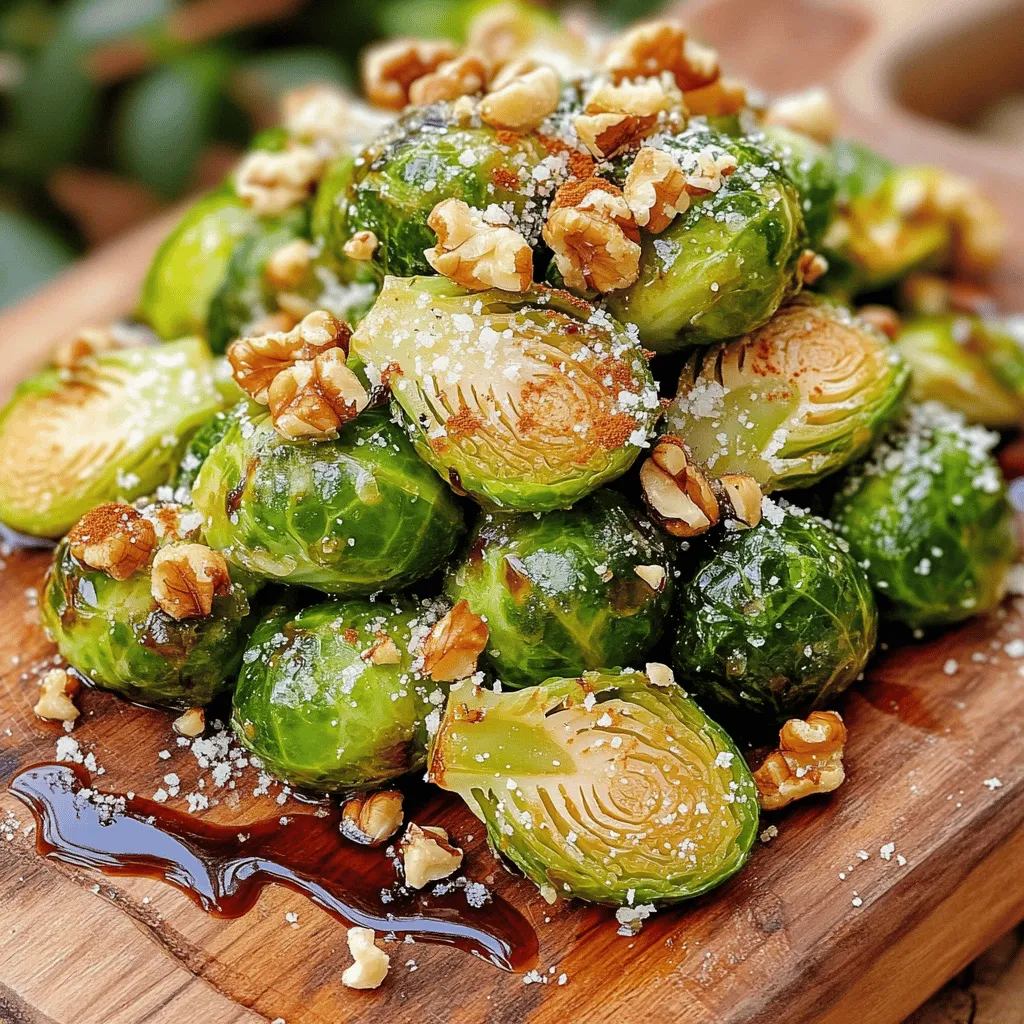
To create crispy Brussels sprouts, start with fresh Brussels sprouts. Look for firm, small ones for the best taste. Trim the ends and cut each sprout in half. This helps them cook evenly and get crispy.
Next, use olive oil to coat the sprouts. It adds flavor and helps them crisp up in the oven. Maple syrup and balsamic vinegar give the sprouts a sweet and tangy glaze. These flavors work great together!
For seasonings, garlic powder and smoked paprika add depth. Adjust salt and pepper to match your taste. If you want to add crunch, use walnuts. Grated Parmesan cheese also makes a delicious topping.Enjoy the process, and get ready for a tasty side dish!
Step-by-Step Instructions
Prepping the Brussels Sprouts
– Preheat oven to 425°F (220°C).
– Trim and halve the Brussels sprouts.
Start by preheating your oven. This step is vital for a perfect roast. Next, take your Brussels sprouts and trim off the tough ends. Then, cut each sprout in half. This helps them cook evenly and get crispy.
Coating the Brussels Sprouts
– Mixing oil and seasonings.
– Tossing the Brussels sprouts to coat evenly.
In a large bowl, pour in three tablespoons of olive oil. Add garlic powder, smoked paprika, salt, and pepper. Mix well. Now, toss in the halved Brussels sprouts. Use your hands to coat them evenly. Each sprout should be shiny and full of flavor.
Roasting Process
– Spread out on a baking sheet.
– Roasting time and tips for even crispiness.
Spread the Brussels sprouts in a single layer on a baking sheet. Make sure there’s space between them; this helps with crispiness. Roast them for 20-25 minutes. Halfway through, stir them around. This helps them brown evenly for that perfect crunch.
Preparing the Glaze
– Whisking together maple syrup and balsamic vinegar.
While the sprouts roast, it’s time to make the glaze. In a small bowl, mix two tablespoons of maple syrup with two tablespoons of balsamic vinegar. Whisk until combined. This glaze adds a sweet and tangy kick to the sprouts.
Final Touches
– Drizzling glaze and optional toppings.
– Return to oven for additional roasting.
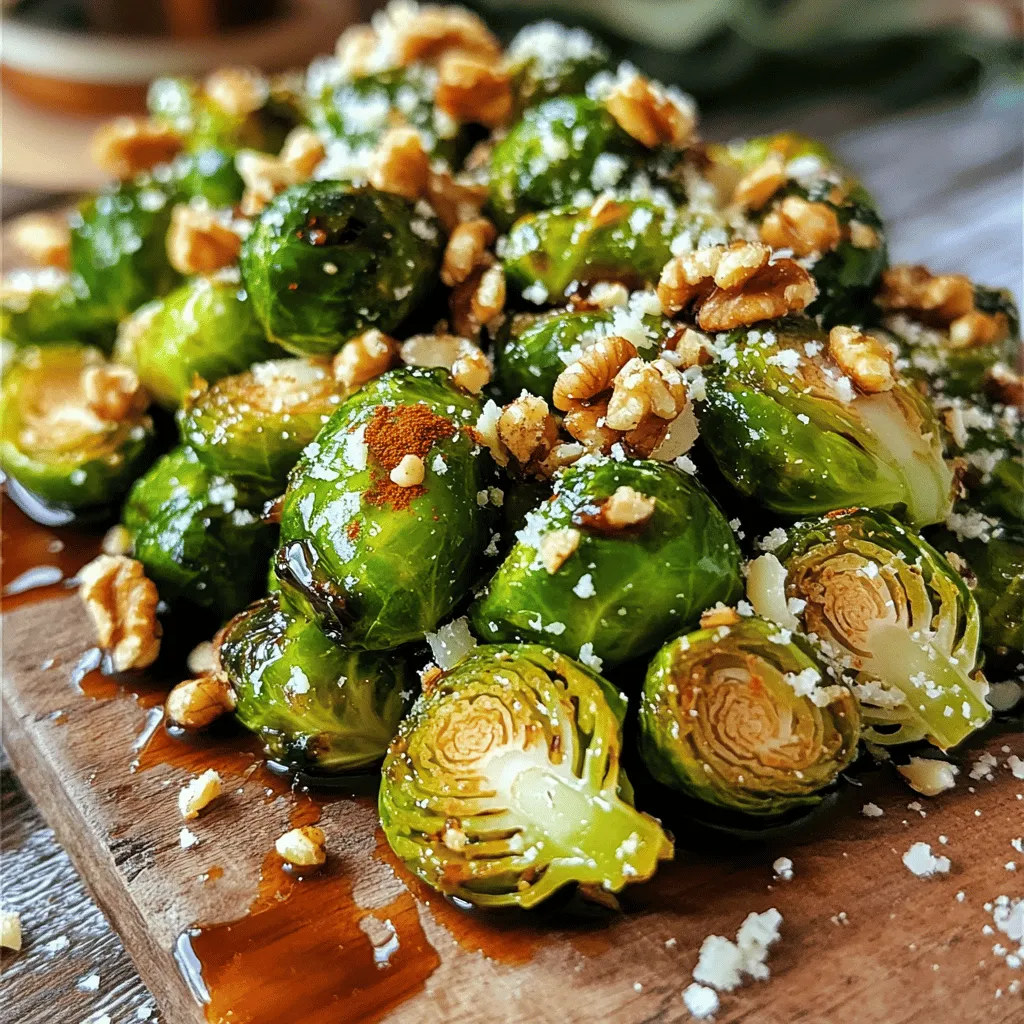
Once the Brussels sprouts are done roasting, take them out of the oven. Drizzle the maple balsamic glaze over them. Toss gently to coat each sprout. For extra flavor, sprinkle chopped walnuts and grated Parmesan cheese on top. Return the baking sheet to the oven for another 5 minutes to caramelize the glaze.
Serve these crispy Brussels sprouts warm for the best taste.
Tips & Tricks
Achieving Maximum Crispiness
To get the best crispiness, space matters. Place your Brussels sprouts in a single layer on the baking sheet. This helps them roast evenly. If they touch, they will steam instead of crisp. Stirring is key, too. Halfway through cooking, give them a good stir. This ensures all sides get that golden brown color.
Flavor Enhancements
You can boost flavor with simple spices. Try adding cayenne for heat or lemon zest for brightness. Fresh herbs like thyme or rosemary also work great. For toppings, consider adding crunchy nuts or cheese. Chopped walnuts or grated Parmesan cheese add fun textures and flavors.
Common Mistakes to Avoid
Avoid overcrowding your pan. If you pack the sprouts too tight, they won’t crisp up. They need room to breathe. Also, always preheat your oven. A hot oven starts the cooking process right. If the oven isn’t hot enough, you’ll lose that nice crunch.
Variations
Vegetarian Options
You can make crispy Brussels sprouts without bacon. For a tasty vegetarian version, skip the bacon and add a mix of nuts. Try using walnuts or pecans for crunch. You can also sprinkle on some nutritional yeast to give it a cheesy flavor. Adding roasted chickpeas can boost protein and flavor, making it hearty.
Flavor Profiles
To change the taste, try new herbs or spices. Rosemary or thyme can add a lovely earthiness. You could also use chili flakes for some heat. For a fresh twist, add lemon or orange zest. The citrus brightens up the dish and makes it pop. You can squeeze fresh lemon juice over the sprouts after roasting for extra zing.
Adding Protein
Crispy Brussels sprouts pair well with meats like chicken, pork, or fish. Serve them as a side to grilled chicken for a balanced meal. If you want plant-based protein, try adding lentils or quinoa. This makes the dish more filling and nutritious. You can also toss in some cooked bacon if you like the flavor and want to keep the original dish vibe.
Storage Information
Best Practices for Storing Leftovers
To keep your crispy Brussels sprouts fresh, you need to cool them well. Allow them to sit at room temperature for about 30 minutes. This prevents moisture buildup. After they cool, use airtight containers. Glass or plastic containers work great. Make sure they are sealed tightly to keep out air. Store them in the fridge for up to three days.
Reheating Instructions
When it’s time to enjoy your leftovers, reheating is key. Use an oven or an air fryer. Preheat the oven to 350°F (175°C). Spread the sprouts on a baking sheet. Heat them for about 10 to 15 minutes. This helps regain their crispiness. If using an air fryer, set it to 375°F (190°C) for about 5 to 7 minutes.
To keep the sprouts crunchy, avoid using the microwave. The microwave makes them soggy, which is not ideal. Enjoy your tasty side dish again with these simple steps.
FAQs
How do I make crispy Brussels sprouts?
To make crispy Brussels sprouts, follow these steps:
1. Preheat your oven to 425°F (220°C).
2. Trim and halve 1 pound of Brussels sprouts.
3. Mix 3 tablespoons of olive oil, 1 teaspoon of garlic powder, and 1 teaspoon of smoked paprika in a bowl.
4. Toss the halved sprouts in the oil mixture until they are well coated.
5. Spread the sprouts on a baking sheet in a single layer.
6. Roast them for 20-25 minutes, stirring halfway through.
7. Drizzle with a maple balsamic glaze and toss.
8. Return to the oven for 5 more minutes for extra flavor.
This method gives you a delicious side dish with a crisp texture.
Can I use frozen Brussels sprouts?
You can use frozen Brussels sprouts, but they might not get as crispy. Frozen sprouts often have more moisture. This can lead to steaming instead of roasting. If you use them, thaw first and pat dry to help with crispiness. Fresh is always best for a crunchy bite.
What can I serve with crispy Brussels sprouts?
Crispy Brussels sprouts pair well with many dishes. Try serving them with:
– Grilled chicken
– Roasted pork
– Quinoa salad
– Baked salmon
These options balance flavors and make for a hearty meal.
How long do crispy Brussels sprouts last in the fridge?
Crispy Brussels sprouts last in the fridge for about 3-4 days. Store them in an airtight container. This helps keep them fresh and safe to eat. However, they may lose some crispiness over time.
Can I prepare Brussels sprouts ahead of time?
Yes, you can prep Brussels sprouts ahead of time. Trim and halve them and store in the fridge for up to 2 days. For cooking, roast them fresh for the best texture. If you need to reheat, use the oven to keep them crispy.
In this blog post, we explored how to make crispy Brussels sprouts. You learned about the key ingredients, from Brussels sprouts to maple syrup. We covered easy step-by-step instructions, tips for crispiness, and ways to customize flavors. Remember, good cooking involves attention to detail and a dash of creativity. With the right techniques, you can enjoy this tasty dish at home. Now, go ahead and try making it for yourself!


